
This lesson is the final step in Unit 6, focusing on safe and legal parking for your moped or scooter. Understanding these procedures is crucial not only for passing your Category AM theory exam but also for ensuring your vehicle's security and preventing obstructions in traffic.

Properly parking and securing your scooter or moped (Category AM vehicle) is the final, crucial step of any journey. This goes beyond simply stopping; it involves choosing a legal, safe, and stable location that does not obstruct others, using the correct stand for the conditions, and implementing effective measures to deter theft. Neglecting these aspects can lead to fines, damage to your vehicle, accidents involving pedestrians or other road users, and even theft. This lesson will provide comprehensive guidance for all aspects of parking your scooter safely and legally on Dutch roads.
Dutch traffic law, primarily outlined in the Reglement Verkeersregels en Verkeerstekens 1990 (RVV 1990), establishes clear guidelines for where and how vehicles, including scooters and mopeds, may be parked. The overarching principle is to ensure public spaces remain accessible and safe for everyone. Understanding these regulations is vital to avoid penalties and contribute to a smooth traffic flow.
The safest and most straightforward option for parking your scooter is in a designated scooter or moped parking bay. These areas are specifically allocated for two-wheelers and are often found in busy urban areas, near public transport hubs, or shopping centers.
Designated scooter parking zones are typically marked by blue parking signs often depicting a scooter or moped symbol. Sometimes, the area itself may have specific road markings or pavement patterns indicating its purpose. Parking here guarantees compliance with local regulations and usually offers the most secure environment.
Always look for these signs or markings to confirm that you are in a legal and appropriate parking spot. If a bay is full, you must seek an alternative legal parking location rather than creating an obstruction.
Parking on sidewalks (trottoirs) is generally prohibited in the Netherlands unless explicitly permitted by local signage. The primary purpose of a sidewalk is for pedestrian movement, and any obstruction can pose a hazard, especially for individuals with reduced mobility, parents with strollers, or visually impaired persons.
If local signs (plaatselijke borden) indicate that sidewalk parking is allowed, ensure your scooter is placed in such a way that it does not impede pedestrians. A general rule of thumb is to leave at least 1.5 meters of clear passage. However, this is a guideline, and the ultimate responsibility lies with the rider to ensure no obstruction occurs.
When parking on the edge of the carriageway (rijbaan), such as on a road shoulder, you must ensure your scooter is placed at a safe distance from the running lane. According to RVV 1990, articles 44 and 46, you should keep at least one meter distance from the curb (stoeprand) where possible. This provides adequate clearance for other vehicles, particularly cyclists, and prevents your scooter from becoming an unexpected obstacle in their path. Always ensure your vehicle is stable and not protruding into the traffic flow.
Certain areas are strictly off-limits for parking and stopping to prevent hazards and maintain the flow of traffic and public services. Violating these rules can lead to significant fines and potential points on your driving license.
Never stop or park on:
voetgangersoversteekplaatsen): Blocking these obstructs pedestrians and forces them into traffic.fietspaden) or cycle paths: These are exclusively for cyclists and must remain clear.tramrails): Any obstruction can halt public transport, cause delays, and lead to significant penalties.bushaltes): These areas need to be clear for public buses to stop and load/unload passengers safely.Parking in a prohibited area, even for a short time, can result in a fine. Always prioritize safety and legal compliance over convenience.
The type of stand you use and how you deploy it are critical for your scooter's stability and overall safety. Scooters are equipped with either a side stand, a centre stand, or sometimes both. Understanding their differences and appropriate usage is essential.
The side stand (zijstandaard) is a pivoting lever that extends from the side of the scooter, allowing the vehicle to lean onto one side for support. It's generally quick and easy to deploy, making it convenient for brief stops on flat, firm ground.
However, the side stand offers less stability compared to a centre stand. It's particularly vulnerable on uneven surfaces, soft ground (like gravel or grass), or when there's a slight incline. The scooter's weight is concentrated on a small contact point, making it prone to tipping over if bumped, exposed to strong winds, or if the ground gives way. Always ensure the side stand is fully extended and locked into position before releasing the scooter.
The centre stand (middenstandaard) provides superior stability by lifting the rear wheel off the ground and balancing the scooter vertically on two points. This type of stand distributes the scooter's weight more evenly and minimizes the risk of tipping.
Engaging the centre stand requires a bit more effort. Typically, you hold the handlebars, press down on the stand's foot lever with your foot, and simultaneously lift the scooter by pulling back and up on a grab rail or part of the frame. Practice this maneuver to become proficient.
The centre stand is mandatory on slopes exceeding 2% (approximately 1.1 degrees). Using only a side stand on such an incline is dangerous as the scooter can easily roll or tip over. The centre stand is also highly recommended for parking on soft or uneven surfaces, or for longer periods when stability is paramount.
Parking on a slope or an uneven surface presents additional challenges and requires careful consideration to ensure your scooter remains stable.
When parking on an incline, always turn your handlebars towards the curb if the front of the scooter is facing uphill, or away from the curb if the front is facing downhill. This prevents the scooter from rolling into traffic if the stand fails.
Key considerations for inclines and uneven ground:
wheel chock to prevent any unexpected movement of the wheels. Ensure parking lights are on in low visibility.Scooters and mopeds are unfortunately high-risk targets for theft in the Netherlands due to their portability and ease of resale. Implementing robust security measures is crucial to protect your investment and deter criminals. While not all measures are legally mandatory, neglecting them can have serious consequences, including potential issues with insurance claims.
Almost all modern scooters are equipped with a built-in steering lock (stuurslot). This mechanism, usually activated with your ignition key, prevents the handlebars from being turned, effectively immobilizing the steering column.
The steering lock is the first line of defense against opportunistic theft. It's strongly recommended by the National Police and considered a basic duty of care (zorgplicht) under general legal principles (e.g., RVV 1990 Art. 2). Always engage it when leaving your scooter unattended, even for a short time.
While the steering lock provides a deterrent, it can often be bypassed by determined thieves using brute force. Therefore, it is highly advisable to supplement your steering lock with additional, high-quality anti-theft devices.
kettingslot): A hardened steel chain is one of the most effective deterrents. Choose a chain with links at least 10mm thick, preferably made of special alloy steel. Loop the chain through the scooter's frame (not just a wheel, which can be easily removed) and around a fixed, immovable object.schijfremslot): This compact device clamps onto the front or rear disc brake rotor, preventing the wheel from turning. It's a good option when no fixed object is available, but it doesn't prevent the scooter from being lifted and carried away. Look for disc locks with built-in alarms for added protection.alarmsysteem): Some scooters come with integrated alarm systems that trigger a loud siren and/or flashing lights if the vehicle is disturbed. Aftermarket alarms can also be installed.Many insurance companies may deny or reduce payouts for stolen scooters if adequate additional security measures were not in place. Always check your insurance policy's specific requirements.
The most effective way to prevent theft is to secure your scooter to an immovable object. This prevents thieves from simply lifting the scooter into a van or carting it away.
Ideal fixed objects include:
When using a chain lock, ensure it is passed through the scooter's frame and not just the wheel. Wheels can be easily removed, leaving the rest of the scooter vulnerable. Always keep the chain as high off the ground as possible to make it harder for thieves to use bolt cutters or grinders.
A stationary scooter, especially at night or in adverse weather, can be an unexpected obstacle for other road users. Ensuring your parked scooter is visible significantly reduces the risk of it being hit or causing an accident.
Under low-visibility conditions such as night-time, dusk, fog, heavy rain, or within a tunnel, it is mandatory to keep your parking lights (parkeerlichten) illuminated if your scooter is parked on a roadway or shoulder where it might not be easily seen. This requirement is stipulated in RVV 1990 Article 39, paragraph 2.
Many scooters have a specific setting on the ignition barrel or a dedicated switch to activate parking lights without fully turning on the ignition. These lights consume minimal battery power and ensure your scooter is detectable by pedestrians, cyclists, and drivers. Never turn off all lights when parking in a dimly lit area at night.
A low-intensity headlamp setting used to make a stationary vehicle visible to other road users, typically required during low-visibility conditions.
Beyond mandatory lighting, you can further enhance your scooter's visibility through the use of reflective materials.
The Reglement Verkeersregels en Verkeerstekens 1990 (RVV 1990) is the cornerstone of Dutch traffic law. Adhering to its specific articles regarding stopping and parking is essential for all drivers, including those of Category AM vehicles.
fietspad) unless explicitly permitted by road signs. It also covers areas like bus stops and within 5 meters of a pedestrian crossing.Understanding the spirit of these laws – preventing obstruction and ensuring safety – helps in making sound parking decisions even in situations not explicitly covered by a sign.
Violating parking regulations in the Netherlands can lead to various penalties. The exact fine amounts can vary based on the specific offense and local municipal ordinances, but they are generally significant.
Common consequences include:
Always check local municipal websites or signs for specific parking regulations, as some cities may have unique rules or designated areas for scooters beyond national laws.
Parking your scooter safely and legally requires adaptability. The "ideal" parking spot isn't always available, and external factors like weather or urban density can complicate matters.
Cities like Amsterdam, Rotterdam, or Utrecht are often congested, making parking challenging.
overlast (nuisance).Weather significantly impacts parking stability and visibility.
Parking decisions directly impact the safety and convenience of others.
Properly parking and securing your Category AM vehicle is a fundamental skill for responsible scooter ownership. It combines knowledge of traffic laws, an understanding of your vehicle's mechanics, and a strong sense of awareness for other road users and potential security risks.
By consistently applying the principles of legal placement, appropriate stand usage, enhanced visibility, and robust security, you contribute to a safer, more orderly, and more secure environment for everyone on Dutch roads. Always remember that the final step of any journey is as important as the journey itself.
Lesson content overview
Explore all units and lessons included in this driving theory course.
Explore search topics learners often look for when studying Parking, Securing, and Using Kick‑Scooter Stands. These topics reflect common questions about road rules, driving situations, safety guidance, and lesson level theory preparation for learners in the Netherlands.
Browse additional driving theory lessons that cover connected traffic rules, road signs, and common driving situations related to this topic. Improve your understanding of how different rules interact across everyday traffic scenarios.
Learn the Dutch regulations for legal scooter parking, including designated zones and prohibited areas. Understand the correct use of side and center stands for stability and discover essential tips for securing your vehicle against theft. Essential knowledge for Category AM riders.

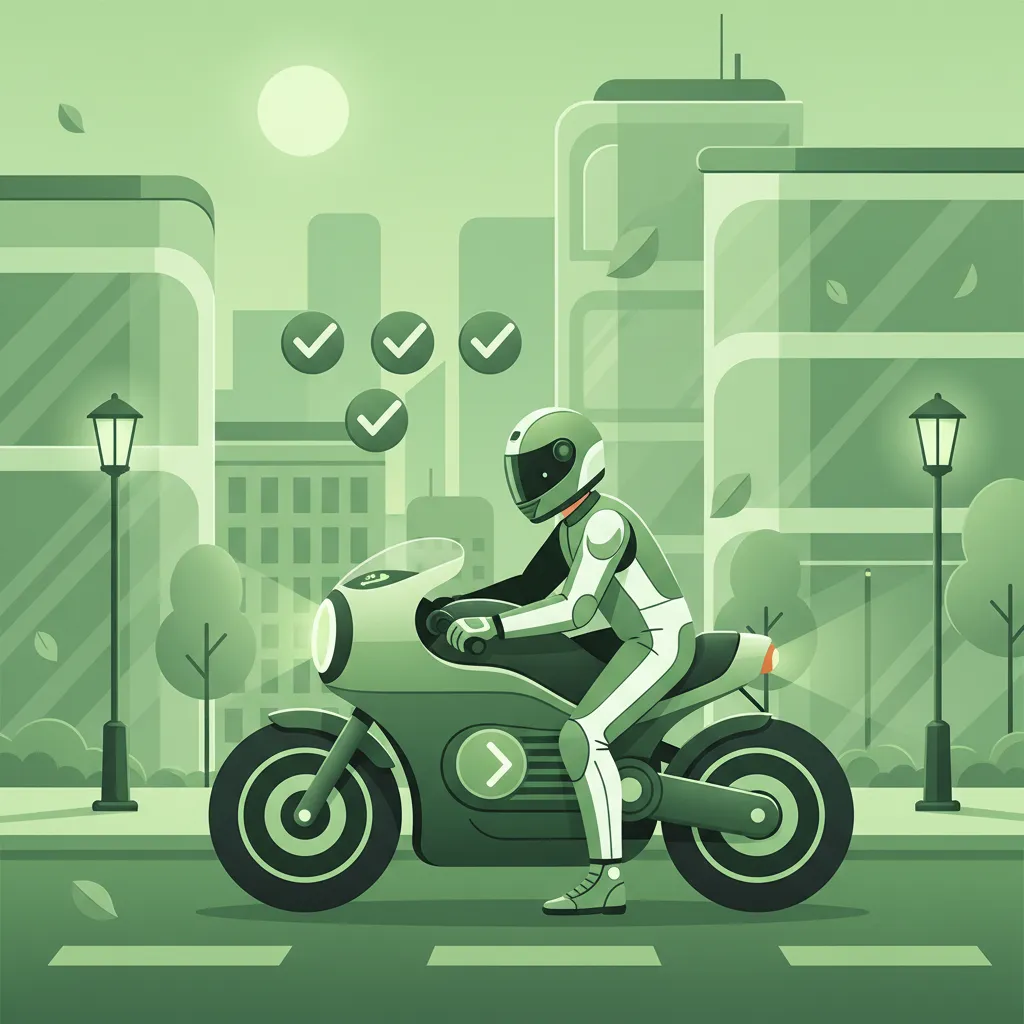
Defensive riding means riding to prevent collisions, despite the actions of others or the conditions around you. This lesson teaches the core principles of this proactive safety strategy. Key techniques include managing the space cushion around your vehicle, positioning yourself in your lane for maximum visibility, constantly planning an escape route, and communicating your intentions clearly to other road users. This mindset acknowledges your vulnerability and empowers you to take control of your own safety.

Explore the essential administrative requirements for any Category AM vehicle owner. This lesson covers the mandatory vehicle registration process, the distinction between yellow plates for bromfietsen and blue plates for snorfietsen, and the legal obligation for third-party liability insurance (WA-verzekering). You will learn what documentation is required, the consequences of non-compliance, and how these elements are verified during traffic enforcement, ensuring your vehicle is always road-legal.

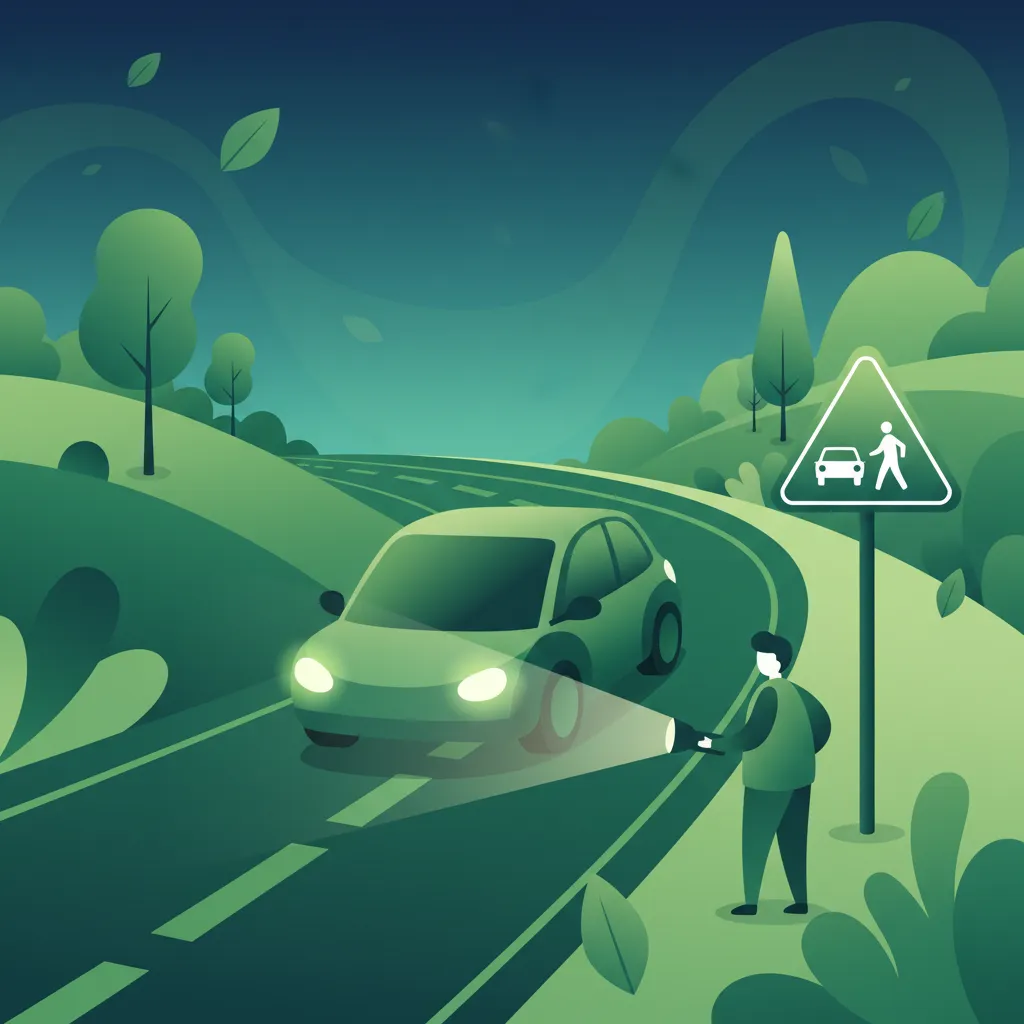
Riding at night presents two main challenges: seeing the road and being seen by others. This lesson covers the legal requirements for your vehicle's lighting system and how to use it effectively, including when to use high beams. It also emphasizes strategies to increase your own conspicuity, such as wearing bright or reflective clothing. You will learn how darkness affects your perception of speed and distance and how to adapt your riding to compensate for these limitations.

Overtaking is a high-risk maneuver that must be executed correctly. This lesson provides a step-by-step guide: assess if it is safe and legal, check mirrors and blind spots, signal your intention, accelerate smoothly past the other vehicle, and return to your lane leaving adequate space. You will also learn to identify situations where overtaking is prohibited, such as before a pedestrian crossing or when approaching a blind corner.
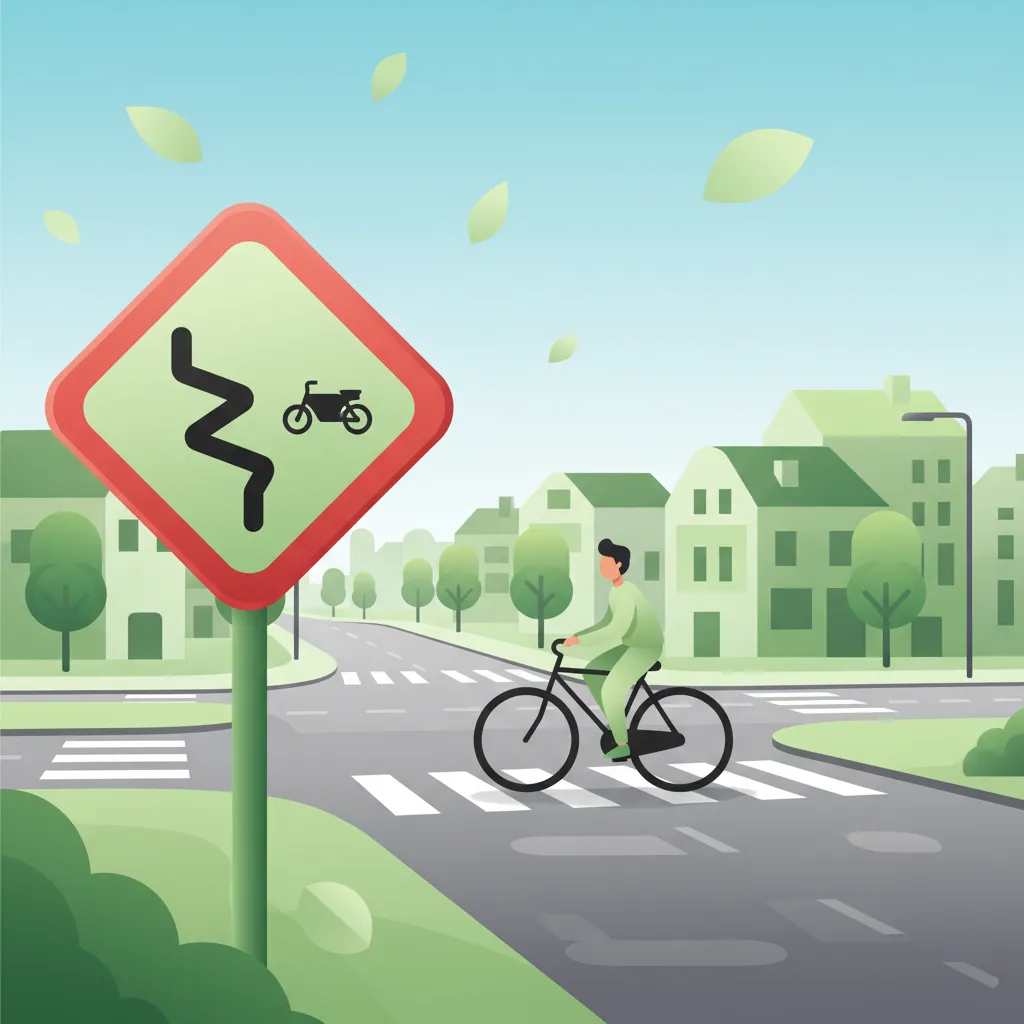
Warning signs are designed to enhance your safety by alerting you to potential hazards. This lesson focuses on signs of particular relevance to moped and scooter riders, such as warnings for sharp bends, slippery road surfaces, crosswinds, and level crossings. You will learn to recognize the standard triangular shape of Dutch warning signs and understand how to adjust your speed and positioning in response to these alerts, a key skill in hazard perception.
Your vehicle's lights and horn are your primary tools for seeing, being seen, and communicating warnings. This lesson guides you through a simple but vital check of all electrical components before you ride. You will learn how to verify the function of your headlight (high and low beam), taillight, brake light (using both front and rear brake levers), and turn signals. It also covers checking the horn's operation and ensuring all mandatory reflectors are clean and intact.

Carrying a passenger or heavy luggage significantly changes how your vehicle handles. This lesson covers the legal regulations for carrying a passenger, including the requirement for proper seating and footpegs. It also explains the importance of adhering to the vehicle's maximum load limit. You will learn how extra weight, especially when positioned high up, raises the center of gravity and affects balance, steering, and braking distances, requiring adjustments to your riding style.

Effective communication with other road users is vital for safety. This lesson details the legal requirements and proper use of your vehicle's signaling equipment, including headlights, brake lights, and turn signals (indicators). It also explains the specific situations in which using the horn is permitted to avert danger. Finally, it covers the mandatory placement and type of reflectors that ensure your vehicle remains visible to others, especially in low-light conditions.
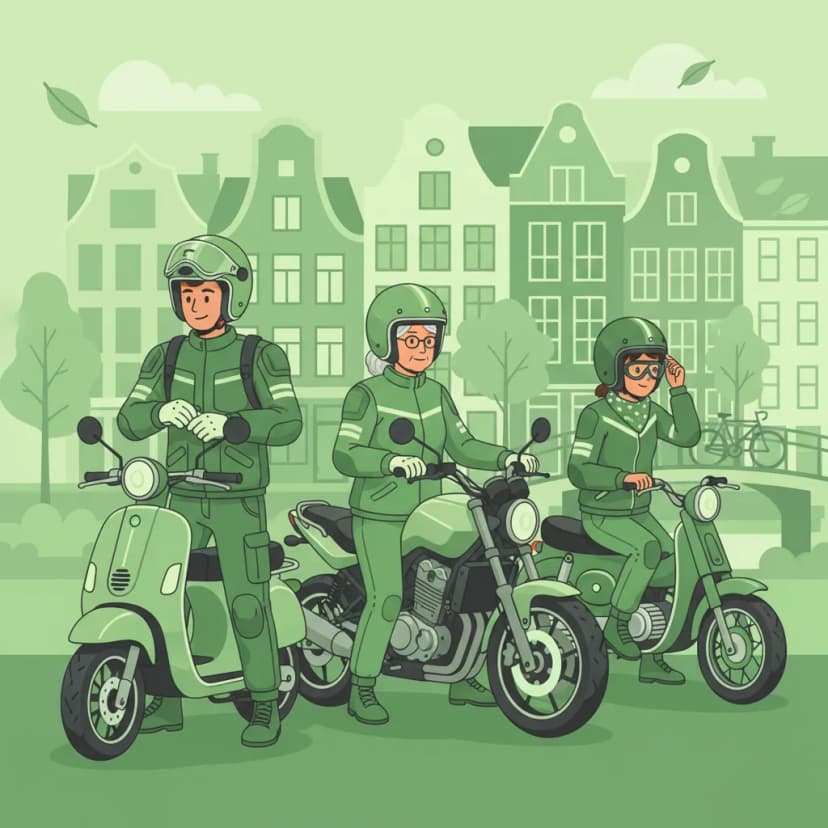
This lesson details the statutory helmet regulations applicable to all Category AM vehicles. It clearly defines the mandatory helmet use for bromfiets and speed pedelec riders and the specific rules for snorfiets riders, including the required ECE safety certification for all approved helmets. The content also provides information on recommended protective gear, such as gloves and sturdy footwear, explaining how proper equipment enhances rider safety and is a key part of responsible riding culture in the Netherlands.

Holding a license and owning a vehicle comes with continuous legal responsibilities. This lesson reminds you of the importance of renewing your driving license before it expires and ensuring your vehicle's insurance policy remains active. It also covers your duty to inform the relevant authorities (like the RDW) of any changes, such as a change of address. Fulfilling these administrative obligations is essential to remaining a legal and responsible road user in the Netherlands.
Master the rules for parking lights in low visibility conditions and understand how to make your parked scooter visible. Learn best practices for parking around vulnerable road users and adapting to weather conditions to prevent accidents and obstructions.
Riding at night presents two main challenges: seeing the road and being seen by others. This lesson covers the legal requirements for your vehicle's lighting system and how to use it effectively, including when to use high beams. It also emphasizes strategies to increase your own conspicuity, such as wearing bright or reflective clothing. You will learn how darkness affects your perception of speed and distance and how to adapt your riding to compensate for these limitations.
Your vehicle's lights and horn are your primary tools for seeing, being seen, and communicating warnings. This lesson guides you through a simple but vital check of all electrical components before you ride. You will learn how to verify the function of your headlight (high and low beam), taillight, brake light (using both front and rear brake levers), and turn signals. It also covers checking the horn's operation and ensuring all mandatory reflectors are clean and intact.
Defensive riding means riding to prevent collisions, despite the actions of others or the conditions around you. This lesson teaches the core principles of this proactive safety strategy. Key techniques include managing the space cushion around your vehicle, positioning yourself in your lane for maximum visibility, constantly planning an escape route, and communicating your intentions clearly to other road users. This mindset acknowledges your vulnerability and empowers you to take control of your own safety.

Each season brings unique challenges for riders. This lesson discusses common seasonal hazards, such as wet autumn leaves that are as slippery as ice, the risk of black ice in winter, and increased agricultural traffic in the summer. It also highlights the importance of seasonal vehicle maintenance. For example, after winter, it is crucial to wash away corrosive road salt, and before winter, to check antifreeze and battery health, ensuring your vehicle is prepared for the conditions ahead.

This lesson addresses the dual challenge of poor visibility: being able to see the road ahead and ensuring other road users can see you. It covers techniques for riding in fog and heavy rain, such as using appropriate lights and reducing speed to match sight distance. The lesson also discusses practical issues like helmet visor fogging and the importance of wearing high-visibility or reflective clothing to enhance conspicuity in low-light conditions.
This lesson covers the mandatory lighting and signaling equipment for A2 motorcycles under Dutch law, ensuring you remain visible and communicate your intentions correctly. You will learn the rules for using headlights, taillights, turn signals, and brake lights in various conditions, including daytime and adverse weather. The content also addresses the importance of maintaining this equipment and using hand signals as a valid secondary method of communication in traffic.

This lesson focuses on the dual challenge of visibility: seeing the road ahead and ensuring other drivers see you. It covers the legal requirements and tactical use of headlights ('koplampen'), including when to use high and low beams, and the importance of daytime running lights. Additionally, it explores strategies for enhancing personal conspicuity through high-visibility and reflective clothing, and using lane positioning to stand out in traffic and avoid blind spots.

Riding on two wheels requires special care on surfaces with reduced grip. This lesson teaches you how to handle challenging conditions like rain, ice, wet leaves, or tram tracks. Key principles include reducing speed significantly, making all control inputs (braking, accelerating, steering) much more smoothly and gradually, and increasing your following distance to allow for much longer stopping distances. Recognizing potentially slippery areas is a critical part of proactive hazard perception.
Warning signs are designed to enhance your safety by alerting you to potential hazards. This lesson focuses on signs of particular relevance to moped and scooter riders, such as warnings for sharp bends, slippery road surfaces, crosswinds, and level crossings. You will learn to recognize the standard triangular shape of Dutch warning signs and understand how to adjust your speed and positioning in response to these alerts, a key skill in hazard perception.
Effective communication with other road users is vital for safety. This lesson details the legal requirements and proper use of your vehicle's signaling equipment, including headlights, brake lights, and turn signals (indicators). It also explains the specific situations in which using the horn is permitted to avert danger. Finally, it covers the mandatory placement and type of reflectors that ensure your vehicle remains visible to others, especially in low-light conditions.
Find clear answers to common questions learners have about Parking, Securing, and Using Kick‑Scooter Stands. Learn how the lesson is structured, which driving theory objectives it supports, and how it fits into the overall learning path of units and curriculum progression in the Netherlands. These explanations help you understand key concepts, lesson flow, and exam focused study goals.
A side stand is a single leg that angles the vehicle to one side, making it lighter to put up but potentially less stable. A center stand uses two legs to hold the vehicle upright, offering superior stability but requires more effort to deploy. You should use a center stand whenever possible for maximum stability, especially on soft or uneven ground, and a side stand for quick stops or when center stand use is impractical.
Yes, you must avoid parking in ways that obstruct pedestrians, cyclists, or other traffic. This includes blocking pavements, cycle paths, entrances, exits, and emergency access routes. Always check local signage for any designated parking restrictions for mopeds or scooters.
A steering lock is a basic security measure and deters opportunistic thieves, but it is not sufficient on its own, especially in high-risk areas. For better security, always use a high-quality chain lock or disc lock in conjunction with the steering lock, securing your vehicle to a fixed object if possible.
Illegally parked mopeds or scooters can be fined, towed, or have their license plates removed. Furthermore, improper parking can create hazards for other road users, leading to accidents or significant inconvenience, particularly for pedestrians and those with mobility issues.
Absolutely. When parking on a hill, always engage the steering lock. Park facing downhill and put the vehicle in gear (if manual) or turn the wheels towards the kerb (if automatic/scooter) to prevent rolling. Facing uphill, turn the wheels away from the kerb. Using the center stand on firm, level ground is always preferable if available.