Logo
Dutch Driving Theory Courses

Lesson 2 of the Traffic Signs & Signals unit

Dutch Driving Theory AM: Warning Signs Relevant to Two‑Wheelers

Welcome to the unit on Traffic Signs & Signals! This lesson focuses on warning signs, specifically those most important for moped and scooter riders. Understanding these signs is vital for anticipating hazards and passing your Category AM theory exam in the Netherlands.

warning signstraffic signsmoped rulesscooter safetyAM category
Dutch Driving Theory AM: Warning Signs Relevant to Two‑Wheelers
Dutch Driving Theory AM

Understanding Dutch Warning Signs for Moped and Scooter Riders (Category AM)

Warning signs are crucial elements of road safety infrastructure, designed to alert drivers and riders to potential hazards ahead. For moped and scooter riders, who operate two-wheeled vehicles with distinct stability and traction characteristics, correctly interpreting and reacting to these signs is paramount. This lesson will equip you with the knowledge to identify Dutch warning signs, understand their specific implications for two-wheelers, and implement appropriate riding adjustments to enhance your safety and comply with traffic regulations. This is a vital skill for anyone preparing for the Dutch Category AM driving license theory exam.

The Importance of Warning Signs for Two-Wheelers: Hazard Perception and Proactive Safety

Mopeds and scooters, due to their inherent instability compared to four-wheeled vehicles, are disproportionately affected by certain road conditions and environmental factors. Warning signs act as proactive safety devices, providing an early alert that allows riders to anticipate, assess, and respond to upcoming challenges before they become immediate dangers. This process, known as hazard perception, is a core skill for safe riding.

For two-wheelers, early visual cues from warning signs are essential for:

  • Maintaining stability: Strong crosswinds or sudden sharp bends can easily destabilize a light two-wheeler.
  • Preventing loss of traction: Slippery surfaces, whether from rain, ice, or loose gravel, drastically reduce tyre grip, making smooth control and appropriate braking critical.
  • Planning manoeuvres: Knowing about an upcoming level crossing or a pedestrian-heavy zone allows for timely speed reduction and positioning adjustments.
  • Reducing crash risk: Many common two-wheeler accidents occur on curves, due to sudden changes in road surface, or interactions with other road users or obstacles that could have been avoided with better anticipation.

Dutch traffic law (RVV 1990) places a legal obligation on all road users to obey warning signs. For moped and scooter riders, this often means adapting riding style more significantly than drivers of larger vehicles, demonstrating a heightened sense of care due to the unique dynamics of two-wheelers.

General Characteristics of Dutch Warning Signs: The Triangular Form

Dutch warning signs, also known as 'B-signs' in the Rijkswaterstaat (Dutch Ministry of Infrastructure and Water Management) classification, share a universal design that makes them immediately recognizable.

Definition

Warning Sign (B-sign)

A triangular sign with a red border and a white background, containing a black pictogram that depicts a specific hazard ahead.

This distinct triangular shape is internationally recognized as a signal for caution. The red border immediately draws attention, while the black pictogram clearly illustrates the nature of the upcoming hazard. These signs are typically placed a sufficient distance before the hazard itself, providing riders with ample time to react. It is crucial to understand that these signs are not merely advisory; they legally obligate road users to take precautions.

While specific speed limits are usually conveyed by circular regulatory signs, warning signs often imply the need for speed reduction and adjustment of riding technique. Misunderstanding or ignoring a warning sign can lead to severe consequences, ranging from traffic fines to serious accidents.

One of the most critical hazards for two-wheelers is negotiating sharp bends or series of curves. Unlike cars, mopeds and scooters must lean into a turn to maintain balance, and this requires a careful balance of speed, lean angle, and road positioning.

Understanding Sharp Bend Signs

These signs indicate a change in road direction with a small radius, meaning the curve is tighter than it might appear. For two-wheelers, entering a sharp bend at excessive speed is a common cause of accidents.

Required Actions for Moped and Scooter Riders

  • Speed Reduction: Before entering the bend, you must reduce your speed significantly. The exact speed depends on the tightness of the bend, road surface condition, and your visibility. The goal is to reach a speed that allows you to safely complete the turn without exceeding your tyre's lateral grip limit. A rule of thumb is to brake before the bend and maintain a steady, controlled throttle through the bend.
  • Optimal Line: For most sharp bends, adopting an "outer-inner-outer" line can maximize your visibility and lean angle while maintaining stability. This means starting on the outer edge of your lane, moving towards the inner point (apex) of the bend, and then gradually widening your path towards the outer edge as you exit the turn. This allows for a smoother, less abrupt lean.
  • Body and Vehicle Position: Ensure your body weight is shifted correctly, leaning with the scooter. Keep your head and eyes looking through the bend to where you want to go. Avoid sudden braking or acceleration while leaning, as this can easily cause a loss of traction.
  • Double Bends (B9): These require extra attention. You must anticipate two distinct turning points and adjust your speed and line accordingly for both. Often, riders manage the first bend but are then caught off-guard by the second. Always plan for the tightest part of the sequence.

Common Mistakes

  • Entering too fast: This is the most frequent error, leading to over-leaning, loss of control, or running wide.
  • Braking in the bend: Applying brakes, especially the front brake, while leaning can cause the tyres to lose grip and lead to a fall.
  • Fixating on the road ahead: Not looking through the bend can lead to an incorrect line and delayed reactions.

Responding to Slippery Road Conditions (B15, B16, B33)

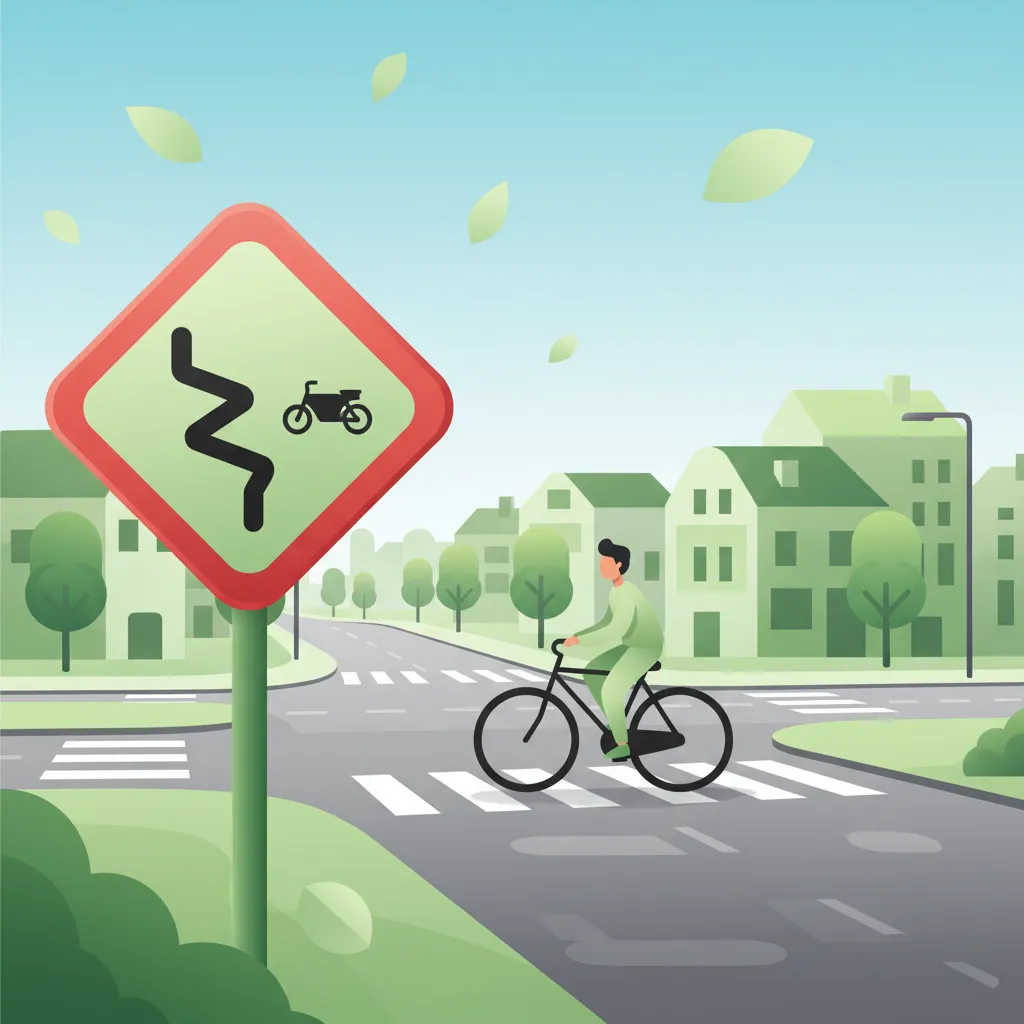
Slippery road surfaces dramatically reduce tyre traction, making them particularly hazardous for two-wheelers. Warning signs for slippery conditions demand a significant adjustment in riding technique.

Identifying Slippery Road Signs

These signs alert riders to a reduction in the friction between tyres and the road surface. This can be caused by various factors:

  • Water: Rain or damp conditions (B15). Braking distances can double on wet asphalt.
  • Oil or fuel spills: Often found near intersections or roundabouts, creating extremely slick patches (covered by B15).
  • Leaves, mud, or debris: Especially prevalent in autumn or after bad weather (B15).
  • Loose gravel or chippings: Commonly found on newly resurfaced roads or rural routes (B16).
  • Ice or snow: Freezing temperatures create treacherous conditions (B33).

Adjusting Your Riding for Slippery Surfaces

  • Significantly Reduce Speed: This is the most crucial action. Lower speeds mean less demand on tyre grip for braking, accelerating, and cornering.
  • Smooth Inputs: All controls – throttle, brakes, and steering – must be applied with extreme smoothness and care. Avoid sudden acceleration, hard braking, or abrupt changes in direction.
  • Progressive Braking: Use both front and rear brakes gently and progressively. On very slippery surfaces, favor the rear brake initially, as locking the front wheel is much harder to recover from. Practice modulation (gently increasing pressure) rather than grabbing the brakes.
  • Increased Following Distance: Allow significantly more space between your scooter and the vehicle in front to provide ample braking distance.
  • Upright Posture: Try to keep your scooter as upright as possible when turning, reducing your lean angle to minimize the risk of a slide.
  • Vigilance for Patches: Even if the general road is dry, watch for shaded areas, metal covers, or painted lines, which can retain moisture and become extremely slippery.

Warning

Icy conditions (B33) are particularly dangerous for two-wheelers. Even a small patch of ice can cause a complete loss of control. If possible, avoid riding in such conditions. If unavoidable, proceed at a walking pace with extreme caution.

Dutch traffic law explicitly states that drivers must adjust their speed to road conditions, especially when the surface is slippery. Failing to do so can lead to fines and is often a contributing factor in accidents.

Managing Crosswinds (B30)

Crosswinds, often encountered on bridges, open fields, or sections of road exposed to the elements, pose a unique challenge to the stability of light two-wheelers.

The Crosswind Warning Sign

This sign, depicting a wind-blown tree, indicates that you are entering an area susceptible to strong lateral wind gusts. These winds can push your scooter sideways, affecting your balance and trajectory.

Safe Riding in Crosswinds

  • Reduce Speed: Lowering your speed significantly reduces the impact of crosswinds. The faster you go, the greater the force the wind can exert on your vehicle.
  • Firm Grip: Maintain a firm, but relaxed, grip on the handlebars. Avoid gripping too tightly, which can restrict your ability to react smoothly.
  • Central Lane Position: Riding slightly more centrally within your lane can sometimes provide a buffer zone and reduce the effective surface area exposed to direct wind. Be mindful of other traffic.
  • Anticipate Gusts: Be prepared for sudden gusts, especially when emerging from sheltered areas (e.g., from behind a building or vehicle) into an exposed section.
  • Lean into the Wind (Slightly): A very slight counter-lean into the wind can help maintain an upright line, but this requires practice and should not be overdone.
  • Focus on a Straight Line: Concentrate on maintaining your intended path, making small, controlled adjustments to counteract the wind's forces.

Common Mistakes

  • Maintaining high speed: Increases the wind's effect and reduces reaction time.
  • Being unprepared: Sudden gusts can catch riders off guard, leading to overcorrection.
  • Leaning too aggressively: An uncontrolled lean can lead to a fall.

Approaching Level Crossings (B7, B8, B9)

Level crossings where roads intersect with railway or tram tracks present specific high-risk situations for all road users, particularly two-wheelers.

Types of Level Crossing Warning Signs

The symbols on these signs clearly indicate whether barriers are present. Regardless of barriers, level crossings are dangerous.

Safety Protocol for Moped and Scooter Riders

  • Reduce Speed and Prepare to Stop: As soon as you see a level crossing sign, reduce your speed. Look and listen for approaching trains or trams.
  • Observe Signals: Pay close attention to any flashing lights, bells, or warning sounds. If these signals are active, you must stop before the crossing.
  • Stop Safely: If required to stop, position your scooter a safe distance (typically around 5 meters) before the tracks or barrier.
  • Check Both Ways: Even if no signals are active, always look both ways (left and right) for approaching rail traffic before proceeding.
  • Beware of Tracks: The tracks themselves can be slippery, especially when wet or if they are angled awkwardly. Cross tracks at as close to a 90-degree angle as possible to avoid your wheels getting caught or slipping on the metal.
  • Never Race a Train/Tram: Attempting to rush across a crossing when signals are active or a train is visible is extremely dangerous and illegal. Trains cannot stop quickly.

Dutch law is very clear: you must stop if signals indicate a train or tram is approaching, or if a barrier is closing. Failure to do so carries severe penalties due to the high risk involved.

Warning

Be especially careful at level crossings without barriers. The absence of a physical barrier does not imply that the crossing is safe to traverse without stopping and checking for trains/trams. Always assume a potential hazard.

Protecting Vulnerable Road Users: Children, Pedestrians, and Animals (B13, B14, B22, B23)

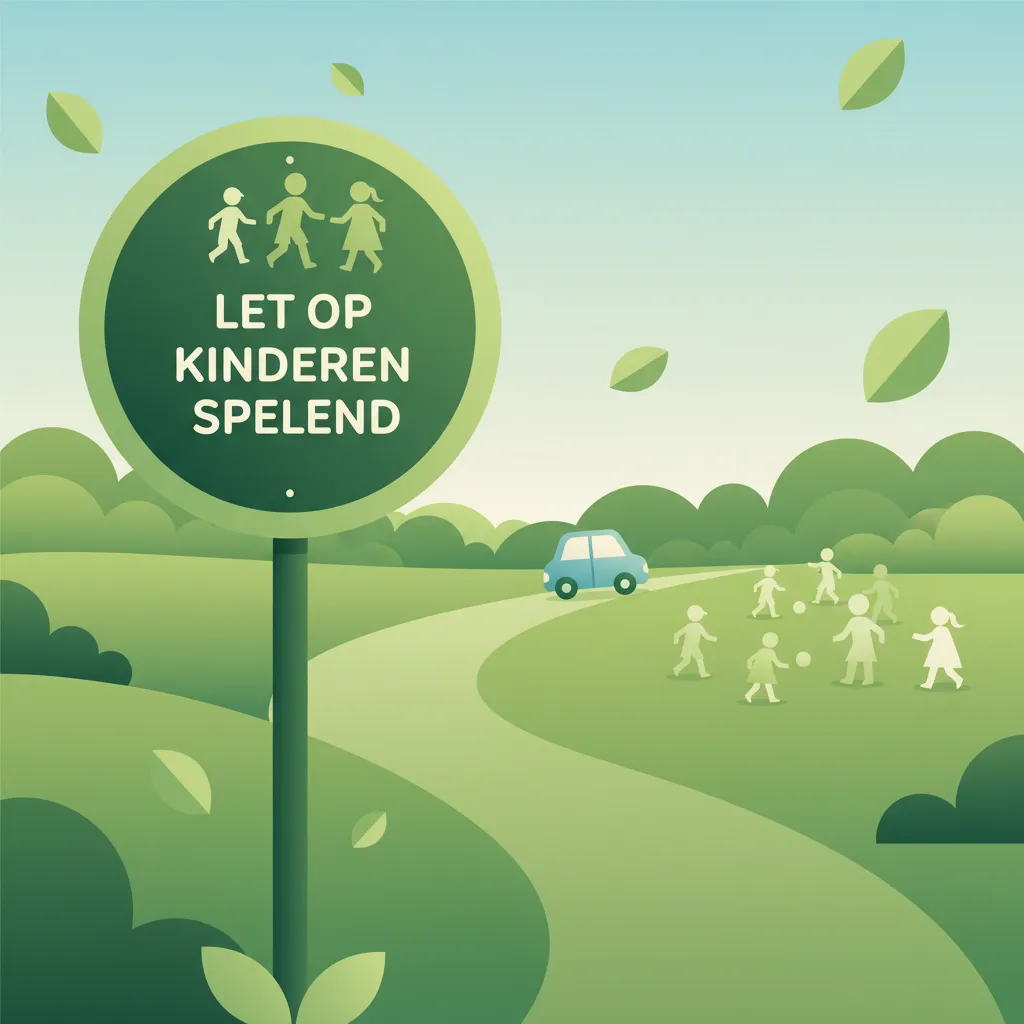
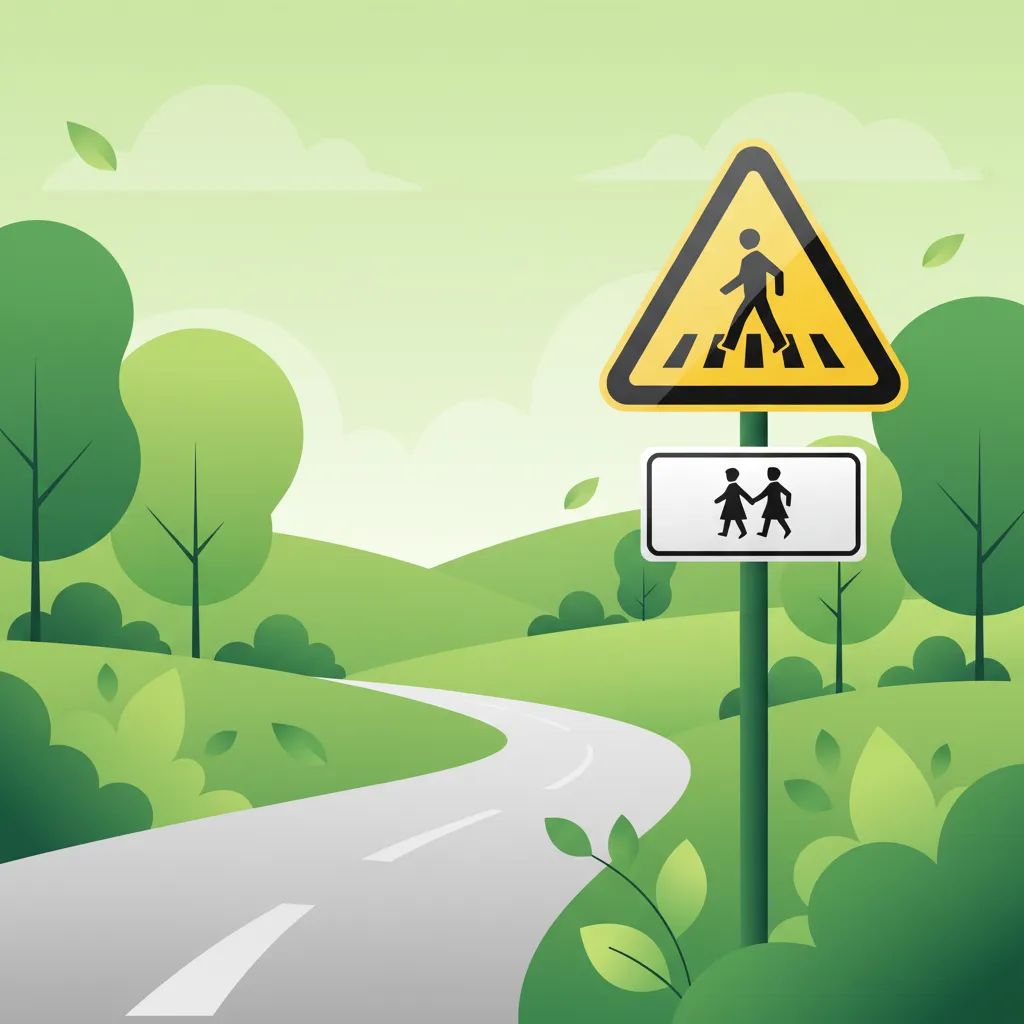
Warning signs related to vulnerable road users require heightened vigilance and speed adjustment to prevent accidents.

Children and Pedestrians

These signs indicate areas where children or pedestrians are likely to be on or near the roadway. Children, in particular, can be unpredictable and may dart into the road unexpectedly.

Rider Responsibilities

  • Reduce Speed: Always lower your speed significantly in areas marked by these signs. A common advisory in school zones is to reduce speed to 30 km/h or less.
  • Increased Vigilance: Scan constantly for people. Be aware of parked cars that might obscure a child or pedestrian.
  • Be Prepared to Stop: Keep a finger or foot near your brakes, ready for an immediate, controlled stop.
  • Use Audible Warnings (Bell): If you need to pass pedestrians or children, a gentle ring of your bell can alert them to your presence without startling them.
  • Give Way: At designated pedestrian crossings (zebra crossings), you must give way to pedestrians (RVV 1990 Art. 27). Even outside crossings, exercise extreme caution.

Animals on the Road

These signs are typically found in rural or forested areas. Animals can be highly unpredictable and pose a significant collision risk.

Precautionary Measures

  • Reduce Speed: Lower your speed, especially at dawn, dusk, and night when animals are most active and visibility is lower.
  • Scan the Roadside: Look for movement in fields, forests, or ditches. Animals rarely travel alone; if you see one, expect more.
  • Be Prepared to Brake: If an animal enters the road, brake progressively and try to steer around it only if safe to do so without swerving into oncoming traffic.
  • Avoid Sudden Movements: Do not honk loudly or make sudden movements that might startle the animal and cause unpredictable behaviour.
  • Maintain Distance: If you encounter a herd of livestock, keep a safe distance and only pass when it is completely safe to do so, following any instructions from herders.

Anticipating Roadworks and Uneven Surfaces (B20, B21)

Roadworks introduce temporary hazards that can significantly impact two-wheelers. These signs often precede changes in road surface, reduced lane width, or temporary obstacles.

Roadwork Warning Signs

These signs alert riders to the temporary nature of the road ahead and the need for extra caution.

Riding Through Roadwork Zones

  • Reduce Speed: Always slow down significantly when approaching and passing through roadwork zones.
  • Observe Temporary Signage: Roadwork zones often have additional temporary signs for speed limits, lane closures, or diversions. Always obey these.
  • Watch for Obstacles: Be alert for cones, barriers, temporary traffic lights, and loose debris (gravel, tools) on the road.
  • Uneven Surfaces: Potholes, raised manhole covers, milled asphalt, or temporary ramps can cause instability. Ride smoothly and try to navigate around them safely.
  • Reduced Lane Width: Be prepared for narrower lanes. Maintain a safe distance from workers and equipment.
  • Visibility: Dust and mud can affect visibility. Ensure your lights are on if needed.

Tip

On uneven surfaces (B20), it's often better to stand slightly on your footpegs to absorb shocks with your legs. This improves comfort and control.

The legal basis for obeying warning signs in the Netherlands is enshrined in the Reglement Verkeersregels en Verkeerstekens (RVV 1990).

  • RVV 1990 Article 58: This fundamental article states that all road users must obey traffic signs placed along or above the road. Warning signs are explicitly included, signifying that a hazard requiring precaution lies ahead. Non-compliance is a traffic offence.
  • RVV 1990 Article 21: Mandates that speed must be appropriate to the road, traffic, and conditions. This provides the legal basis for reducing speed in response to warning signs like those for sharp bends, slippery roads, or adverse weather.
  • RVV 1990 Article 22: Specifically requires drivers to adjust speed for surface conditions, particularly when slippery.
  • RVV 1990 Article 34: Dictates the absolute necessity to stop at level crossings if signals indicate an approaching train or tram.
  • RVV 1990 Article 27: Requires drivers to give way to pedestrians on designated crossings, relevant when approaching areas with B13 (children) or B14 (pedestrians) signs.
  • RVV 1990 Article 6: This general duty of care requires drivers to exercise reasonable care when conditions (like crosswinds) affect vehicle control.

Adhering to these regulations is not only about avoiding fines but, more importantly, about ensuring your safety and the safety of other road users. As a two-wheeler rider, your vulnerability demands a higher degree of proactive safety and adherence to warning signs.

Conditional Logic and Contextual Variations

The appropriate response to a warning sign is not static; it must be adapted to the prevailing conditions.

  • Weather Conditions:
    • Rain/Snow: Slippery road signs (B15, B33) become critically important. Reduce speed even further, increase following distance, and ensure smooth control inputs.
    • Fog: Warning signs may be harder to see. Combine visual detection with auditory cues (e.g., train horns at level crossings). Use dipped beam headlights.
  • Lighting and Visibility:
    • Nighttime: Warning signs have reflective properties, making their red borders stand out. Ensure your headlamp is correctly aligned and use high beams where permitted and safe.
    • Glare: Sun glare can obscure signs. Adjust your visor, use sunglasses, or position yourself to minimize glare.
  • Road Type:
    • Urban Areas: Expect more signs related to pedestrians (B13, B14) and general slippery conditions (B15). Focus on lower speeds and high vigilance for vulnerable users.
    • Rural/High-Speed Roads: More likely to encounter crosswind (B30) and animal crossing (B22, B23) signs. Focus on maintaining stability and scanning further ahead.
  • Vehicle State:
    • Heavy Load: If your scooter is heavily loaded, it will have increased inertia, affecting braking efficiency and handling. Require extra speed reduction ahead of warning signs.
    • Worn Tyres: Worn tyres have less grip. Treat all surface-related warning signs (B15, B33) as high-risk, as your vehicle's traction limits are reduced.
  • Interaction with Vulnerable Users:
    • When near B13/B14 signs, always anticipate unpredictable movements from children or pedestrians. Give ample room and use your bell or horn judiciously to alert them.

Applied Scenarios: Putting Knowledge into Practice

Understanding theory is one thing; applying it in real-world scenarios is another. Here are some examples:

Scenario 1: Sharp Right Bend on a Residential Street

  • Correct Behaviour: Upon seeing the B5 sign, the rider reduces speed from 45 km/h to approximately 20 km/h before entering the bend. They position their scooter towards the left (outer) side of the lane, lean smoothly into the turn, and look towards the exit of the bend, anticipating the parked car. They maintain a steady, light throttle through the curve to stabilize the scooter.
  • Why Correct: Pre-emptive speed reduction and correct positioning allow for a safe lean angle, maintaining traction, and preparing for the potential obstruction.

Scenario 2: Slippery Road After a Sudden Downpour

  • Correct Behaviour: The rider immediately eases off the throttle and gently applies the rear brake to reduce speed by about 30%. They avoid any sudden steering movements and use progressive braking with both front and rear brakes as they enter the wet patch, ensuring their hands and feet are light on the controls. They increase their following distance from the car ahead.
  • Why Correct: Smooth control inputs and reduced speed are essential on slippery surfaces to prevent wheel lock and loss of traction, crucial for two-wheelers.

Scenario 3: Crosswind Zone on a Coastal Bridge

  • Correct Behaviour: The rider reduces speed from 55 km/h to 30 km/h before entering the bridge. They maintain a firm but relaxed grip on the handlebars and position their scooter slightly towards the centre line of their lane to minimize the effect of the crosswind. They anticipate gusts, especially when large vehicles pass.
  • Why Correct: Lower speed significantly reduces the impact of lateral wind forces, and a central position helps maintain stability, reducing the risk of being pushed off course.

Scenario 4: Railway Level Crossing without Barriers

  • Correct Behaviour: The rider immediately reduces speed and brings the scooter to a complete stop approximately 5 meters before the tracks, behind the stop line. They look both ways along the track to confirm the train's approach and wait patiently until the flashing lights cease and the train has passed completely, before proceeding cautiously across the tracks at a 90-degree angle.
  • Why Correct: RVV 1990 Art. 34 mandates stopping at active signals. The 5-meter distance ensures safety from the train and allows visibility. Crossing at 90 degrees minimizes the risk of wheels getting caught or slipping on the rails.

Scenario 5: School Zone During Morning Drop-Off

  • Correct Behaviour: Upon seeing the B13 sign, the rider immediately reduces speed to 25 km/h, well below the general 30 km/h limit often implied in such zones. They maintain high vigilance, constantly scanning for children. When approaching children who are crossing, the rider rings their bell gently to alert them and stops completely to give way, as per RVV 1990 Art. 27.
  • Why Correct: Children are unpredictable. A lower speed provides more reaction time, and an audible warning ensures they are aware of the scooter's presence, preventing potential accidents.

Final Summary of Warning Signs for Moped and Scooter Riders

Warning signs are non-negotiable safety devices that require immediate and appropriate action from moped and scooter riders. Their triangular shape with a red border universally signifies an upcoming hazard.

Key takeaway actions for two-wheelers in response to warning signs include:

  • Anticipatory Speed Reduction: Always reduce your speed before reaching the hazard, not within it. The severity of the hazard and current conditions dictate the degree of reduction.
  • Precise Positioning: Adjust your lane position to optimize safety, visibility, and vehicle control (e.g., outer line for bends, central for crosswinds).
  • Smooth Control Inputs: Apply brakes, throttle, and steering gently, especially on slippery surfaces or in crosswinds, to maintain tyre traction and vehicle stability.
  • Heightened Hazard Perception: Actively scan the environment, not just the sign itself, to identify the exact nature and extent of the hazard.
  • Legal Compliance: Adhere strictly to the relevant articles of RVV 1990 (e.g., Art. 58 for general obedience, Art. 21/22 for speed and surface conditions, Art. 34 for level crossings).

Mastering the interpretation and response to these warning signs is a cornerstone of safe riding and a critical component of passing your Dutch Category AM theory exam.

Warning Sign (B-sign)
A triangular sign with a red border, white background, and black pictogram, indicating a potential hazard.
Hazard Perception
The cognitive process of detecting, assessing, and responding to road hazards proactively.
Lean Angle
The angle at which a two-wheeled vehicle tilts into a curve to counteract centrifugal force.
Traction
The grip between a vehicle's tyres and the road surface, crucial for braking, accelerating, and cornering.
RVV 1990
Reglement Verkeersregels en Verkeerstekens, the Dutch national traffic regulations and road signs decree.
Progressive Braking
Applying brake pressure gradually and smoothly, increasing it as needed, to avoid sudden wheel lock.
Optimal Line (for bends)
The most efficient path through a bend that maximizes visibility, reduces lean angle, and maintains stability.
Crosswind
A wind blowing perpendicular to the direction of travel, capable of destabilizing two-wheeled vehicles.
Level Crossing
An intersection where a road crosses railway or tram tracks, requiring extreme caution from road users.
Vulnerable Road Users
Road users who are less protected in traffic, such as pedestrians, cyclists, and moped/scooter riders, requiring extra care from all.
Centraal Bureau Rijvaardigheidsbewijzen (CBR)
The Dutch authority responsible for driver testing and licensing.
Category AM
The Dutch driving license category for mopeds and scooters.
Double Bend (B9)
A warning sign indicating two consecutive sharp curves in the road.
Slippery Road (B15)
A warning sign indicating reduced tyre friction due to various surface conditions like water, oil, or debris.

Learn more with these articles

Check out these practice sets


Search topics related to Warning Signs Relevant to Two‑Wheelers

Explore search topics learners often look for when studying Warning Signs Relevant to Two‑Wheelers. These topics reflect common questions about road rules, driving situations, safety guidance, and lesson level theory preparation for learners in the Netherlands.

dutch warning signs for mopedswarning signs scooter am theory testwhat does slippery road sign mean netherlandscrosswind warning sign am rijbewijshow to interpret warning signs on a scooterdutch theory exam road signs lessonhazards indicated by triangular signs amrecognising road hazards for two wheelers nl

Related driving theory lessons for Warning Signs Relevant to Two‑Wheelers

Browse additional driving theory lessons that cover connected traffic rules, road signs, and common driving situations related to this topic. Improve your understanding of how different rules interact across everyday traffic scenarios.

Special Warning Signs for Mopeds and Scooters in the Netherlands

Explore specific Dutch warning signs relevant to two-wheelers, beyond basic hazards. Understand signs for sharp bends, slippery roads, crosswinds, level crossings, and vulnerable road users for safe riding and theory exam preparation.

warning signstwo wheelersspecial hazardsdutch driving theoryroad safety
Warning Signs and Hazard Anticipation lesson image

Warning Signs and Hazard Anticipation

This lesson details the interpretation of Dutch warning signs, which alert riders to potential dangers and changing road conditions. You will study signs indicating sharp curves, road narrowing (BORD 30), and temporary hazards like road works (BORD 36), learning to adjust speed and road position proactively. The content emphasizes how the A2 motorcycle's characteristics require earlier hazard recognition and response compared to other vehicles for maintaining control.

Dutch Motorcycle Theory (A2)Road Signs and Motorcycle-Specific Indicators
View lesson
Warning Signs (gevarendriehoeken, waarschuwingstekens) lesson image

Warning Signs (gevarendriehoeken, waarschuwingstekens)

This lesson details the purpose and visual design of Dutch warning signs ('gevarendriehoeken') that alert riders to potential hazards ahead. It covers a wide range of scenarios, from road narrowing and dangerous curves to construction zones and the risk of falling rocks, emphasizing the need for early anticipation and speed adaptation. The content also explains how these warning signs integrate with other traffic information to help a rider form an accurate risk assessment and make safer decisions.

Dutch Motorcycle Theory ARoad Signs and Signals for Motorcyclists
View lesson
Highway-Specific Hazards for Motorcyclists lesson image

Highway-Specific Hazards for Motorcyclists

This lesson prepares you for the unique dangers of high-speed highway riding. You will learn to scan for and navigate road hazards like debris, potholes, and slippery steel expansion joints on bridges. The content also addresses the powerful air turbulence created by large trucks that can upset a motorcycle's stability and the mental challenge of maintaining focus on long, monotonous stretches of road.

Dutch Motorcycle Theory (A2)Highway (Autosnelweg) Rules for Motorcycles
View lesson
Defensive Riding Strategies for Two‑Wheelers lesson image

Defensive Riding Strategies for Two‑Wheelers

Defensive riding means riding to prevent collisions, despite the actions of others or the conditions around you. This lesson teaches the core principles of this proactive safety strategy. Key techniques include managing the space cushion around your vehicle, positioning yourself in your lane for maximum visibility, constantly planning an escape route, and communicating your intentions clearly to other road users. This mindset acknowledges your vulnerability and empowers you to take control of your own safety.

Dutch Driving Theory AMHuman Factors & Risk Management
View lesson
Warning Signs (A-codes) lesson image

Warning Signs (A-codes)

This lesson covers A-code signs, which are designed to warn drivers of potential hazards on the road ahead. For motorcyclists, warnings about sharp bends, slippery surfaces, crosswinds, or falling rocks are especially critical for maintaining control and stability. The content explains how to interpret these triangular signs to anticipate changing conditions, adjust speed, and adopt a defensive riding posture well in advance of the hazard.

Dutch A1 Motorcycle TheoryRoad Signs and Markings (Motorcycle Perspective)
View lesson
Wet, Icy, and Slippery Surface Adjustments lesson image

Wet, Icy, and Slippery Surface Adjustments

Riding on two wheels requires special care on surfaces with reduced grip. This lesson teaches you how to handle challenging conditions like rain, ice, wet leaves, or tram tracks. Key principles include reducing speed significantly, making all control inputs (braking, accelerating, steering) much more smoothly and gradually, and increasing your following distance to allow for much longer stopping distances. Recognizing potentially slippery areas is a critical part of proactive hazard perception.

Dutch Driving Theory AMSpeed Management & Braking
View lesson
Interaction with Heavy Vehicles and Buses lesson image

Interaction with Heavy Vehicles and Buses

This lesson focuses on the specific hazards and techniques for safely sharing the road with heavy goods vehicles (HGVs) and buses. It provides a detailed explanation of their extensive blind spots ('dode hoek') and teaches riders where to position themselves to remain visible. The curriculum also covers how to manage the significant air turbulence created by these vehicles when overtaking and how to anticipate their wide turning circles at junctions and roundabouts.

Dutch Motorcycle Theory AHighway and Tunnel Riding Strategies
View lesson
Signal Devices and Lighting Requirements for A2 Motorcycles lesson image

Signal Devices and Lighting Requirements for A2 Motorcycles

This lesson covers the mandatory lighting and signaling equipment for A2 motorcycles under Dutch law, ensuring you remain visible and communicate your intentions correctly. You will learn the rules for using headlights, taillights, turn signals, and brake lights in various conditions, including daytime and adverse weather. The content also addresses the importance of maintaining this equipment and using hand signals as a valid secondary method of communication in traffic.

Dutch Motorcycle Theory (A2)Road Signs and Motorcycle-Specific Indicators
View lesson
Anticipating Vehicle Behavior (voorspellend rijgedrag) lesson image

Anticipating Vehicle Behavior (voorspellend rijgedrag)

This lesson introduces the Dutch concept of 'voorspellend rijgedrag,' or anticipatory riding, a proactive approach to safety. It teaches motorcyclists how to look beyond the immediate vehicle in front and scan for clues that predict the actions of other road users, such as turn signals, wheel direction, and driver head movement. By anticipating potential conflicts before they happen, riders can position themselves to avoid danger and ensure a smoother, safer journey through complex traffic.

Dutch Motorcycle Theory ASafe Following Distance and Hazard Perception
View lesson
Motorcyclists and Other Vehicle Types lesson image

Motorcyclists and Other Vehicle Types

This lesson addresses interactions with other types of road users. You will learn about motorcyclists, who can accelerate and brake quickly and may filter through slow traffic. The curriculum explains how to anticipate their movements and check for them carefully at junctions. It also covers how to safely approach and overtake slow-moving vehicles, such as agricultural tractors, and how to behave around horse riders, which requires slowing down and giving a very wide berth.

Dutch Driving Theory BVulnerable Road Users
View lesson

Contextual Response to Warning Signs for Dutch Drivers

Learn how to interpret and react to Dutch warning signs based on current conditions like weather, visibility, and road type. Essential theory for understanding hazard perception and safe adaptation for two-wheelers.

warning signshazard perceptiondriving conditionsdutch traffic rulestheory explanation
Warning Sign Recognition lesson image

Warning Sign Recognition

This lesson introduces warning signs, which are designed to alert drivers to potential dangers or changes in road layout ahead. You will learn to interpret the triangular-shaped signs that indicate hazards such as sharp curves, slippery road surfaces (J27), or upcoming road works (J8). The curriculum explains how these signs help in anticipating risks and adjusting driving behavior accordingly, such as reducing speed or increasing alertness. A thorough understanding of warning signs is vital for proactive and defensive driving in various environments.

Dutch Driving Theory BRoad Sign Identification
View lesson
Intersection and Lane Sign Interpretation lesson image

Intersection and Lane Sign Interpretation

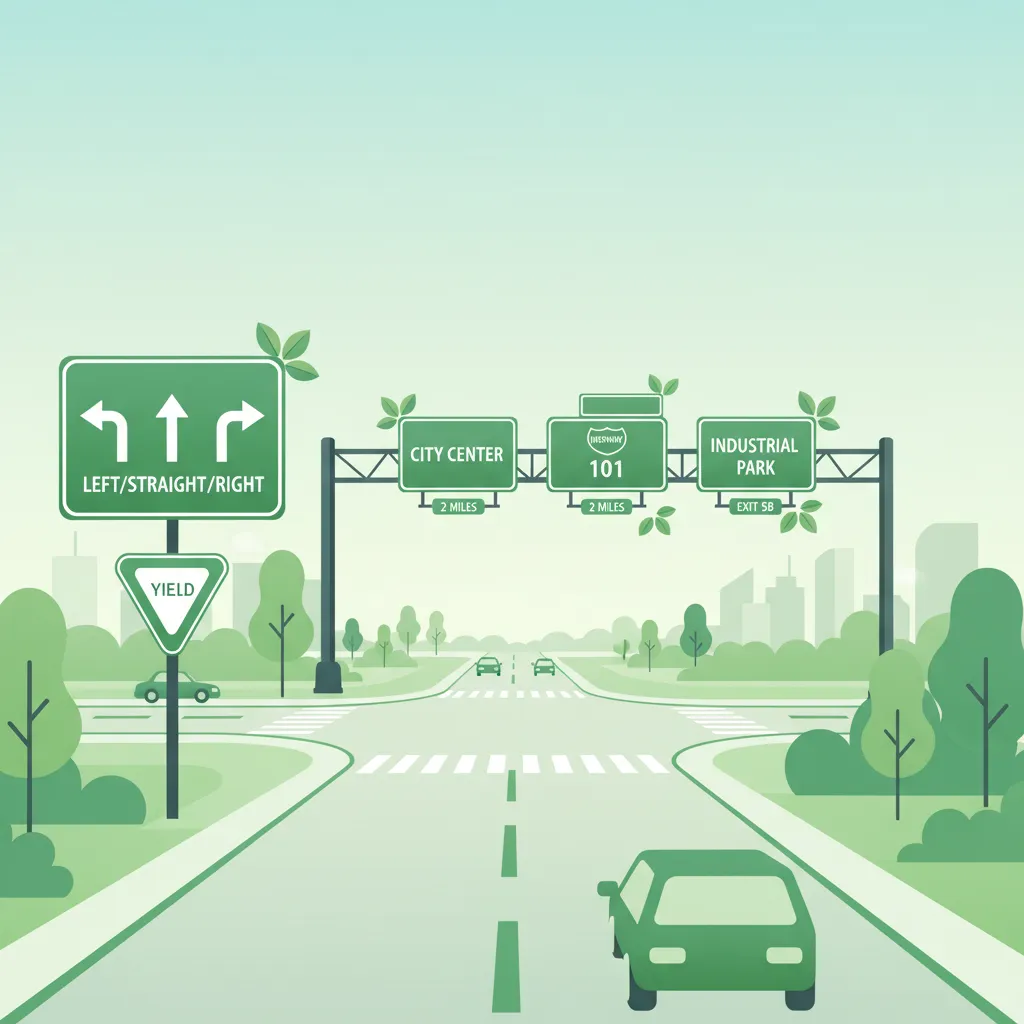
This lesson focuses on the array of signs used to manage traffic at intersections and along multi-lane roads. You will learn to interpret overhead gantry signs, lane designation signs, and markings that guide drivers into the correct lane for their intended direction. The curriculum covers signs indicating priority at upcoming junctions, such as the B3 and B4 signs, which clarify right-of-way rules in complex scenarios. Proper interpretation of these signs is essential for smooth lane changes, efficient navigation, and preventing conflicts at junctions.

Dutch Driving Theory BRoad Sign Identification
View lesson
Road Works and Temporary Traffic Management lesson image

Road Works and Temporary Traffic Management

This lesson prepares you for encountering road works, a common feature on any road network. You will learn that signs and markings related to road works are often yellow and that they temporarily override permanent white markings and signs. The curriculum stresses the importance of adhering to temporary speed limits, being alert for workers and machinery, and navigating narrowed lanes. It also covers how to follow diversion routes ('omleiding') and obey instructions given by traffic controllers.

Dutch Driving Theory BInfrastructure and Special Roads
View lesson
Variable Speed Limits and Dynamic Road Conditions lesson image

Variable Speed Limits and Dynamic Road Conditions

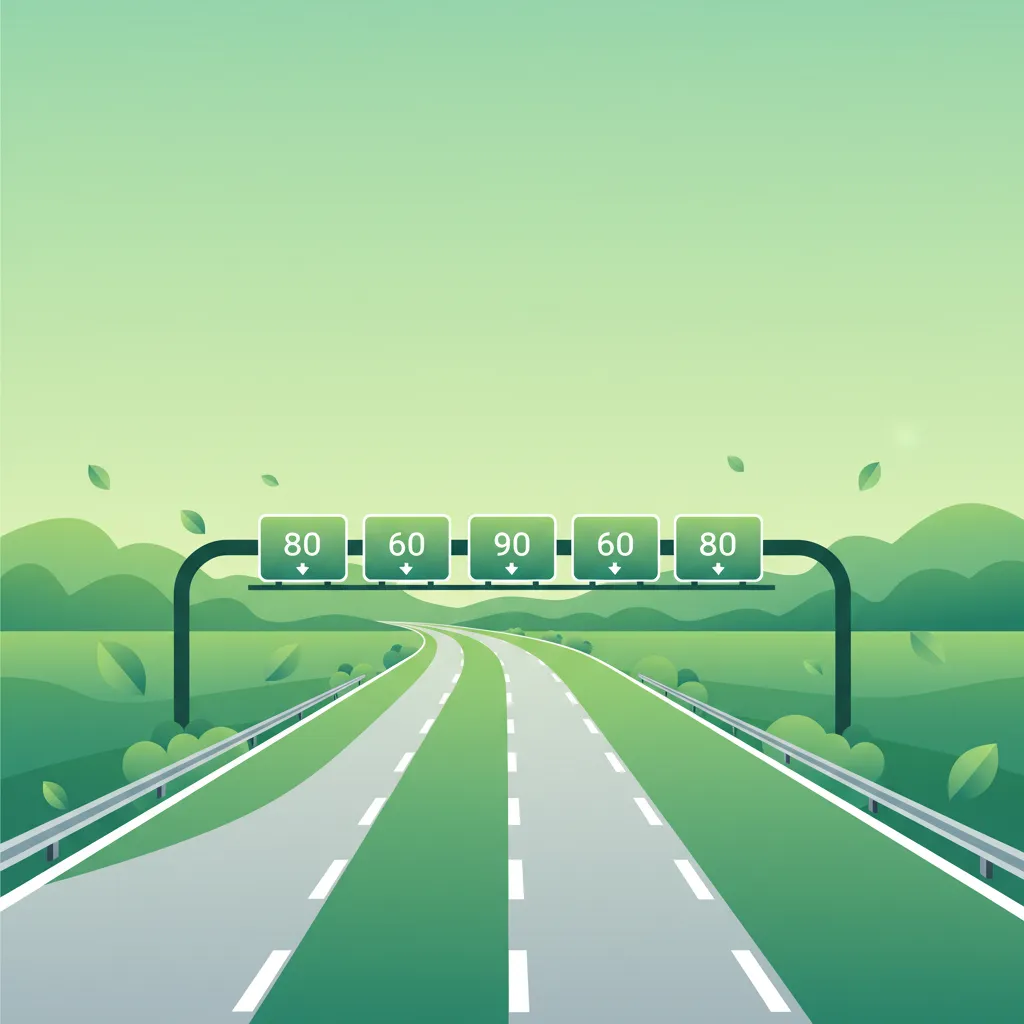
This lesson explains how to respond to variable speed limits shown on overhead electronic signs, which are used to manage traffic flow in real-time. You will learn why these limits are adjusted for factors like congestion, accidents, or bad weather, and the legal requirement to obey them. The content focuses on the importance of anticipatory riding, scanning far ahead for these signs to allow for smooth and safe speed adjustments.

Dutch Motorcycle Theory (A2)Speed Management and Dynamic Limits
View lesson
Regulatory Sign Recognition lesson image

Regulatory Sign Recognition

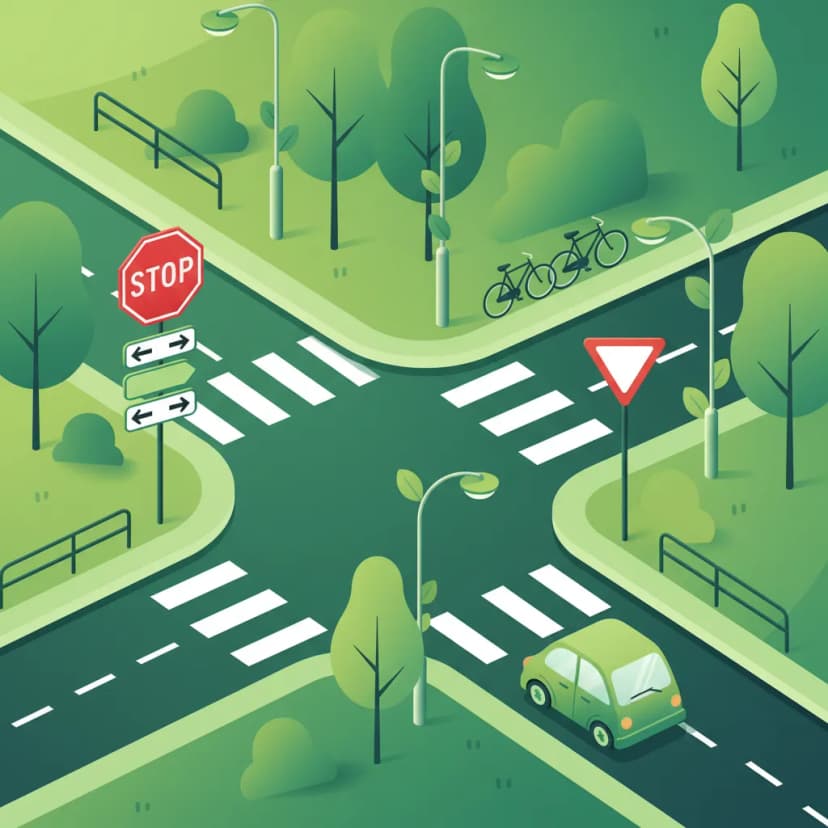
This lesson focuses on regulatory signs, which impose legal obligations on drivers and are essential for maintaining traffic order. You will learn to identify and act upon fundamental signs such as the octagonal B6 Stop sign, the diamond-shaped B1 Priority Road sign, and various compulsory direction arrows. The content explains the legal implications of these signs, detailing when a driver must stop completely, when they have priority, or the required path they must follow. Understanding these commands is crucial for safe and lawful driving at intersections and on designated routes.

Dutch Driving Theory BRoad Sign Identification
View lesson
Information Signs and Directional Indicators lesson image

Information Signs and Directional Indicators

This lesson explains how to interpret informational signs that provide guidance and navigational aid. You will learn to read directional signs indicating cities and locations, understand route numbering on major roads, and recognize signs for services like fuel stations or parking areas. It also covers the signs that mark the beginning and end of a built-up area ('bebouwde kom'), which have important implications for speed limits and traffic rules.

Dutch Driving Theory AMTraffic Signs & Signals
View lesson
Lights, Signals, and Reflectors lesson image

Lights, Signals, and Reflectors

This lesson covers the full range of lights and signals required on a vehicle for visibility and communication. You will learn about the mandatory requirements for headlights, taillights, brake lights, indicators, and reflectors. The curriculum emphasizes the driver's legal responsibility to ensure all lights are clean and functional before every journey. The correct use and function of the horn as an audible warning device in case of imminent danger are also explained.

Dutch Driving Theory BVehicle Requirements, Inspection, and Maintenance
View lesson
Driving in Adverse Weather Conditions lesson image

Driving in Adverse Weather Conditions

This lesson provides practical advice for driving in challenging weather. You will learn about the risk of aquaplaning in heavy rain and how to react, as well as how to manage the effects of strong crosswinds. The curriculum covers winter driving, explaining the danger of black ice, the benefits of winter tires, and techniques for avoiding and correcting a skid. A key focus is on adjusting driving style: increasing following distances, reducing speed, and making gentle steering and braking inputs.

Dutch Driving Theory BLighting, Visibility, and Weather Conditions
View lesson
Fog Lights and Hazard Warning Lights lesson image

Fog Lights and Hazard Warning Lights

This lesson focuses on the use of specialized lights for specific situations. You will learn the strict conditions under which fog lights may be used: the rear fog light is only permitted when visibility from fog or snow is less than 50 meters, and not in rain. The lesson also explains the correct use of hazard warning lights, which are intended to warn other drivers of a stationary obstruction (like a breakdown or the tail end of a sudden traffic jam) or while being towed.

Dutch Driving Theory BLighting, Visibility, and Weather Conditions
View lesson
Warning Signs (gevarendriehoeken, waarschuwingstekens) lesson image

Warning Signs (gevarendriehoeken, waarschuwingstekens)

This lesson details the purpose and visual design of Dutch warning signs ('gevarendriehoeken') that alert riders to potential hazards ahead. It covers a wide range of scenarios, from road narrowing and dangerous curves to construction zones and the risk of falling rocks, emphasizing the need for early anticipation and speed adaptation. The content also explains how these warning signs integrate with other traffic information to help a rider form an accurate risk assessment and make safer decisions.

Dutch Motorcycle Theory ARoad Signs and Signals for Motorcyclists
View lesson

Frequently asked questions about Warning Signs Relevant to Two‑Wheelers

Find clear answers to common questions learners have about Warning Signs Relevant to Two‑Wheelers. Learn how the lesson is structured, which driving theory objectives it supports, and how it fits into the overall learning path of units and curriculum progression in the Netherlands. These explanations help you understand key concepts, lesson flow, and exam focused study goals.

What is the difference between a warning sign and a mandatory sign for two-wheelers?

Warning signs, typically triangular with a red border and yellow background, alert you to potential dangers ahead (e.g., sharp bend, slippery surface). Mandatory signs, often circular with a red border or blue background, instruct you on required actions or prohibitions (e.g., speed limit, no entry). For two-wheelers, understanding both is crucial, but warning signs specifically help anticipate and prepare for hazards.

Are there any warning signs specifically for cyclists that I need to be aware of as a scooter rider?

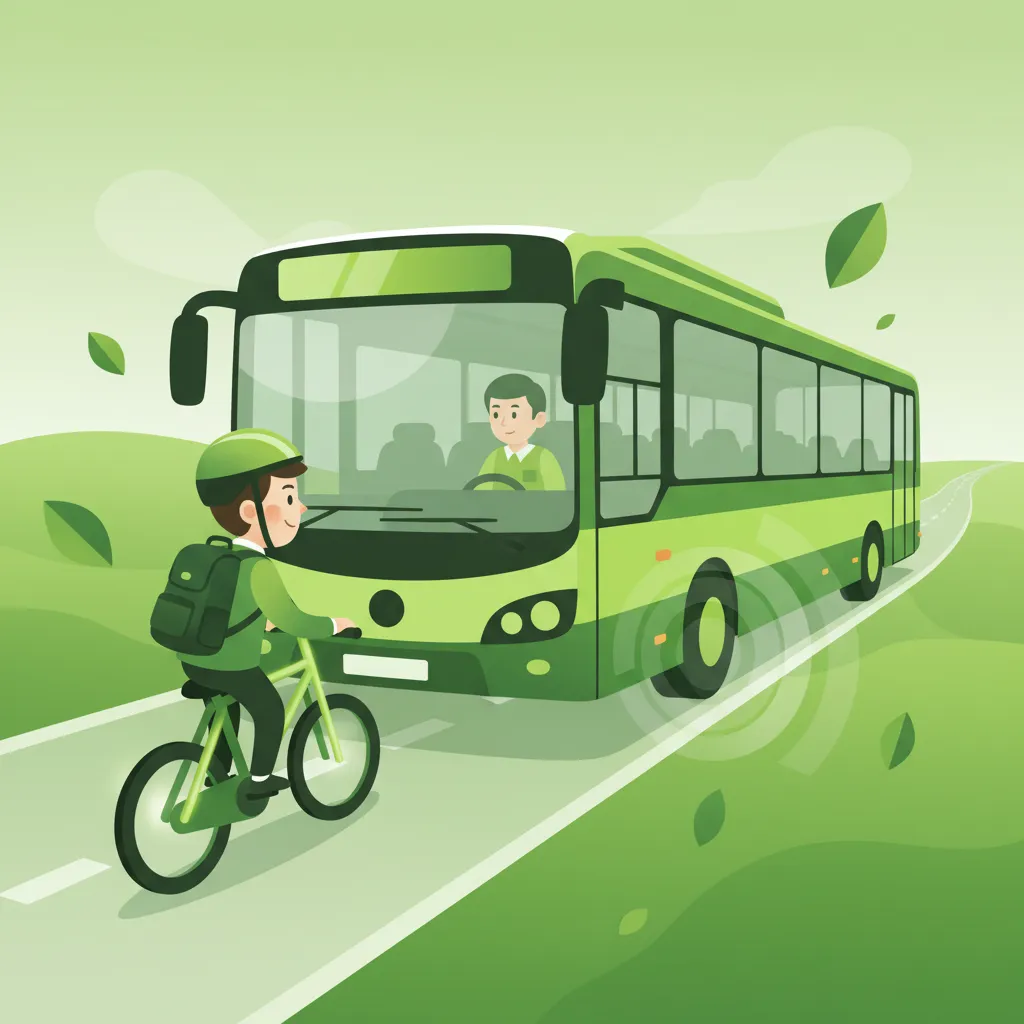
Yes, signs warning of separate cycle paths (often showing a bicycle symbol) or mixed traffic with cyclists are important. You must be aware that cyclists may suddenly appear or change direction. Always be prepared to adjust your speed and position to allow safe passage for cyclists, especially where paths merge or cross.

How much should I slow down when I see a warning sign for a sharp bend or slippery surface?

The signs indicate a potential hazard; they don't specify an exact speed. You need to assess the severity of the bend or the likely slipperiness. As a general rule for mopeds and scooters, significantly reduce your speed before entering the bend or slippery area, just enough to maintain full control without skidding. It's better to be too slow than too fast.

What does the 'crosswind' warning sign look like, and what should I do?

The crosswind warning sign usually depicts wind blowing from the side against a vehicle. For lighter vehicles like mopeds and scooters, strong side winds can be particularly destabilising. When you see this sign, especially in open areas like bridges or between tall buildings, be prepared for sudden gusts. Keep your grip firm but not stiff, steer gently, and adjust your position on the road if necessary to avoid the strongest wind effects.

Do warning signs affect priority rules at intersections?

Warning signs themselves do not directly dictate priority. However, they might alert you to a situation (like a junction with poor visibility) where extra caution is needed, potentially requiring you to yield even if you technically have priority. Always combine the information from warning signs with intersection rules and traffic signals.

Continue your Dutch driving theory learning journey

Dutch road signsDutch article topicsSearch Dutch road signsDutch driving theory homeDutch road sign categoriesSearch Dutch theory articlesDutch driving theory coursesDutch Driving Theory B courseDutch driving theory articlesDutch driving theory practiceDutch practice set categoriesDutch Driving Theory AM courseDutch Motorcycle Theory A courseDutch A1 Motorcycle Theory courseDutch Motorcycle Theory (A2) courseSearch Dutch driving theory practiceTowing, Trailers, and Loads unit in Dutch Driving Theory BRoadway Access & Navigation unit in Dutch Driving Theory AMVehicle Positioning and Lane Use unit in Dutch Driving Theory BHuman Factors & Risk Management unit in Dutch Driving Theory AMInfrastructure and Special Roads unit in Dutch Driving Theory BLegal Foundations & Vehicle Types unit in Dutch Driving Theory AMSignal Lights, Horns, and Reflectors lesson in Traffic Signs & SignalsWarning Signs Relevant to Two‑Wheelers lesson in Traffic Signs & SignalsRoad Surface Markings and Their Meaning lesson in Traffic Signs & SignalsLegal Responsibilities & Incident Procedures unit in Dutch Driving Theory AMInformation Signs and Directional Indicators lesson in Traffic Signs & SignalsRegulatory Signs (e.g., B6 Stop, C2 No entry) lesson in Traffic Signs & SignalsHighway (Autosnelweg) Rules for Motorcycles unit in Dutch Motorcycle Theory (A2)Advanced Riding Techniques and High-Speed Control unit in Dutch Motorcycle Theory AAccident Management, Legal Responsibilities & Substance Use unit in Dutch A1 Motorcycle Theory