
Road surface markings are a vital communication system on Dutch roads, guiding your every move. This lesson delves into the meaning of lines, arrows, and special symbols, crucial for understanding priority and lane usage on your AM category theory test. Master these markings to navigate safely and confidently.
Road surface markings are the silent language of the road, providing critical instructions, warnings, and guidance directly on the pavement. For moped and scooter riders, correctly interpreting these lines, symbols, and colours is not just essential for passing the Category AM theory exam—it is fundamental to safe, predictable, and legal riding on Dutch roads. These markings work in concert with traffic signs and signals to create a comprehensive system of traffic control.
Unlike vertical signs that you approach and pass, road markings are a continuous source of information. They define your lane, dictate when you can overtake, specify where you must stop, and clarify right-of-way at complex junctions. The Dutch Traffic Regulations (RVV 1990) give these markings legal force, meaning that ignoring them is a punishable offence. As a rider, you must constantly scan the road surface ahead to anticipate changes and position your vehicle correctly.
Longitudinal lines are painted parallel to the direction of traffic. Their primary purpose is to organize traffic flow, separate lanes, and indicate the rules for crossing between them.
A continuous, solid white line is one of the most important markings you will encounter. It signifies a strict prohibition on crossing. You must not drive over or to the left of a solid white line separating traffic lanes.
A continuous line indicating that crossing is forbidden. It is used to separate lanes of traffic moving in the same or opposite directions where changing lanes or overtaking would be hazardous.
This rule is in place for safety, typically in areas with poor visibility, such as on hills, sharp curves, or near intersections. The only exceptions for crossing a solid line are to enter or exit a property adjacent to the road or to avoid a stationary obstacle, and only then if it can be done without endangering other road users.
A broken or dashed white line indicates that you are permitted to cross the line to overtake another vehicle or change lanes. However, this permission is not an invitation to act recklessly.
A broken line means you may cross, not that you must or that it is always safe. You are still responsible for ensuring the manoeuvre is safe, checking for oncoming traffic, and using your indicators.
Broken lines are used on straight stretches of road with good visibility, where overtaking can be performed safely. The length of the dashes and the gaps between them can also provide clues about the road ahead; shorter dashes with smaller gaps often precede a solid line, warning you to complete your manoeuvre.
On some roads, you will encounter more complex line combinations that provide specific instructions.
Edge lines mark the outer limits of the road you are expected to use. They help you maintain your position, especially at night or in poor visibility.
The colour of the edge line is significant.
Some of the most critical road markings are those that clarify priority at intersections and junctions. They often reinforce traffic signs but can also stand alone.
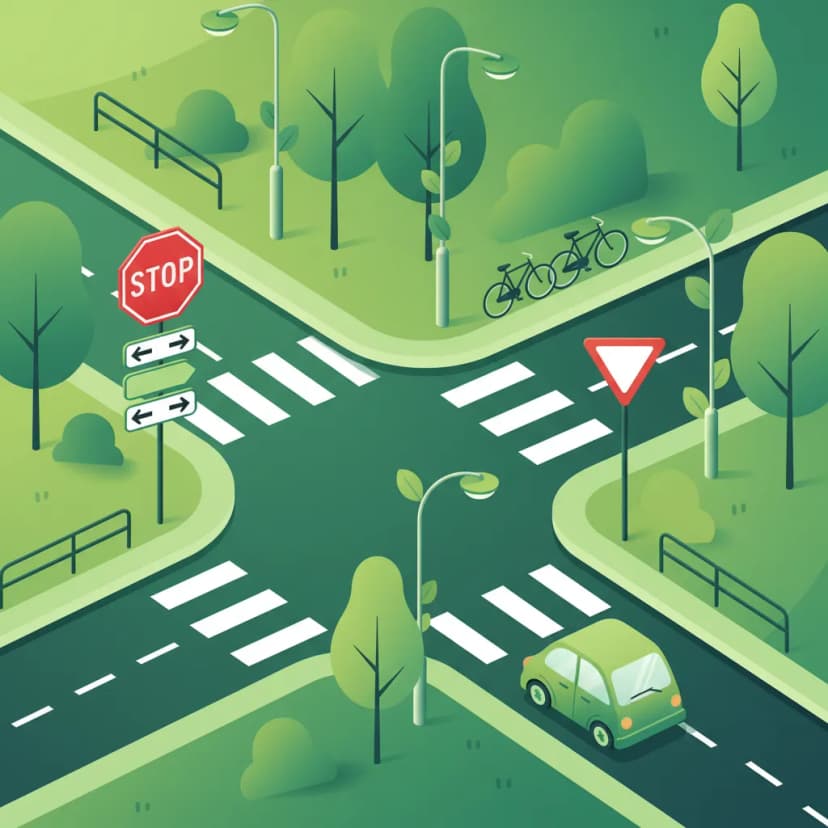
A thick, solid white line painted across your lane indicates the exact point where you must come to a complete stop. This line is always used in conjunction with a B6 "STOP" sign or a red traffic light.
The rule is to stop before the line. Your front wheel should not touch or cross it. Stopping on or after the line can obstruct pedestrian crossings and block the view of other drivers.
Failing to come to a complete halt before a stop line is a serious violation. You must wait for a safe gap in the intersecting traffic before proceeding.
A series of white triangles painted across the road surface, with the points facing your vehicle, are known as haaientanden ("shark's teeth"). These markings have the same meaning as a B1 yield sign: you must give way to all drivers on the intersecting road.
A row of white, triangular markings on the road surface that obligate drivers to yield the right-of-way to traffic on the intersecting road or roundabout.
You will find shark's teeth at junctions, roundabouts, and exits from residential areas. While you are not required to come to a complete stop if the way is clear, you must slow down and be prepared to stop if necessary to let other traffic pass safely.
Beyond lines, the road surface is used for various symbols that provide specific instructions or information.
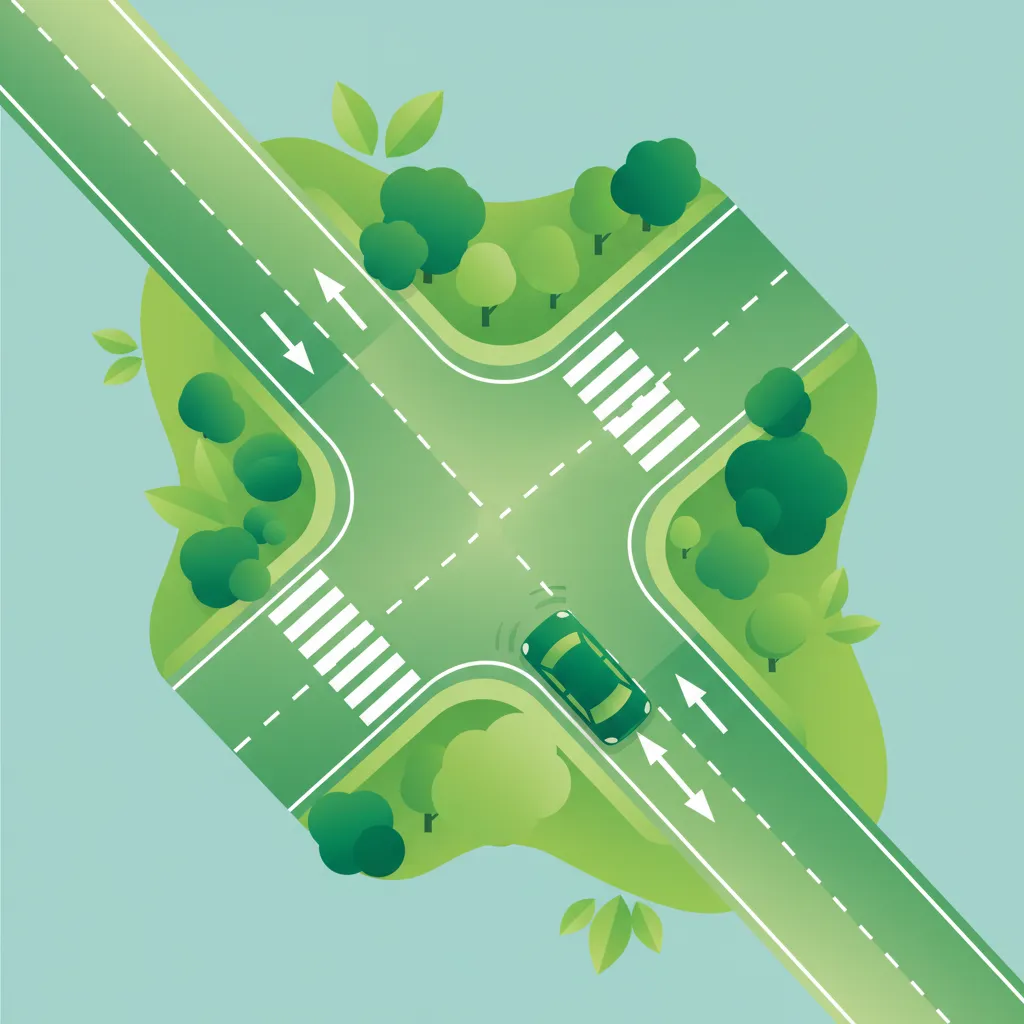
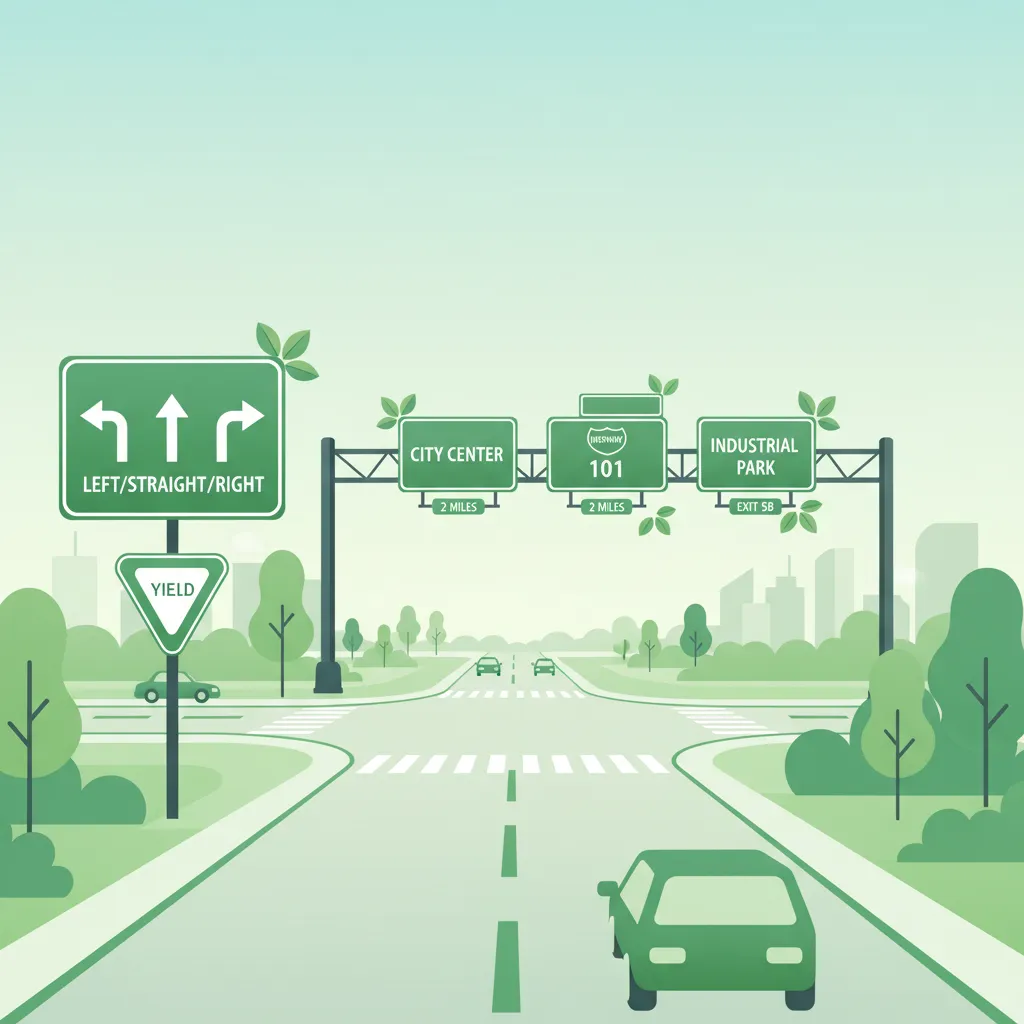
Painted arrows on the road surface are not suggestions; they are mandatory instructions. They indicate the direction(s) you must travel from a particular lane.
Once you have entered a lane marked with directional arrows (a "voorsorteerstrook" or pre-sorting lane), you are committed to that movement. Choosing a different direction from the one indicated is an offence.
A series of wide, white stripes across the road marks a pedestrian crossing, known in the Netherlands as a voetgangersoversteekplaats (VOP) or zebrapad. At these crossings, pedestrians who are on the crossing or clearly about to use it have absolute priority. You must stop and allow them to cross safely.
Always approach a zebra crossing with caution and be prepared to stop. Your legal obligation is to stop before the first stripe of the crossing.
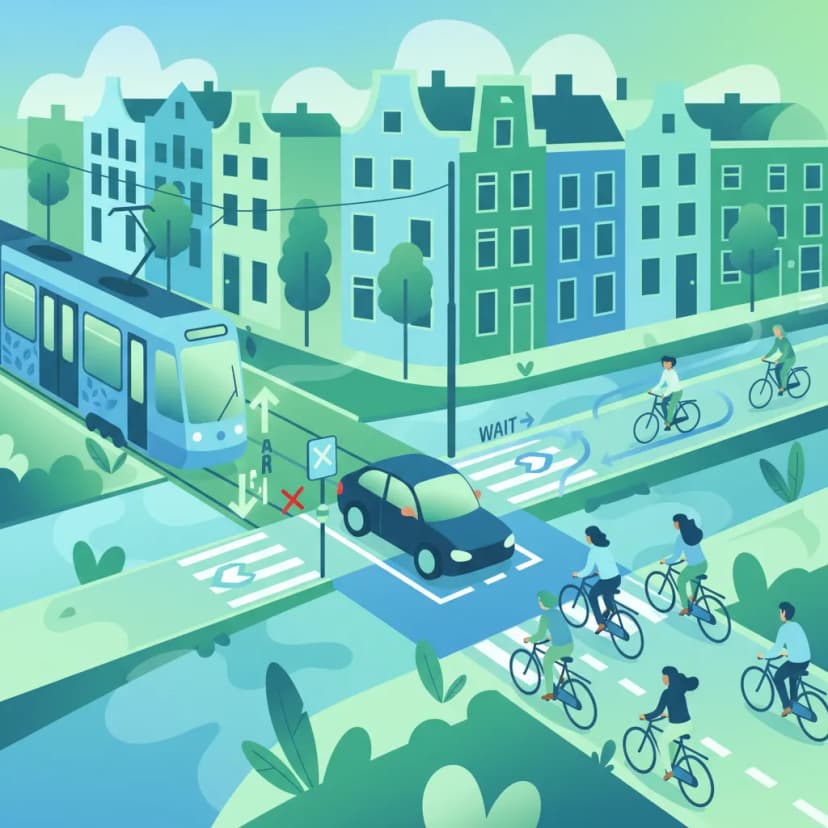
Understanding markings for cycle paths is vital. A lane marked with a bicycle pictogram is intended for cyclists. As a moped (bromfiets) or scooter rider, you may only use a bicycle/moped path (fietspad/bromfietspad), which is indicated by a round blue sign (G12a).
You are not allowed on a standard bicycle path (marked with a G11 sign or just a bicycle pictogram on the surface) unless an additional sign explicitly states that mopeds are permitted ("snorfietsen toegestaan" for light mopeds or "bromfietsen toegestaan" for standard mopeds). If no such sign is present, you must use the main carriageway.
While white is the most common colour, other colours convey specific meanings:
The visibility and effectiveness of road markings can be affected by weather and light conditions. You must adapt your riding accordingly.
Misinterpreting or ignoring road markings can lead to dangerous situations and significant penalties.
To ride safely and legally, you must internalize the meaning of all road markings.
Identify the Center Line: Is it solid (no crossing), broken (crossing permitted when safe), or a combination?
Check for Priority Markings: As you approach a junction, look for a stop line or shark's teeth to understand who has the right-of-way.
Follow Directional Arrows: In multi-lane situations, choose your lane early and follow the arrows painted on the surface.
Respect Special Lanes: Stay out of lanes marked for buses, and only use bicycle paths when explicitly permitted by signs.
Prioritize Pedestrians: Always be prepared to stop at a zebra crossing.
By treating road markings as non-negotiable rules, you contribute to a safer and more predictable traffic environment for everyone.
Lesson content overview
Explore all units and lessons included in this driving theory course.
Explore search topics learners often look for when studying Road Surface Markings and Their Meaning. These topics reflect common questions about road rules, driving situations, safety guidance, and lesson level theory preparation for learners in the Netherlands.
Browse additional driving theory lessons that cover connected traffic rules, road signs, and common driving situations related to this topic. Improve your understanding of how different rules interact across everyday traffic scenarios.
Gain a comprehensive understanding of Dutch road surface markings used for the AM category. This lesson clarifies the purpose and meaning of various lines, arrows, symbols, and pictograms to ensure safe navigation and adherence to traffic rules on Dutch roads.

This lesson explores the legal meaning of various road surface markings, including solid and broken lane delimiters, directional arrows, and special-purpose lane indicators. It describes how markings dictate permitted maneuvers, such as overtaking and lane changes, and alert riders to upcoming hazards or changes in road layout. The content also examines the relationship between markings and road design in the Netherlands, emphasizing how a motorcyclist must interpret these visual cues for safe positioning.

This lesson provides a detailed explanation of the various markings painted on the road surface, which are as legally binding as physical signs. It clarifies the rules associated with solid and broken white lines, including restrictions on crossing them, and the function of arrows, chevrons, and text painted in lanes. A thorough understanding of these markings is fundamental for correct lane discipline, positioning, and safe maneuvering on a motorcycle.

Understand the meaning of various road markings and how they dictate your position on the road. This lesson covers the rules associated with solid and broken white lines, bicycle lane symbols, suggestion strips, and arrows painted on the road surface. Proper lane discipline, including when overtaking is permitted and how to position yourself correctly within a lane or on a cycle path, is a fundamental skill for safe and predictable riding that is tested by the CBR.
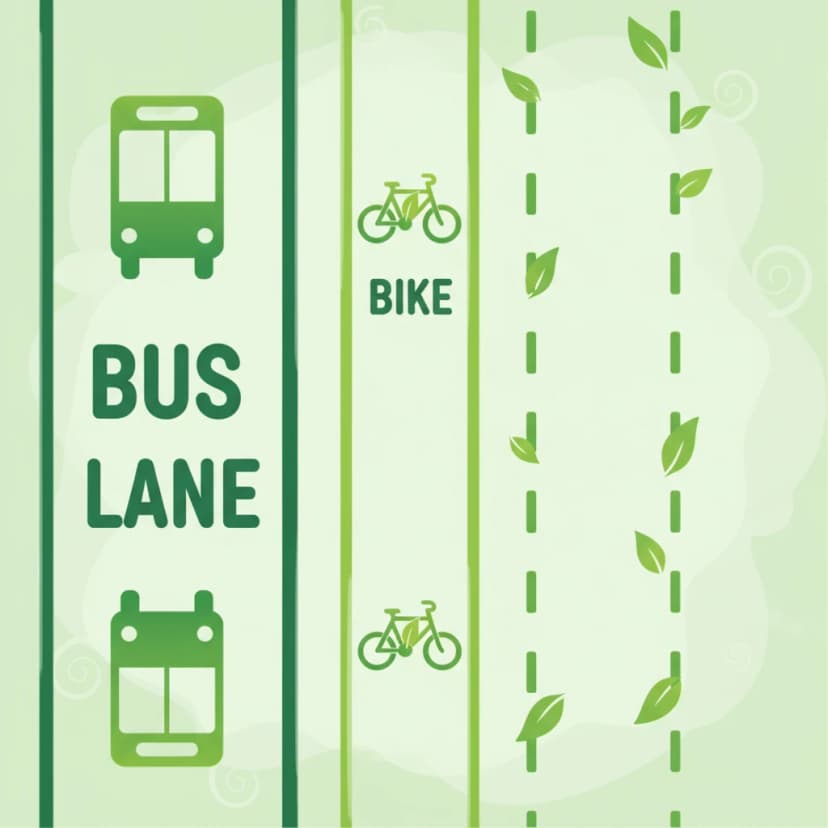
This lesson covers a variety of lanes and markings with specific rules. You will learn to recognize and respect bus lanes, which are reserved for public transport, and rush-hour lanes (spitsstrook), which are only open during busy periods as indicated by electronic signs. The curriculum also explains the meaning of different line types (solid, broken, double lines) that dictate whether lane changes or overtaking are permitted. Understanding these special lanes and markings is key to navigating Dutch infrastructure correctly.

This lesson introduces warning signs, which are designed to alert drivers to potential dangers or changes in road layout ahead. You will learn to interpret the triangular-shaped signs that indicate hazards such as sharp curves, slippery road surfaces (J27), or upcoming road works (J8). The curriculum explains how these signs help in anticipating risks and adjusting driving behavior accordingly, such as reducing speed or increasing alertness. A thorough understanding of warning signs is vital for proactive and defensive driving in various environments.

This lesson focuses on the meaning of different road markings and their implications for motorcycle lane discipline. You will learn the legal distinction between solid and broken lines regarding overtaking, how to interpret directional arrows for lane choice, and the rules for using special lanes. The content emphasizes maintaining a safe and strategic position within the lane to maximize visibility and create a safety buffer from other vehicles.
This lesson focuses on regulatory signs, which impose legal obligations on drivers and are essential for maintaining traffic order. You will learn to identify and act upon fundamental signs such as the octagonal B6 Stop sign, the diamond-shaped B1 Priority Road sign, and various compulsory direction arrows. The content explains the legal implications of these signs, detailing when a driver must stop completely, when they have priority, or the required path they must follow. Understanding these commands is crucial for safe and lawful driving at intersections and on designated routes.
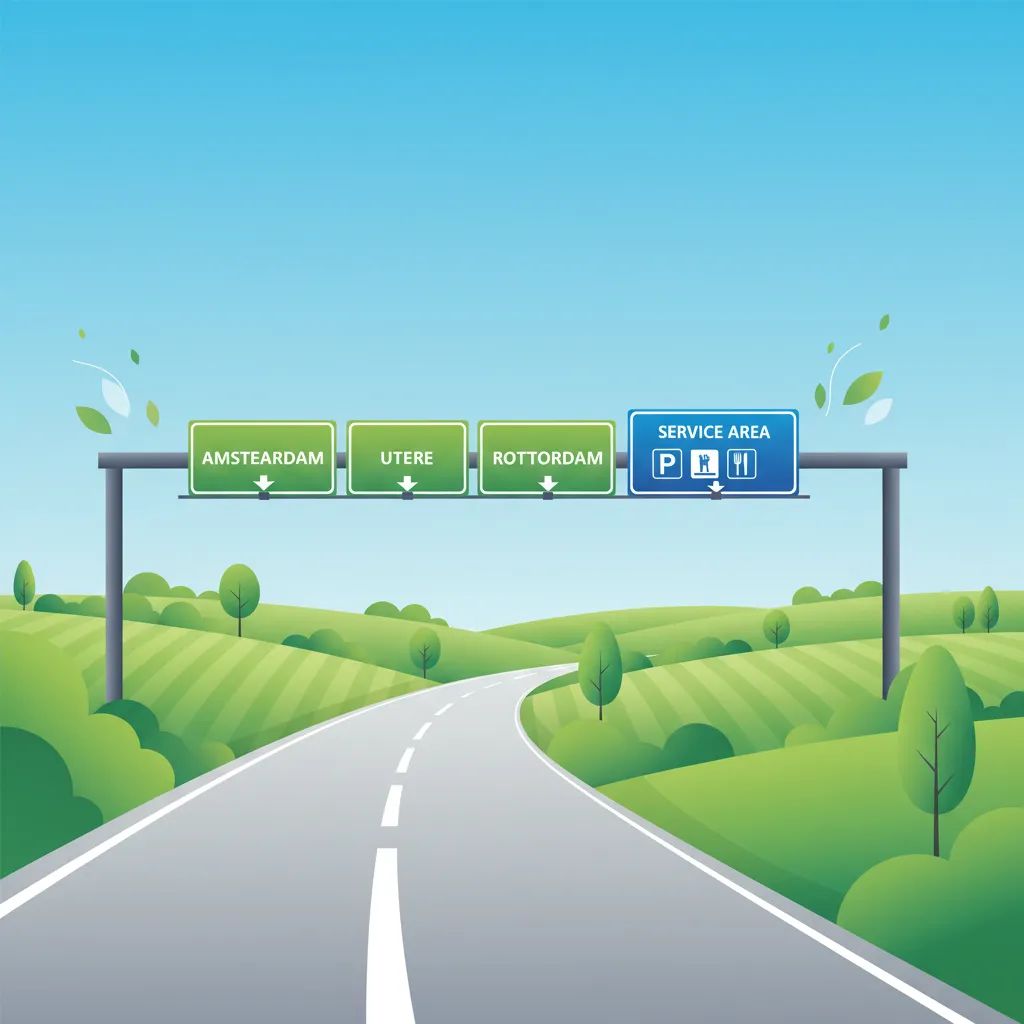
This lesson explains how to interpret informational signs that provide guidance and navigational aid. You will learn to read directional signs indicating cities and locations, understand route numbering on major roads, and recognize signs for services like fuel stations or parking areas. It also covers the signs that mark the beginning and end of a built-up area ('bebouwde kom'), which have important implications for speed limits and traffic rules.

This lesson covers the full range of lights and signals required on a vehicle for visibility and communication. You will learn about the mandatory requirements for headlights, taillights, brake lights, indicators, and reflectors. The curriculum emphasizes the driver's legal responsibility to ensure all lights are clean and functional before every journey. The correct use and function of the horn as an audible warning device in case of imminent danger are also explained.
This lesson focuses on the array of signs used to manage traffic at intersections and along multi-lane roads. You will learn to interpret overhead gantry signs, lane designation signs, and markings that guide drivers into the correct lane for their intended direction. The curriculum covers signs indicating priority at upcoming junctions, such as the B3 and B4 signs, which clarify right-of-way rules in complex scenarios. Proper interpretation of these signs is essential for smooth lane changes, efficient navigation, and preventing conflicts at junctions.
Explore how road surface markings work together with traffic signs and general traffic rules in the Netherlands. Understand how these elements collectively guide traffic flow, define vehicle paths, and dictate priority situations for safe road use.
This lesson explores the legal meaning of various road surface markings, including solid and broken lane delimiters, directional arrows, and special-purpose lane indicators. It describes how markings dictate permitted maneuvers, such as overtaking and lane changes, and alert riders to upcoming hazards or changes in road layout. The content also examines the relationship between markings and road design in the Netherlands, emphasizing how a motorcyclist must interpret these visual cues for safe positioning.
This lesson provides a detailed explanation of the various markings painted on the road surface, which are as legally binding as physical signs. It clarifies the rules associated with solid and broken white lines, including restrictions on crossing them, and the function of arrows, chevrons, and text painted in lanes. A thorough understanding of these markings is fundamental for correct lane discipline, positioning, and safe maneuvering on a motorcycle.
Understand the meaning of various road markings and how they dictate your position on the road. This lesson covers the rules associated with solid and broken white lines, bicycle lane symbols, suggestion strips, and arrows painted on the road surface. Proper lane discipline, including when overtaking is permitted and how to position yourself correctly within a lane or on a cycle path, is a fundamental skill for safe and predictable riding that is tested by the CBR.

This lesson prepares you for encountering road works, a common feature on any road network. You will learn that signs and markings related to road works are often yellow and that they temporarily override permanent white markings and signs. The curriculum stresses the importance of adhering to temporary speed limits, being alert for workers and machinery, and navigating narrowed lanes. It also covers how to follow diversion routes ('omleiding') and obey instructions given by traffic controllers.
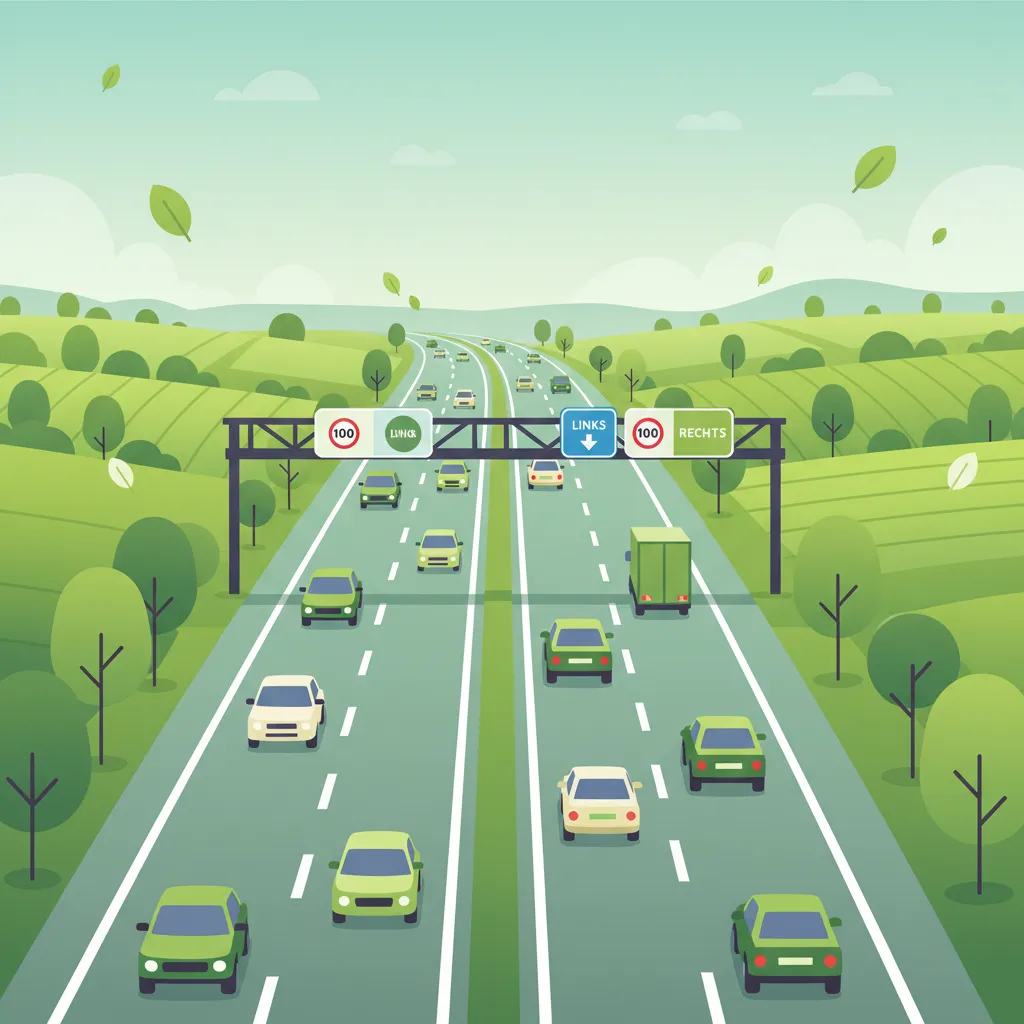
This lesson covers the specific articles of the Dutch Road Traffic Act that apply to motorways, with a primary focus on the strict rule of keeping to the rightmost available lane unless overtaking. It explains the legal and safety reasons for only passing on the left and discusses the correct positioning within a lane for maximum visibility and safety. The content also addresses the nuances of lane usage during heavy congestion, ensuring riders comply with the law and contribute to smooth traffic flow.
This lesson covers a variety of lanes and markings with specific rules. You will learn to recognize and respect bus lanes, which are reserved for public transport, and rush-hour lanes (spitsstrook), which are only open during busy periods as indicated by electronic signs. The curriculum also explains the meaning of different line types (solid, broken, double lines) that dictate whether lane changes or overtaking are permitted. Understanding these special lanes and markings is key to navigating Dutch infrastructure correctly.
This lesson focuses on the meaning of different road markings and their implications for motorcycle lane discipline. You will learn the legal distinction between solid and broken lines regarding overtaking, how to interpret directional arrows for lane choice, and the rules for using special lanes. The content emphasizes maintaining a safe and strategic position within the lane to maximize visibility and create a safety buffer from other vehicles.
This lesson focuses on regulatory signs, which impose legal obligations on drivers and are essential for maintaining traffic order. You will learn to identify and act upon fundamental signs such as the octagonal B6 Stop sign, the diamond-shaped B1 Priority Road sign, and various compulsory direction arrows. The content explains the legal implications of these signs, detailing when a driver must stop completely, when they have priority, or the required path they must follow. Understanding these commands is crucial for safe and lawful driving at intersections and on designated routes.
This lesson breaks down the rules of priority at intersections. You will learn to identify an 'equal' intersection where the default rule of giving way to traffic from the right applies. It also explains how priority is regulated by signs (such as the B6 Stop sign and B7 priority road sign) and road markings ('shark's teeth'). Understanding these hierarchies is crucial for making safe and correct decisions when crossing or turning at any junction.
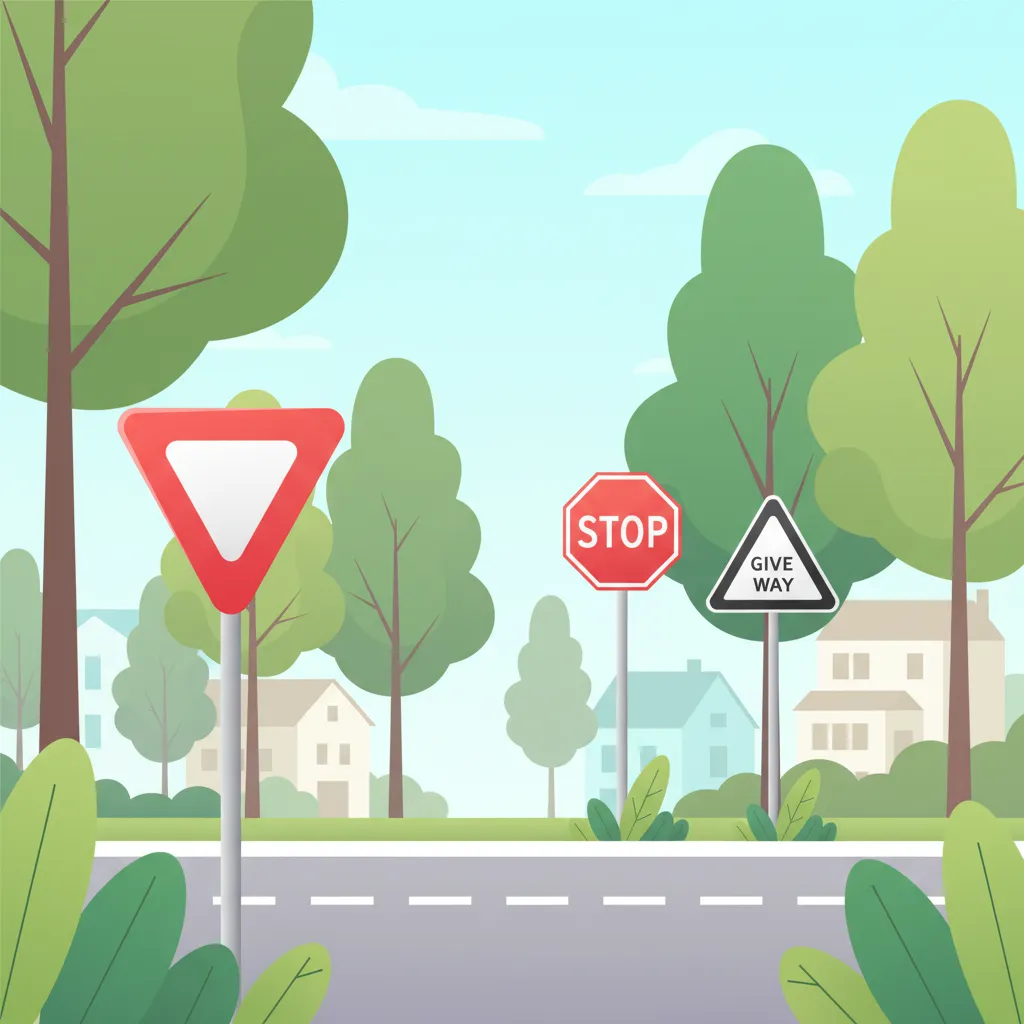
This lesson details the function of signs and markings that explicitly assign priority at intersections. You will learn the difference between the B5 yield sign, which requires giving way to intersecting traffic, and the B6 stop sign, which mandates a complete stop before proceeding. The content also covers the 'haaientanden' (shark teeth) road markings, which function similarly to a yield sign. Understanding how these signs interact with priority road signs (B1) is essential for correctly navigating controlled intersections.
Find clear answers to common questions learners have about Road Surface Markings and Their Meaning. Learn how the lesson is structured, which driving theory objectives it supports, and how it fits into the overall learning path of units and curriculum progression in the Netherlands. These explanations help you understand key concepts, lesson flow, and exam focused study goals.
A solid white centre line indicates that you must not cross it to overtake or change lanes. A broken white centre line generally means you may cross it for overtaking or changing lanes, provided it is safe to do so and there is no oncoming traffic. For AM category vehicles, always consider your specific speed and maneuverability relative to other traffic.
These triangular markings, often referred to as 'shark's teeth', are a visual cue indicating that you must give way (verlenen van voorrang) to traffic on the intersecting road. They are typically found before a yield sign or an intersection where priority rules might otherwise be unclear. Always be prepared to yield when you see these markings.
A bicycle pictogram on the road usually indicates a designated cycle path (fietspad) or a shared path. For AM category vehicles (bromfietsen and snorfietsen), you must follow specific rules about where you are allowed to ride. If a separate bromfiets/fietspad is indicated, you may need to use it. If it's a shared path, be extra aware of cyclists and ensure safe separation.
Directional arrows on the road surface show you the mandatory direction(s) for the lane you are in. If you are in a lane with an arrow pointing straight ahead, you must go straight. If there are arrows pointing left and straight, you can choose either direction. These markings help organize traffic flow and prevent dangerous situations at junctions.
While speed pedelecs have specific regulations, AM riders (mopeds and scooters) should primarily focus on markings relevant to their own category. However, it's good practice to be aware of where speed pedelecs might be present, as they may use different paths or have specific signage. Always adhere to the rules and markings applicable to your specific vehicle type (bromfiets or snorfiets).