
This lesson tackles the crucial topic of signs and markings that dictate lane usage and priority at intersections and on multi-lane roads. Building on your understanding of basic road signs, we'll explore how overhead gantries and specific lane signs guide you through complex junctions, helping you navigate safely and correctly. This knowledge is vital for passing your Dutch driving theory exam and avoiding dangerous situations on the road.
Driving safely and efficiently on Dutch roads requires a deep understanding of how traffic is managed, particularly at intersections and along multi-lane roads. This lesson provides a comprehensive guide to interpreting the array of signs and markings that direct vehicle flow, dictate priority, and ensure smooth navigation. From overhead gantry signs that provide early warnings to specific lane designation signs and ground markings, mastering these visual cues is crucial for every driver.
The ability to correctly interpret intersection and lane signs is not just about passing your driving theory exam; it is fundamental to road safety. Misreading a priority sign, failing to observe a lane arrow, or crossing a solid line incorrectly can lead to confusion, dangerous maneuvers, and potentially severe collisions. This lesson will equip you with the knowledge to make informed decisions, anticipate the actions of other road users, and navigate complex junctions with confidence.
Intersections are critical points in any road network where traffic streams converge, diverge, and cross. Effective signposting and road markings at these junctions are essential for maintaining safety, predictability, and efficiency. By clearly indicating right-of-way, permissible turns, and correct lane usage, these visual aids translate abstract traffic laws into practical, actionable instructions for drivers.
The underlying principles guiding intersection and lane management are:
These principles combine to ensure that intersections, which are inherent conflict zones, become manageable nodes where movements are synchronized. Lane signs, in particular, bridge the gap between general traffic laws and dynamic driving situations, enabling drivers to move through complex scenarios smoothly and safely.
Priority signs are critical for establishing which road users have the right to proceed first at an intersection, thus preventing collisions. In the Netherlands, specific "B" category signs are used to communicate these vital rules.
The B3 sign is a warning sign that alerts drivers to an approaching intersection. It typically depicts a black cross, indicating a crossroads, or a similar symbol for a T-junction or Y-junction. Its primary purpose is to signal that you are nearing a point where other traffic streams may be present, prompting you to prepare to assess the situation.
Drivers approaching a B3 sign should scan the intersection for other vehicles, cyclists, and pedestrians, and observe any other signs (like B4 or B5) or traffic lights that might dictate right-of-way. It encourages anticipatory driving and readiness to adjust speed or lane position.
The B4 sign, often diamond-shaped and yellow with a white border, is one of the most important priority signs. It signifies that the road you are traveling on is a priority road (voorrangsweg), meaning you have the right-of-way over traffic approaching from side roads or intersections.
When you see a B4 sign, you typically do not need to yield to traffic from your right at upcoming intersections, unless specific additional signs (like a yield sign on the priority road itself, which is rare but possible in complex situations) dictate otherwise. However, it's crucial to always remain vigilant and be prepared to react to other drivers who might not obey the priority rules.
The B4 sign often has an accompanying diagram indicating the exact shape of the priority road at the intersection, showing which directions maintain priority. Drivers must understand these diagrams to correctly assess right-of-way, especially when turning.
The B5 sign, the universally recognized octagonal red stop sign, requires all drivers to come to a complete and full stop before proceeding. This stop must occur at the designated stop line (a solid white line across the lane) or, if no line is present, before entering the intersection itself, ensuring you have a clear view of conflicting traffic.
After stopping, you must yield to all cross-traffic before proceeding safely. The rule is to stop, look left, right, and left again, and only continue when it is safe to do so. The B5 sign overrides all other priority rules, making a stop mandatory irrespective of what other signs might suggest for other directions.
A frequent error is confusing the B3 (warning of an intersection) with the B4 (indicating a priority road). Remember, B3 requires observation, while B4 indicates that you have priority. Another mistake is assuming that a B3 sign implies you must stop or yield; it does not. Only a B5 sign or a yield sign (B6) mandates yielding. Correct interpretation of these signs is fundamental for preventing accidents and maintaining smooth traffic flow.
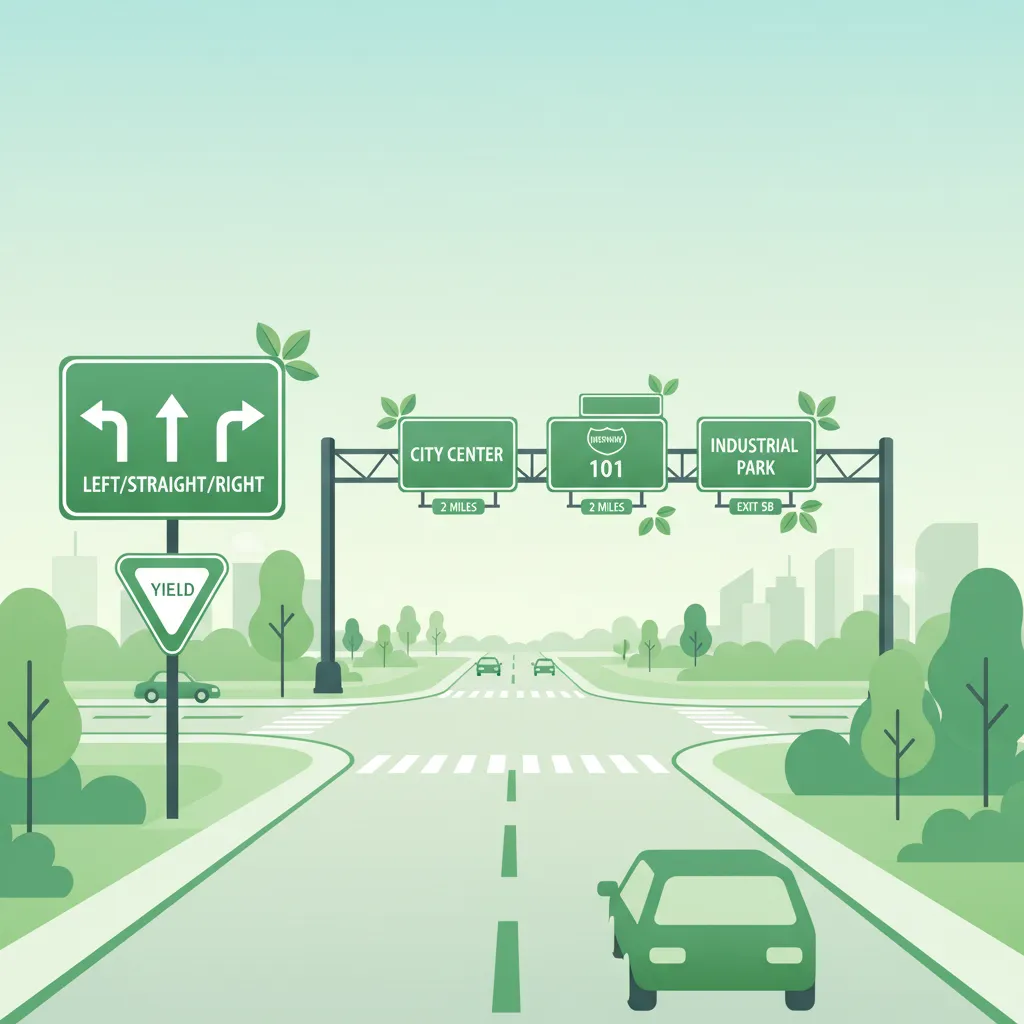
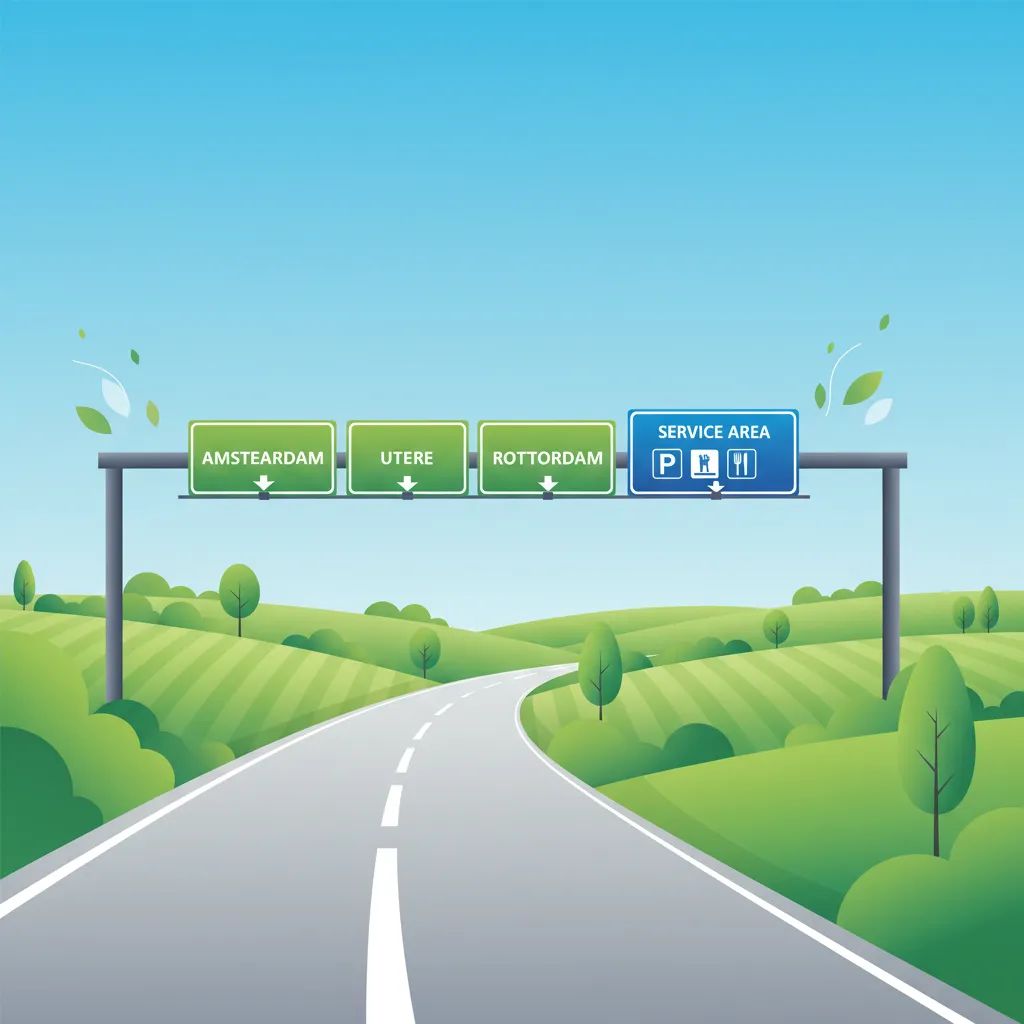
Overhead gantry signs are traffic signs mounted on large structures spanning across the road. They are particularly common on multi-lane roads, highways (autosnelwegen), and at complex intersections where early information is crucial for drivers to prepare and select the correct lane. Their elevated position provides enhanced visibility, allowing drivers more time to process information and make decisions.
These gantries often display signs like the B3 or B4, giving an early warning of an upcoming intersection or confirming priority for the route you are on. The benefit of a gantry sign is the increased reaction time it affords. At higher speeds, every extra second of warning is invaluable for safety.
When you see a B3 or B4 sign on a gantry, it often means a significant junction is approaching, or there's a need for clear priority guidance. For example, a gantry displaying a B4 sign over your lane confirms that your route has priority, allowing you to proceed confidently, provided it is safe. Conversely, a gantry B3 might be combined with lane arrows below it, instructing you which lane to take for a specific turn, giving you ample time to change lanes smoothly.
Ignoring gantry signs can lead to last-minute, abrupt lane changes, increasing the risk of collisions. They are strategically placed to facilitate anticipatory driving and conflict reduction.
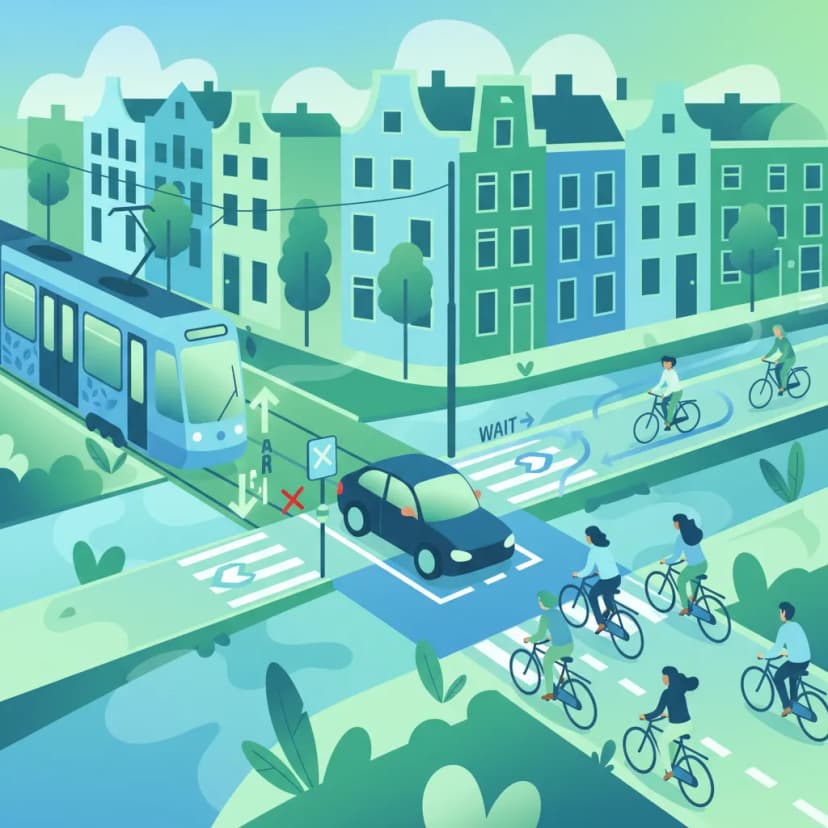
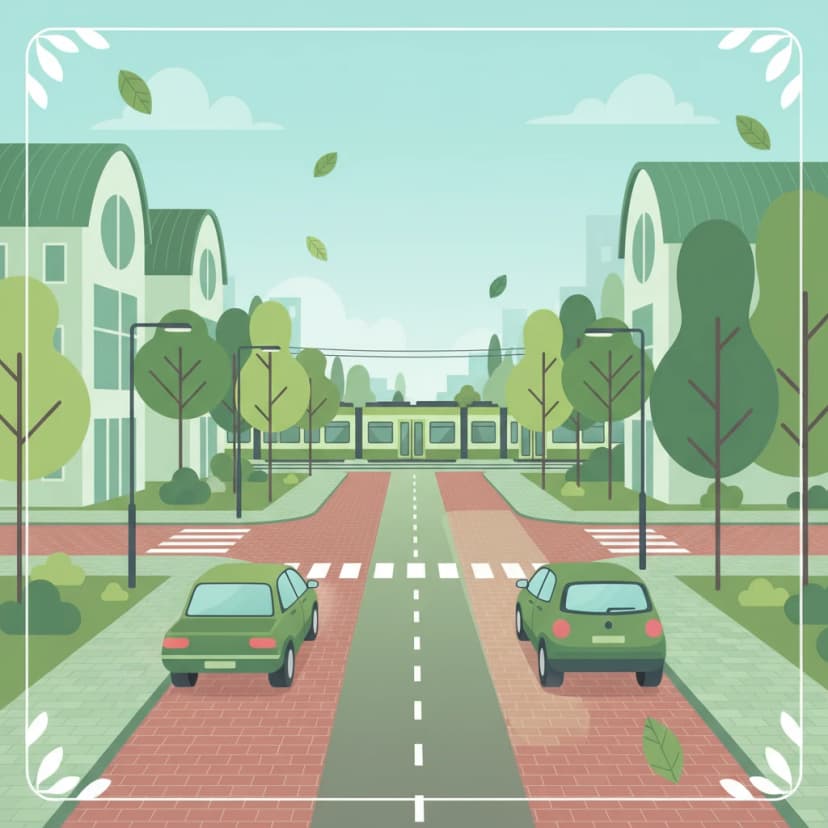
Road markings are painted lines, symbols, and words on the road surface that complement traffic signs, providing direct guidance on lane boundaries, permissible maneuvers, and stopping points. Understanding these markings is essential for maintaining lane integrity and predicting traffic flow.
Solid white lines typically delineate lane boundaries where crossing is forbidden or strongly discouraged. This includes:
Dashed white lines indicate that crossing is generally permitted, provided it is safe to do so. This includes:
Drivers must always check mirrors, signal intentions, and ensure sufficient space before crossing a dashed line to change lanes or overtake.
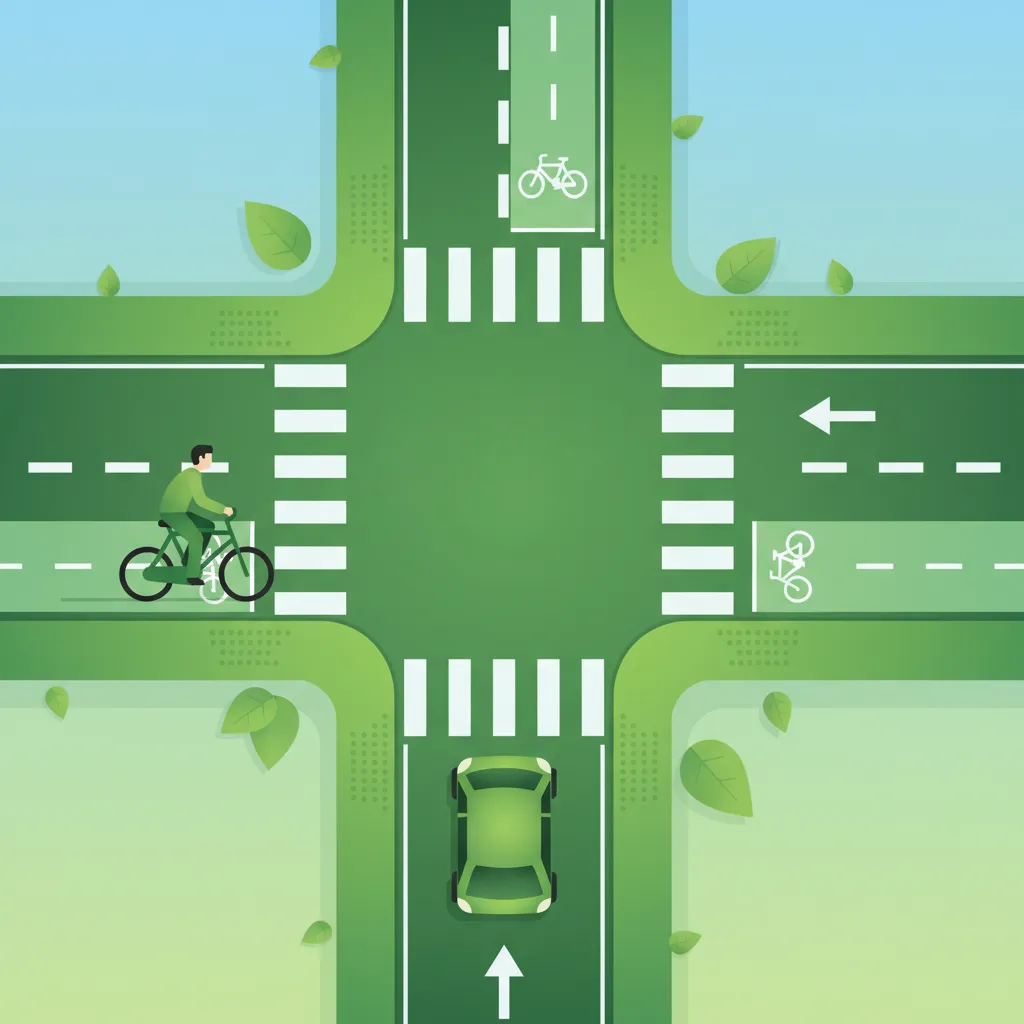
Lane arrows are painted on the road surface within lanes, indicating the permitted direction(s) of travel from that lane. These are commonly found as you approach intersections or roundabouts.
Stopping lines are solid white lines painted across the width of a lane or road, indicating the exact point where vehicles must stop when required by a stop sign (B5), a red traffic light, or a yield sign (B6) for crossing traffic. At a B5 stop sign, your vehicle's front wheels must be completely behind this line. For yield signs, you only stop if there is conflicting traffic.
Lane designation signs are roadside signs that provide specific instructions for the use of individual lanes, particularly at complex intersections or on multi-lane roads. They ensure traffic is correctly channeled, reducing conflict and improving flow.
These signs explicitly indicate that a particular lane is designated solely for turning left or right. They often show an arrow pointing in the direction of the turn, sometimes accompanied by text like "Links" (left) or "Rechts" (right). Drivers must enter these lanes if they intend to make the corresponding turn. Failing to do so can lead to being in the wrong lane at the junction, forcing dangerous maneuvers or requiring you to go straight when you intended to turn.
In some contexts, a B8 sign might indicate a lane that is specifically intended or reserved for overtaking. While less common as a standalone sign in general lane designation, the concept applies to multi-lane roads where drivers are expected to use the left lane(s) for overtaking and return to the right lane(s) after completing the maneuver, unless traffic density prevents it.
While not directly a B10 code for "single lane," regulatory signs can indicate that a road section or a specific lane is restricted to a single flow of traffic or for certain vehicle types. Understanding such restrictions is key to safe and lawful lane usage. For instance, a sign might indicate a lane is for buses only, or that a road narrows to a single lane ahead.
The type of junction you approach dictates which specific right-of-way rules apply. Dutch traffic law distinguishes between several junction types, and a crucial principle, rechts van de weg, governs uncontrolled intersections.
These are intersections where traffic flow is regulated by active devices or prominent signs:
At controlled junctions, the signs or lights take precedence over general right-of-way rules.
These are intersections where there are no traffic lights, stop signs, or yield signs for any direction. In such situations, the fundamental Dutch right-of-way rule applies:
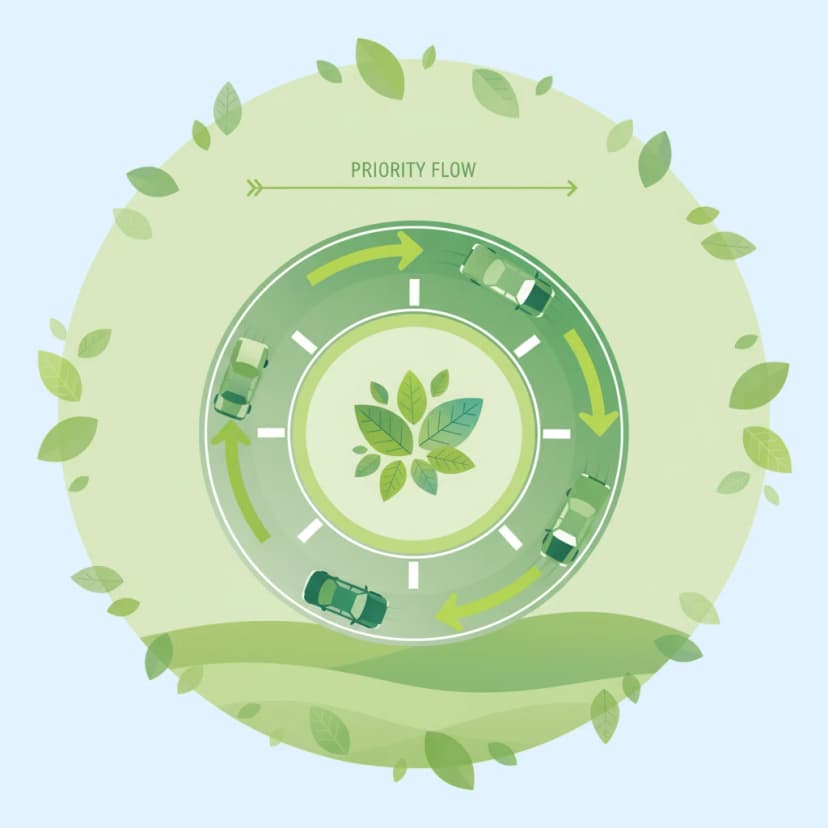
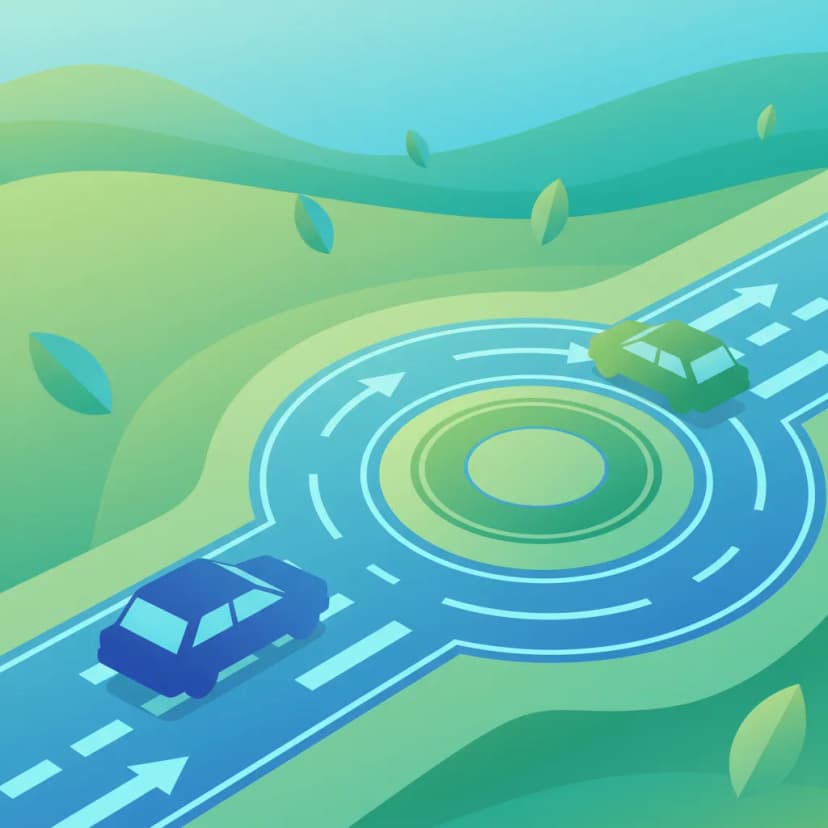
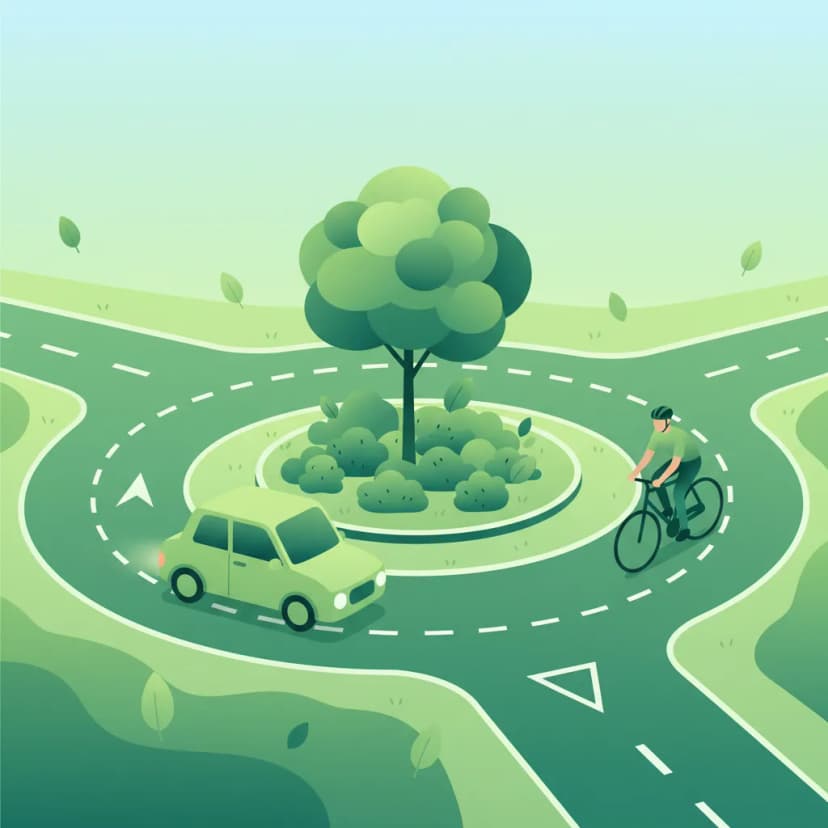
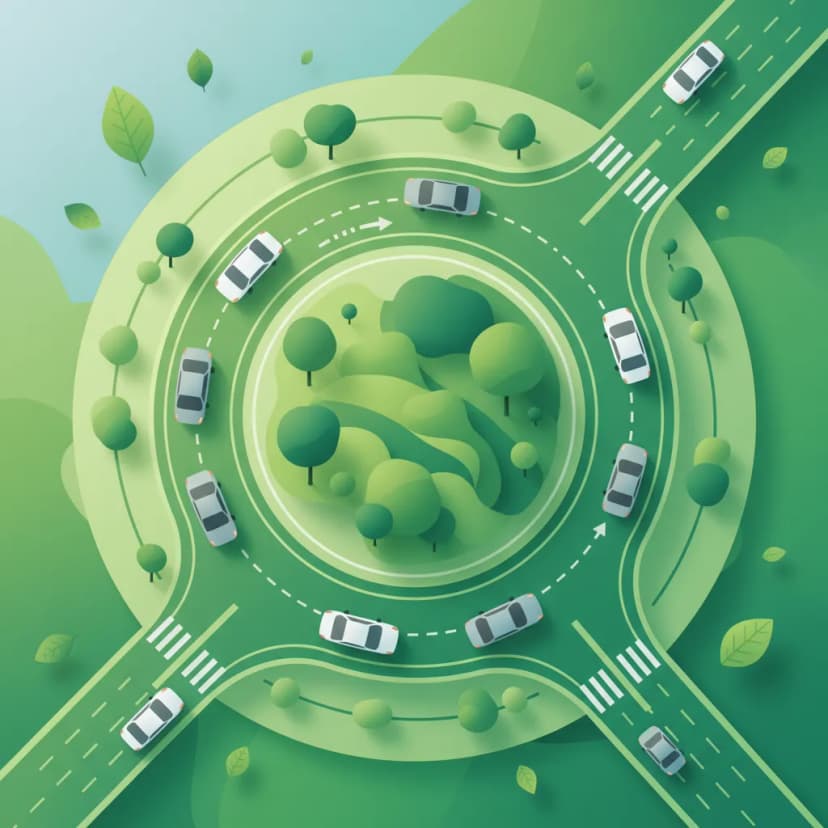
Roundabouts are circular intersections designed to improve traffic flow and reduce accident severity. In the Netherlands, the general rule for roundabouts is to yield to traffic already on the roundabout. This means you must wait for a safe gap before entering the circular flow. Once on the roundabout, you typically have priority over traffic entering from subsequent entries, unless specific signs dictate otherwise.
Roundabouts may have multiple lanes, often with lane arrows on the approach or within the roundabout itself, guiding you to the correct lane for your intended exit. Always use your indicators when exiting a roundabout.
Adhering to intersection and lane signs is not merely advisory; it is a mandatory legal obligation under the Dutch Highway Code (RVV 1990). Non-compliance can lead to serious consequences, including fines, penalty points, and increased risk of accidents.
Every traffic sign and road marking carries legal weight. For instance:
| Situation | Why It Is Wrong | Correct Behaviour | Consequence (General) |
|---|---|---|---|
| Ignoring B4 priority and yielding unnecessarily | Causes inefficiency, can confuse other drivers. | Proceed without yielding if on priority road. | Reduced traffic flow. |
| Crossing a solid line to overtake | Creates collision risk, especially with oncoming traffic. | Wait for dashed lines or designated overtaking zones. | Accident risk, significant fines. |
| Not changing lane after a gantry B3 for a specific turn | Creates last-minute conflicts, potential for wrong turn. | Pre-emptively change lane to the specified one. | Conflicts, fines. |
| Turning left at a non-priority intersection without yielding to right-hand traffic | Violates the rechts van de weg rule; dangerous. | Yield to right-hand traffic before turning. | Accident risk, fines, liability. |
| Stopping ahead of a stop line at a B5 sign | Obstructs the intersection, unlawful. | Stop at or behind the stop line. | Obstruction, potential fines. |
| Misinterpreting lane arrows in a multi-lane roundabout | Causes wrong entry or exit, collision risk. | Follow lane arrows closely for your destination. | Collision, confusion. |
| Not using a turning lane when a 'left-turn-only' sign is displayed | Forces last-minute maneuvers or unintended direction. | Enter the designated turning lane early. | Traffic disruption, fines. |
It is crucial to remember that ignorance of the law is not an excuse. Drivers are expected to know and obey all traffic signs and markings.
Sign interpretation and driving behavior must adapt to various contextual factors, including environmental conditions, the type of road, and the presence of vulnerable road users.
The design and placement of intersection and lane signs are fundamentally aimed at enhancing road safety. Understanding the "why" behind these regulations reinforces their importance.
Early warning signs, especially those on gantries, provide drivers with critical additional seconds to process information and prepare for upcoming maneuvers. At 100 km/h, a driver covers approximately 28 meters per second. An extra 2-3 seconds of warning from a gantry sign can mean covering an additional 50-80 meters, allowing for smoother braking and lane changes, significantly reducing stress and collision risk.
Priority signs like B4 limit the number of simultaneous conflict points at an intersection, ensuring that only non-conflicting movements proceed at any given time. This systematic approach drastically lowers the potential for collisions compared to uncontrolled scenarios. Studies show a significant reduction in accident rates at intersections with clear priority signage.
Solid lane markings act as physical barriers for drivers' perception, creating a buffer zone. The prohibition against crossing solid lines prevents vehicles from encroaching into adjacent lanes unexpectedly, reducing side-swipe collisions. Data often indicates that a substantial percentage of lane-change accidents involve improper crossing of solid lines.
Drivers often overestimate their own judgment or reaction time, and misjudge available lane space, especially with larger vehicles or trailers. Awareness of vehicle dimensions, coupled with strict adherence to lane integrity signs, helps prevent near-misses and actual collisions. Understanding the potential for human error in oneself and others is a cornerstone of defensive driving.
Mastering intersection and lane sign interpretation is a cornerstone of safe and confident driving in the Netherlands. By understanding the distinct roles of priority signs (B3, B4, B5), the early guidance provided by overhead gantries, and the precise instructions embedded in lane markings and designation signs, you equip yourself to navigate any junction effectively. Always prioritize safety, anticipate the actions of others, and adhere strictly to legal requirements, adapting your behavior to prevailing conditions. Consistent practice and attentiveness will ensure these concepts become second nature.
Lesson content overview
Explore all units and lessons included in this driving theory course.
Explore search topics learners often look for when studying Intersection and Lane Sign Interpretation. These topics reflect common questions about road rules, driving situations, safety guidance, and lesson level theory preparation for learners in the Netherlands.
Browse additional driving theory lessons that cover connected traffic rules, road signs, and common driving situations related to this topic. Improve your understanding of how different rules interact across everyday traffic scenarios.
Learn the specific Dutch traffic laws for priority at various types of intersections. This lesson clarifies right-of-way at uncontrolled junctions, roundabouts, and situations with signs like B3, B4, and B5.
This lesson breaks down the rules of priority at intersections. You will learn to identify an 'equal' intersection where the default rule of giving way to traffic from the right applies. It also explains how priority is regulated by signs (such as the B6 Stop sign and B7 priority road sign) and road markings ('shark's teeth'). Understanding these hierarchies is crucial for making safe and correct decisions when crossing or turning at any junction.
This lesson explains the foundational 'priority to the right' rule, which applies at intersections of equal roads where no other signs or markings dictate priority. You will learn to identify such junctions and understand your obligation to yield to traffic approaching from your right side. The lesson also clarifies important exceptions, such as when exiting a driveway, entering a paved road from an unpaved one, or when encountering a tram. Mastering this rule is crucial for navigating residential areas and city streets where signage is often minimal.
This lesson provides a detailed guide to navigating roundabouts (rotondes) in the Netherlands. You will learn the primary rule: drivers approaching a roundabout must yield to traffic already circulating on it, which is typically indicated by yield signs (B5) and shark teeth. The curriculum also covers the correct use of turn signals when entering and exiting, rules for multi-lane roundabouts, and special considerations for the priority of cyclists who may have a dedicated path around the roundabout. Correct roundabout etiquette is key to maintaining traffic flow and safety.
Roundabouts are a common feature of Dutch roads, and they have specific priority rules. This lesson teaches the standard rule of yielding to traffic already circulating on the roundabout before you enter. It also covers correct lane positioning, the importance of signaling your intention to exit, and the specific rules that often apply to cyclists who may have priority when crossing the exits. These skills ensure smooth and safe passage through both large and mini-roundabouts.

This lesson introduces the foundational principles of right-of-way in the Netherlands, starting with the road user hierarchy and the default rule of giving priority to traffic from the right at equal intersections. You will learn to identify a priority road, marked by sign BORD 30, and understand how this designation overrides the default rule. The content establishes the legal framework for making priority decisions in the absence of specific signs or signals.
This lesson delves into the hierarchy of priority rules on Dutch roads, clarifying who has the right-of-way in various intersection scenarios. It explains the meaning of signs like 'voorrangsweg' and road markings such as shark's teeth ('haaientanden'). Special attention is given to the correct procedure for entering, navigating, and exiting roundabouts on a motorcycle, including proper signaling and lane choice to ensure safe and efficient passage.

This lesson addresses the challenge of navigating equal-priority intersections, where no signs or markings dictate the right-of-way. You will master the fundamental Dutch traffic rule of giving priority to all drivers approaching from your right ('rechts voor'). The content focuses on developing advanced observational skills and clear communication to safely manage these situations, which are common in residential and urban areas.

This lesson establishes the foundational rule of priority in Dutch traffic law: yielding to traffic from the right at intersections of equal roads unless otherwise indicated. It explains how to identify an unmarked or 'equal' junction and the correct procedure for approaching, assessing, and proceeding safely. The content also introduces the primary signs and markings, such as 'shark's teeth,' that override this default rule, forming the basis for all other priority scenarios.
This lesson focuses on the rules and techniques for safely navigating Dutch roundabouts, a common feature of the road network. You will learn that traffic circulating on the roundabout typically has priority and that you must yield before entering. The content covers correct lane selection for your intended exit, proper use of turn signals, and maintaining awareness of cyclists who may have priority on adjacent paths.
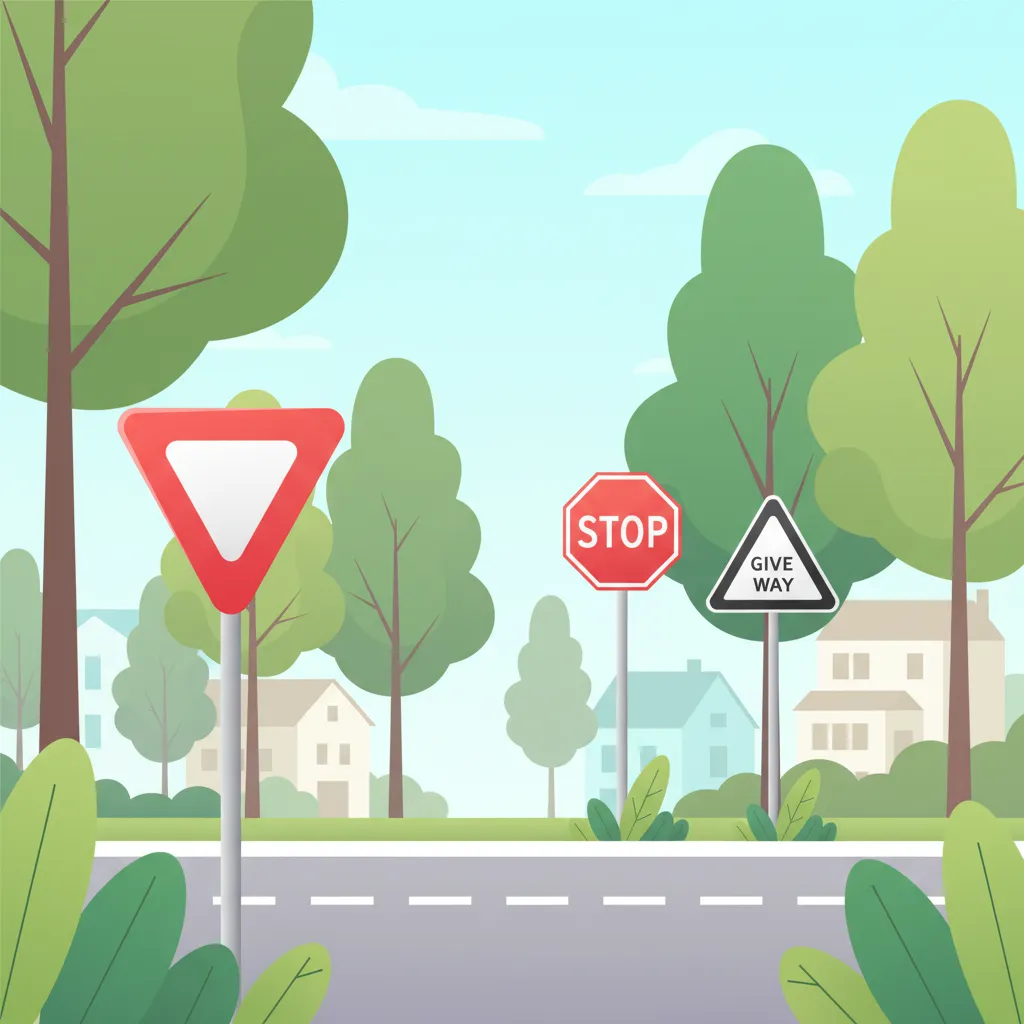
This lesson details the function of signs and markings that explicitly assign priority at intersections. You will learn the difference between the B5 yield sign, which requires giving way to intersecting traffic, and the B6 stop sign, which mandates a complete stop before proceeding. The content also covers the 'haaientanden' (shark teeth) road markings, which function similarly to a yield sign. Understanding how these signs interact with priority road signs (B1) is essential for correctly navigating controlled intersections.
Master the use of overhead gantry signs, lane arrows, and road markings to navigate complex intersections and multi-lane roads in the Netherlands. Understand how to choose the correct lane for your intended direction.
This lesson explains how to interpret informational signs that provide guidance and navigational aid. You will learn to read directional signs indicating cities and locations, understand route numbering on major roads, and recognize signs for services like fuel stations or parking areas. It also covers the signs that mark the beginning and end of a built-up area ('bebouwde kom'), which have important implications for speed limits and traffic rules.
This lesson explores the legal meaning of various road surface markings, including solid and broken lane delimiters, directional arrows, and special-purpose lane indicators. It describes how markings dictate permitted maneuvers, such as overtaking and lane changes, and alert riders to upcoming hazards or changes in road layout. The content also examines the relationship between markings and road design in the Netherlands, emphasizing how a motorcyclist must interpret these visual cues for safe positioning.

This lesson focuses on informational signs that guide motorcyclists in navigation, route planning, and locating essential services while on the road. It examines the standardized symbols and color-coding for directions ('richtingsborden'), destinations, distances, and amenities, explaining how these signs support efficient and safe travel. Learners will understand how to use this information for strategic route selection, especially on long journeys or in unfamiliar areas, ensuring a smooth and predictable trip.
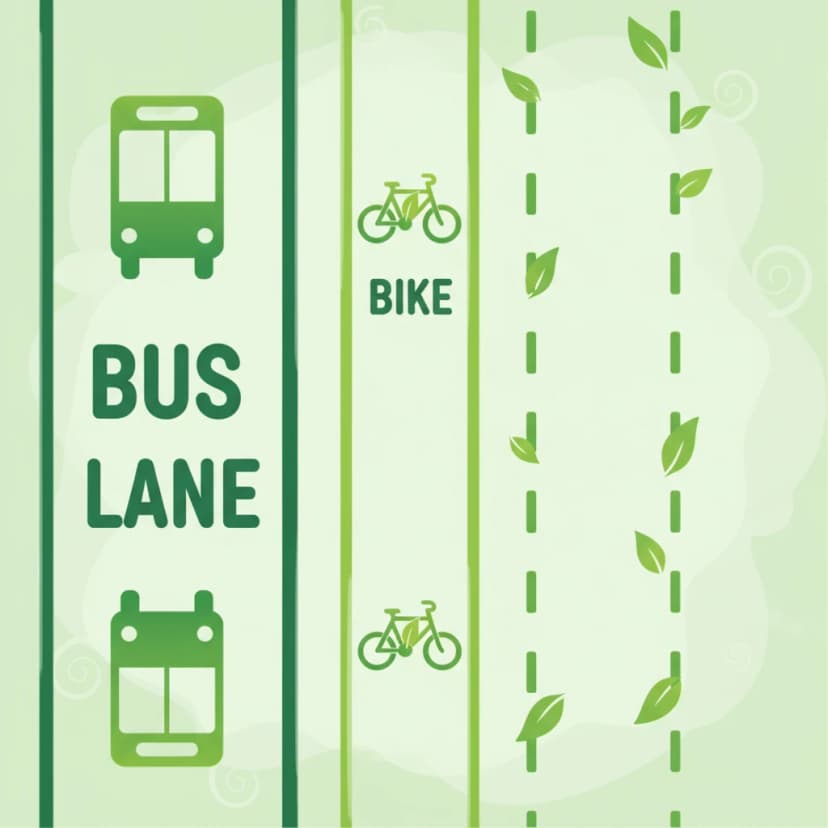
This lesson covers a variety of lanes and markings with specific rules. You will learn to recognize and respect bus lanes, which are reserved for public transport, and rush-hour lanes (spitsstrook), which are only open during busy periods as indicated by electronic signs. The curriculum also explains the meaning of different line types (solid, broken, double lines) that dictate whether lane changes or overtaking are permitted. Understanding these special lanes and markings is key to navigating Dutch infrastructure correctly.

Understand the meaning of various road markings and how they dictate your position on the road. This lesson covers the rules associated with solid and broken white lines, bicycle lane symbols, suggestion strips, and arrows painted on the road surface. Proper lane discipline, including when overtaking is permitted and how to position yourself correctly within a lane or on a cycle path, is a fundamental skill for safe and predictable riding that is tested by the CBR.

This lesson introduces warning signs, which are designed to alert drivers to potential dangers or changes in road layout ahead. You will learn to interpret the triangular-shaped signs that indicate hazards such as sharp curves, slippery road surfaces (J27), or upcoming road works (J8). The curriculum explains how these signs help in anticipating risks and adjusting driving behavior accordingly, such as reducing speed or increasing alertness. A thorough understanding of warning signs is vital for proactive and defensive driving in various environments.

This lesson prepares you for encountering road works, a common feature on any road network. You will learn that signs and markings related to road works are often yellow and that they temporarily override permanent white markings and signs. The curriculum stresses the importance of adhering to temporary speed limits, being alert for workers and machinery, and navigating narrowed lanes. It also covers how to follow diversion routes ('omleiding') and obey instructions given by traffic controllers.
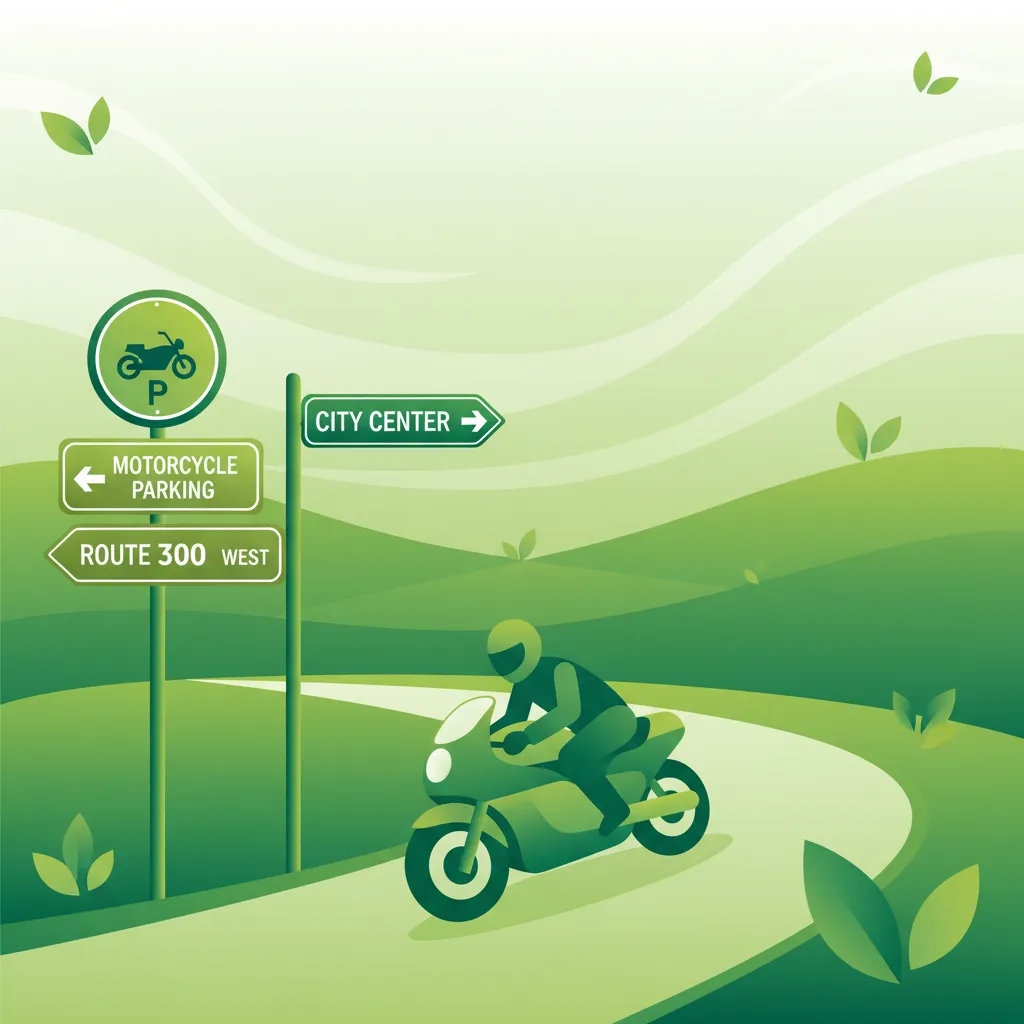
This lesson explains how to interpret directional and informational signs to navigate the Dutch road network effectively. You will learn to read route signs on highways, understand lane guidance arrows for complex intersections, and identify panels indicating services like fuel stations or rest areas. The content focuses on how motorcyclists can use this information for safe and efficient route planning, including adapting to real-time information from electronic signs.
This lesson details the purpose and visual design of Dutch warning signs ('gevarendriehoeken') that alert riders to potential hazards ahead. It covers a wide range of scenarios, from road narrowing and dangerous curves to construction zones and the risk of falling rocks, emphasizing the need for early anticipation and speed adaptation. The content also explains how these warning signs integrate with other traffic information to help a rider form an accurate risk assessment and make safer decisions.

This lesson provides a detailed explanation of the various markings painted on the road surface, which are as legally binding as physical signs. It clarifies the rules associated with solid and broken white lines, including restrictions on crossing them, and the function of arrows, chevrons, and text painted in lanes. A thorough understanding of these markings is fundamental for correct lane discipline, positioning, and safe maneuvering on a motorcycle.
Find clear answers to common questions learners have about Intersection and Lane Sign Interpretation. Learn how the lesson is structured, which driving theory objectives it supports, and how it fits into the overall learning path of units and curriculum progression in the Netherlands. These explanations help you understand key concepts, lesson flow, and exam focused study goals.
Overhead gantry signs are typically large signs placed above multiple lanes on motorways or major roads, indicating which lanes to use for specific destinations or directions further ahead. Lane designation signs are often smaller and placed at the side of the road or directly within the lane, showing specific upcoming lane instructions, like turning lanes or lanes for specific traffic types.
The B3 and B4 signs establish the priority situation for an upcoming junction. While they don't directly dictate lane usage, they are crucial context. You must combine this priority information with lane signs and markings to ensure you are in the correct lane and understand who has the right-of-way, especially when multiple lanes lead to different outcomes.
Yes, Dutch roads frequently use markings to reinforce sign information. These can include directional arrows within lanes, 'shark teeth' markings indicating a need to give way, or lines showing lane boundaries. Always consider both the signs and the road markings together for a complete understanding of the situation.
In such rare cases, assume the overhead gantry signs or specific lane signs take precedence, as they often communicate immediate upcoming requirements. However, always proceed with extreme caution, observe other traffic, and be prepared to react to unexpected situations. If unsure, it's safest to choose a lane that allows you to observe traffic and signs more clearly.
Questions related to intersection and lane signs are very common in the Dutch CBR theory exam. They are designed to test your ability to interpret complex traffic situations, make safe lane choices, and understand priority rules, all of which are critical for safe driving.