
Welcome to the lesson on Prohibition Sign Identification, a crucial part of your journey through the Dutch Driving Theory curriculum. Building on your knowledge of basic road signs, this lesson will focus on signs that actively forbid certain actions or access, ensuring safer and more orderly traffic flow. Understanding these signs is vital for passing your CBR theory exam and navigating Dutch roads confidently.
Navigating the roads safely and legally in the Netherlands requires a thorough understanding of various traffic signs. Among the most critical are prohibition signs, which issue mandatory instructions, forbidding specific actions or restricting access to certain areas for vehicles or pedestrians. These signs are fundamental to maintaining order, ensuring safety, and optimizing traffic flow, particularly in complex urban environments, at intersections, and on busy routes.
This lesson will equip you with the knowledge to recognize and correctly interpret all Dutch prohibition signs, encompassing both the C-series and F-series codes. By mastering these signs, you will avoid fines, prevent dangerous situations, and contribute to a more efficient and safer road network.
Prohibition signs serve as crucial regulatory tools, indicating actions that drivers must not perform. Ignoring these signs can lead to severe consequences, including substantial fines, points on your driving license, and, most importantly, jeopardizing your safety and the safety of others. They are strategically placed to prevent conflicts, manage vehicle density, ensure clear sightlines, and protect vulnerable road users.
Understanding the legal framework behind these signs, primarily governed by the Dutch "Reglement Verkeersregels en Verkeerstekens 1990" (RVV 1990), is essential for all drivers aiming for a Dutch driving license (category B).
Prohibition signs provide mandatory instructions. Failure to obey them is a direct violation of traffic law and can lead to immediate penalties and dangerous situations.
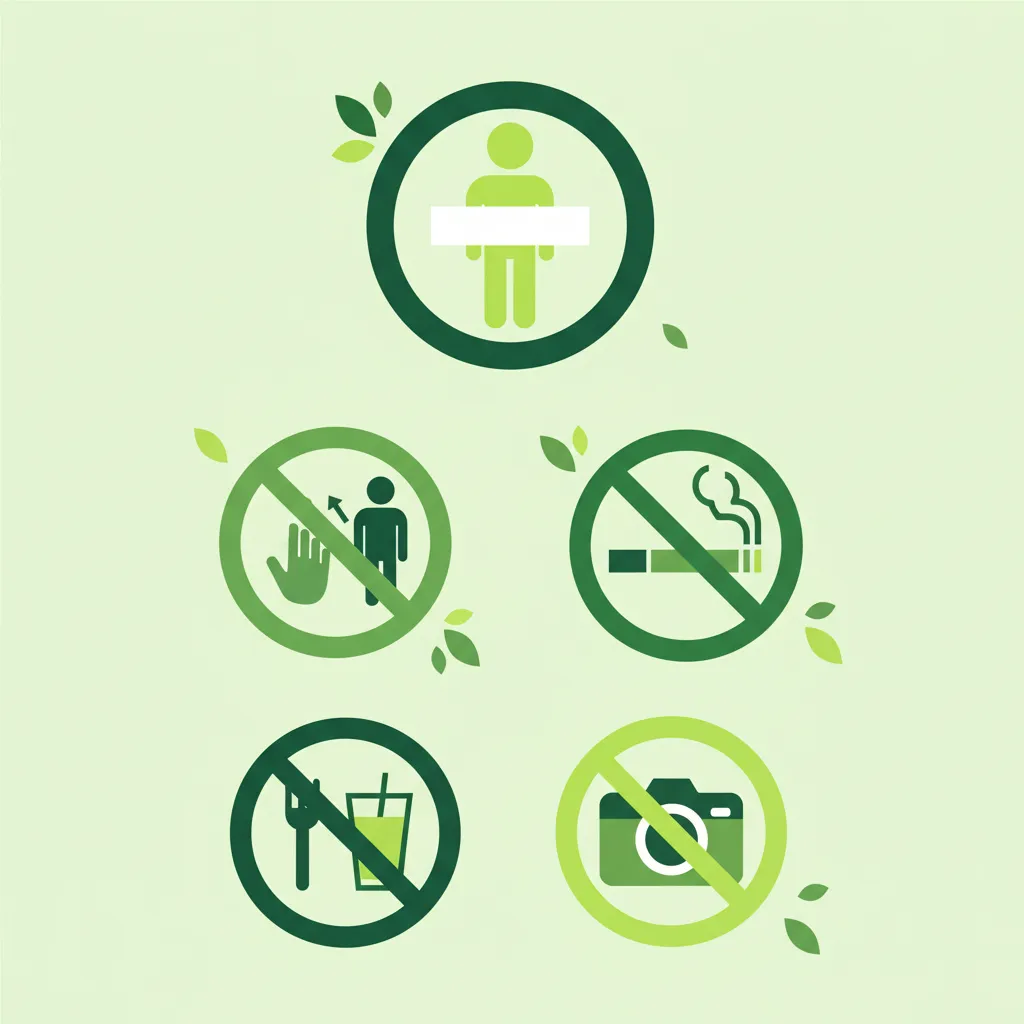
Dutch prohibition signs possess distinct visual characteristics that make them easily identifiable, even from a distance. These features are universally recognized symbols for restriction and danger.
The most prominent feature of almost all prohibition signs is their circular shape with a thick red border and a white background. This specific design is not accidental; the red color universally signals danger and the need for immediate attention and compliance. The white background typically contains a black symbol or text that specifies the exact nature of the prohibition. This visual consistency ensures that drivers quickly recognize the mandatory nature of the sign and understand that an action is forbidden.
A thick red circle surrounding a white background, universally signaling a mandatory prohibition on Dutch road signs.
Prohibition signs are not merely suggestions; they represent mandatory restrictions. This means that when present, they take precedence over any prior right-of-way rules or other general traffic principles. For example, if a sign prohibits entry, you must not enter, regardless of whether you might otherwise have the right-of-way. Drivers must immediately yield to a prohibition sign, making it a critical element in the hierarchy of traffic rules.
The C-series prohibition signs primarily regulate entry and specific maneuvers, forbidding access for certain vehicle types or preventing actions such as turning or passing. These signs are vital for controlling traffic flow and protecting specific zones or road users.
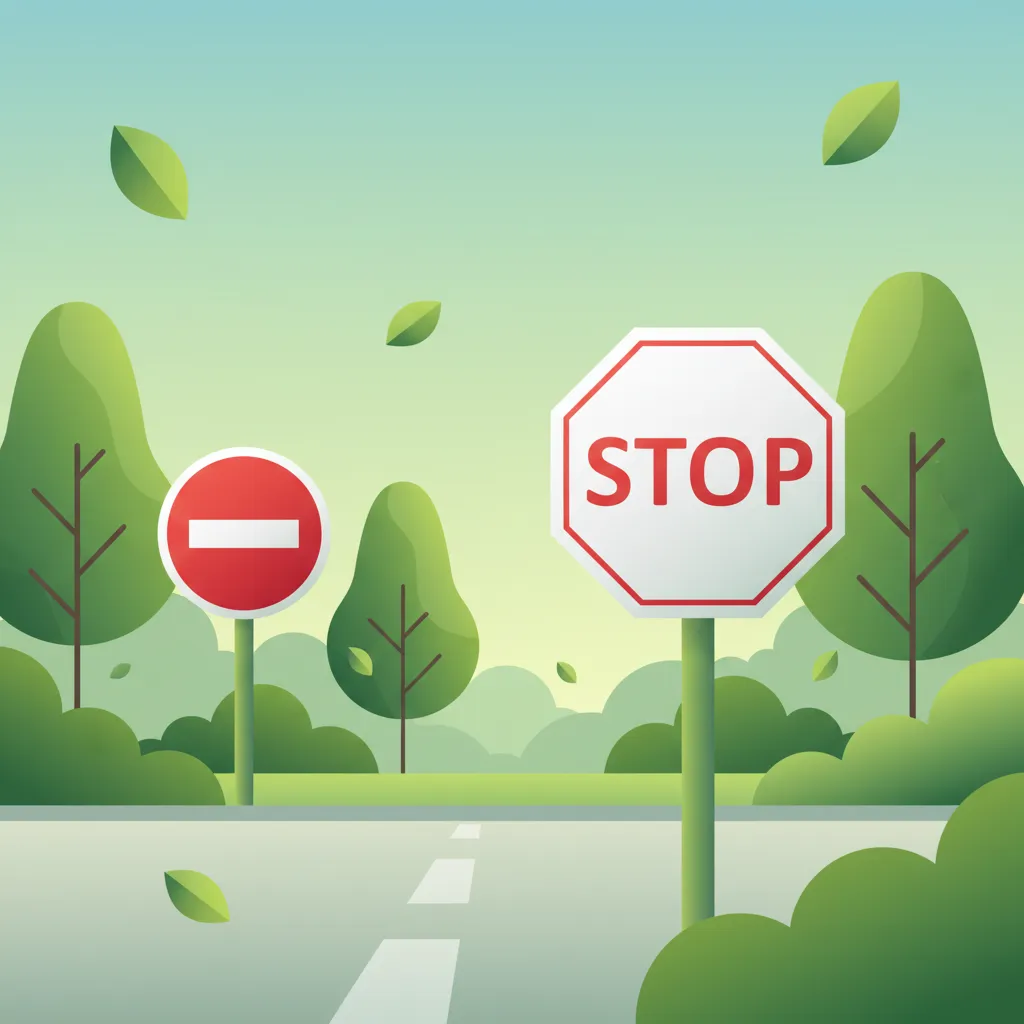
The C1 sign, depicted as a red circle with a white horizontal bar, signifies "No entry for any vehicle." This is one of the most absolute prohibition signs. When you encounter a C1 sign, you are forbidden from entering the road or area in the direction of the sign, regardless of the type of vehicle you are driving. It is commonly used at the end of one-way streets, at the entrance to roundabouts from the wrong direction, or on private roads where access is restricted.
The C2 sign means "No entry for motor vehicles." This sign prohibits cars, motorcycles, and other motor vehicles from entering a specific road or area. However, it does not restrict pedestrians, cyclists, or mopeds (unless otherwise specified by additional signs). You often find this sign at the entrance to pedestrian-only zones, environmental zones, or areas prioritizing non-motorized traffic.
The C3 sign, featuring a white pedestrian symbol, prohibits pedestrians from entering a designated area. This is commonly seen in places where pedestrian access would be unsafe or disruptive, such as on bus lanes, tunnels, or certain industrial zones.
The C4 sign, showing a white bicycle symbol, forbids cyclists from entering a particular road or path. This might be used to direct cyclists to alternative, safer routes or to keep certain lanes clear for other traffic, such as at a bus lane or complex intersection where cyclists need to follow a different path.
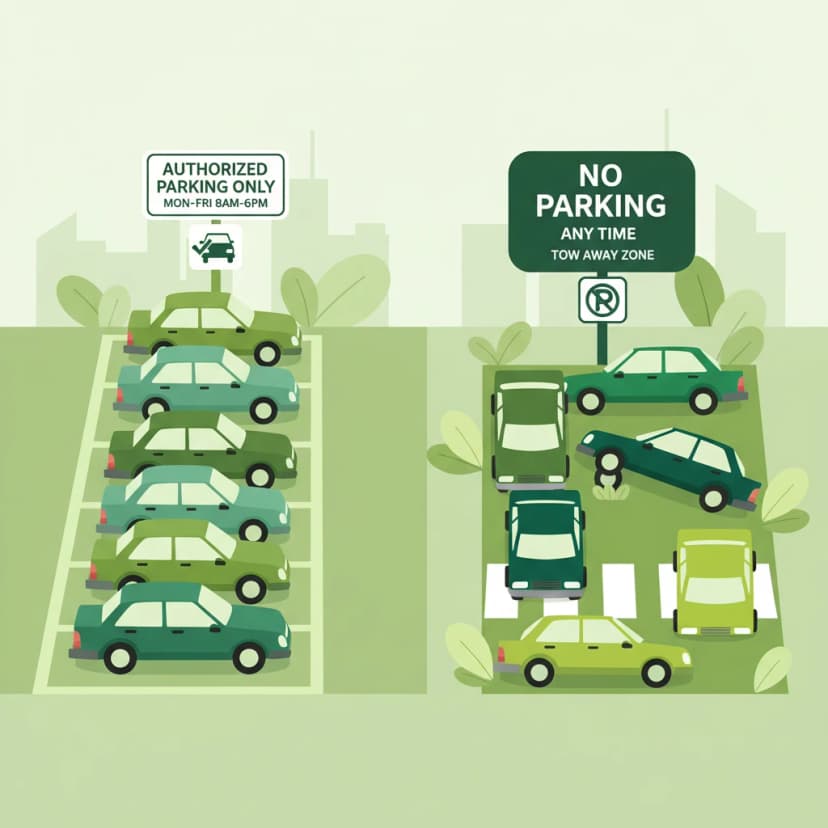
The C5 sign is specifically for "No entry for parking." While the name might seem a bit confusing, this sign prohibits vehicles from parking in the area beyond the sign. This is different from "No stopping" (which we will cover in the F-series) as it permits brief stops for dropping off passengers or loading/unloading goods, provided the driver remains with the vehicle.
The C6 sign, depicting two cars side-by-side (one red, one black), means "No entry for passing." This sign prohibits drivers from overtaking other motor vehicles, excluding two-wheeled motor vehicles, in the zone following the sign. It is typically placed on single-lane bridges, narrow roads, or stretches of road with limited visibility where overtaking would be dangerous.
The C7 sign indicates "No entry for turning" in a specific direction, usually depicted by a white arrow pointing left or right, crossed out with a red line. This sign prevents drivers from making a turn at an intersection or junction, guiding them to proceed straight or take an alternative route. It is common on one-way streets or where specific turning movements are restricted to manage traffic flow.
The C8 sign means "No entry for motorcycles with a trunk." This specialized sign prohibits motorcycles equipped with a sidecar or a large trunk that alters their typical profile and maneuverability. You might encounter this sign on specific bike lanes or narrow paths where such vehicles could pose a hazard or obstruction. Drivers of scooters with substantial luggage attachments should also consider if this sign applies to them.
The C9 sign signifies "No entry for vehicles with a large load." This sign restricts access for vehicles that exceed specific dimensions or weight limits due to their cargo. It is typically found at access roads to construction sites, bridges with weight restrictions, or tunnels with height limitations. Even if you are not driving a heavy vehicle, if your vehicle's load makes it oversized, this sign applies to you.
The F-series prohibition signs primarily focus on parking and stopping regulations, managing where and for how long vehicles may remain stationary. These are critical for maintaining traffic flow, emergency access, and urban planning.
The F1 sign means "No parking." This sign is a blue circle with a single red diagonal line from the top left to the bottom right. It prohibits drivers from parking their vehicle in the area where the sign is present. However, it does permit brief stops for immediate loading/unloading of goods or for passengers to get in or out, provided the driver remains with the vehicle and can move it immediately if required. Parking longer than necessary or leaving the vehicle unattended would be a violation.
The F2 sign signifies "No stopping." This sign is a blue circle with a red cross (two diagonal lines). It is a more stringent prohibition than F1, meaning you are forbidden from stopping or parking your vehicle in the designated area, even for a brief moment. The only exceptions are when you are forced to stop due to traffic conditions (e.g., a traffic jam or red light) or an emergency. You cannot stop to drop off or pick up passengers, load/unload goods, or even wait briefly with your engine running.
The F3 sign indicates "No parking for a short time." This sign is usually accompanied by a supplementary panel that specifies the hours or days during which the parking prohibition applies (e.g., "08:00–20:00"). Outside these specified hours, parking may be permitted. The core meaning is similar to F1 (no parking), but its applicability is time-bound. A typical rule is that drivers should not stop for longer than 3 minutes, or not leave the vehicle.
Similar to F3, the F4 sign means "No stopping for a short time." It features the F2 "No stopping" symbol combined with a supplementary panel detailing specific hours (e.g., "22:00–06:00"). During these hours, all stopping and parking are strictly forbidden, identical to the F2 rule. Outside these hours, the prohibition does not apply, unless other signs are present.
The F5 sign prohibits "No stopping for heavy vehicles." This sign features the F2 "No stopping" symbol along with a supplementary panel or symbol specifically indicating heavy vehicles (e.g., a truck symbol). This restriction applies only to trucks, buses, and other large vehicles during their operating hours, usually to prevent obstruction in sensitive areas. Lighter vehicles are not subject to this specific prohibition but must still comply with any other general parking/stopping rules.
Corresponding to F5, the F6 sign denotes "No parking for heavy vehicles." It combines the F1 "No parking" symbol with a supplementary panel indicating heavy vehicles. This sign restricts parking for trucks and buses. Again, lighter vehicles are not directly affected by this specific prohibition, but general rules apply.
The F7 sign means "No turning." This sign typically displays a curved arrow (often pointing left, then crossed out) indicating that vehicles are prohibited from making any turn at the upcoming intersection or junction. This helps streamline traffic flow and prevent dangerous maneuvers, especially in complex areas or during peak hours.
The F8 sign specifically prohibits "No U-turn." This sign shows a white U-turn arrow crossed out with a red line. Drivers are forbidden from making a U-turn where this sign is present. U-turns are often restricted at intersections, on busy roads, or near pedestrian crossings to prevent collisions and maintain traffic order.
The F9 sign means "No parking behind the post." This is a more localized sign, often accompanied by an arrow pointing to a specific area, typically behind a physical barrier, bollard, or entrance. It prohibits parking in that designated space, ensuring clear access or preventing obstruction.
Prohibition signs frequently appear in conjunction with other types of road signs, requiring drivers to interpret the full context of the signage.
It is common to see prohibition signs combined with supplementary panels indicating specific times, distances, or vehicle types. For example, an F1 "No parking" sign might have a panel below it stating "Ma-Vr 09:00-17:00" (Monday-Friday 9 AM to 5 PM), meaning the prohibition only applies during those hours on weekdays.
Crucially, a prohibition sign always overrides other less restrictive rules. If a directional sign suggests a left turn, but a C7 "No turning left" sign is present, the prohibition sign takes absolute precedence. This hierarchical application is fundamental for safety; red prohibition signs demand immediate compliance regardless of other indicators.
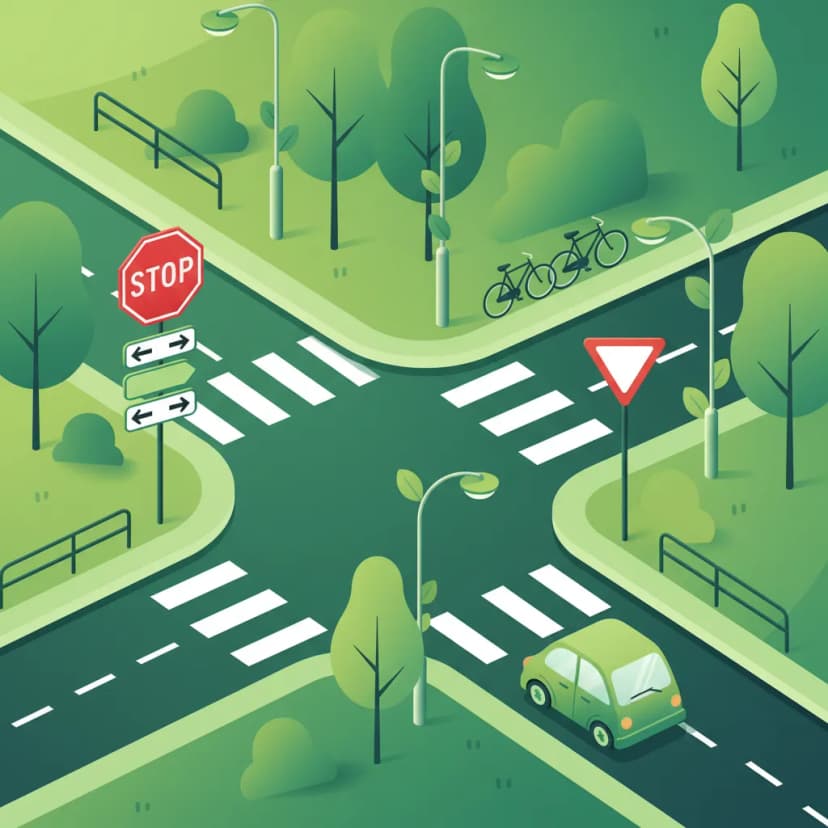
Prohibition signs are particularly critical at intersections and roundabouts. They dictate entry and exit rights, prevent dangerous turns, and manage complex traffic flows. For instance, a C1 "No entry for any vehicle" sign at a roundabout entrance from the wrong direction is a clear warning that must be obeyed to prevent head-on collisions. Similarly, F8 "No U-turn" signs are often found at busy intersections to prevent traffic disruption.
Compliance with prohibition signs is legally mandated under Dutch traffic law. The "Reglement Verkeersregels en Verkeerstekens 1990" (RVV 1990) provides the legal framework.
Violations of these regulations can lead to significant fines and, in some cases, demerit points on your license or even temporary suspension, especially for repeated offenses.
Even experienced drivers can sometimes misinterpret or overlook prohibition signs, leading to common violations.
The application and interpretation of prohibition signs can be influenced by various conditions.
Effectively recognizing and obeying Dutch prohibition signs is a cornerstone of responsible driving. These mandatory instructions, with their distinctive red borders, are designed to prevent dangerous conflicts, manage traffic flow, and ensure the safety of all road users.
By understanding the specific meanings of the C-series (entry and maneuver restrictions) and F-series (parking and stopping restrictions) signs, drivers can make informed decisions, avoid legal penalties, and contribute to a more orderly and secure road environment. Always be vigilant for these critical signs, remember their hierarchical authority over other rules, and adjust your driving behavior accordingly. Your ability to correctly interpret these signs is fundamental to passing your driving theory test and, more importantly, to becoming a safe and confident driver on Dutch roads.
Lesson content overview
Explore all units and lessons included in this driving theory course.
Explore search topics learners often look for when studying Prohibition Sign Identification. These topics reflect common questions about road rules, driving situations, safety guidance, and lesson level theory preparation for learners in the Netherlands.
Browse additional driving theory lessons that cover connected traffic rules, road signs, and common driving situations related to this topic. Improve your understanding of how different rules interact across everyday traffic scenarios.
Explore how Dutch prohibition signs like 'No Entry' and 'No Parking' are applied in complex traffic scenarios and special road types. Understand their interaction with other traffic rules for safe driving.

This lesson introduces warning signs, which are designed to alert drivers to potential dangers or changes in road layout ahead. You will learn to interpret the triangular-shaped signs that indicate hazards such as sharp curves, slippery road surfaces (J27), or upcoming road works (J8). The curriculum explains how these signs help in anticipating risks and adjusting driving behavior accordingly, such as reducing speed or increasing alertness. A thorough understanding of warning signs is vital for proactive and defensive driving in various environments.
This lesson focuses on regulatory signs, which impose legal obligations on drivers and are essential for maintaining traffic order. You will learn to identify and act upon fundamental signs such as the octagonal B6 Stop sign, the diamond-shaped B1 Priority Road sign, and various compulsory direction arrows. The content explains the legal implications of these signs, detailing when a driver must stop completely, when they have priority, or the required path they must follow. Understanding these commands is crucial for safe and lawful driving at intersections and on designated routes.

This lesson offers an in-depth study of Dutch regulatory signs, which impose mandatory actions or prohibitions on road users, with a specific focus on their impact on motorcyclists. It explains the visual language of prohibition symbols ('verbodsborden') and obligation symbols ('verplichtingsborden'), the contexts in which they appear, and the strict statutory consequences of non-compliance. Real-world examples are used to illustrate how these signs directly influence route planning, overtaking decisions, and speed management.

This lesson focuses on Dutch regulatory signs that enforce mandatory rules and restrictions, particularly those impacting A2 motorcyclists. You will learn to recognize and obey prohibition signs, such as those indicating a motorcycle ban (BORD 40), speed limits, and overtaking restrictions (BORD 21). The content explains the legal consequences of non-compliance and how to apply these rules in practical riding scenarios to ensure full adherence to Dutch traffic law.
This lesson covers the most critical category of traffic signs: regulatory signs, which impose a legal obligation or prohibition. You will learn the precise meaning and required action for essential signs such as the B6 Stop sign, which mandates a full stop, and the C2 No Entry sign, which forbids access. Understanding the shapes, colors, and symbols of these signs is fundamental to safe driving and a major focus of the official CBR theory test.
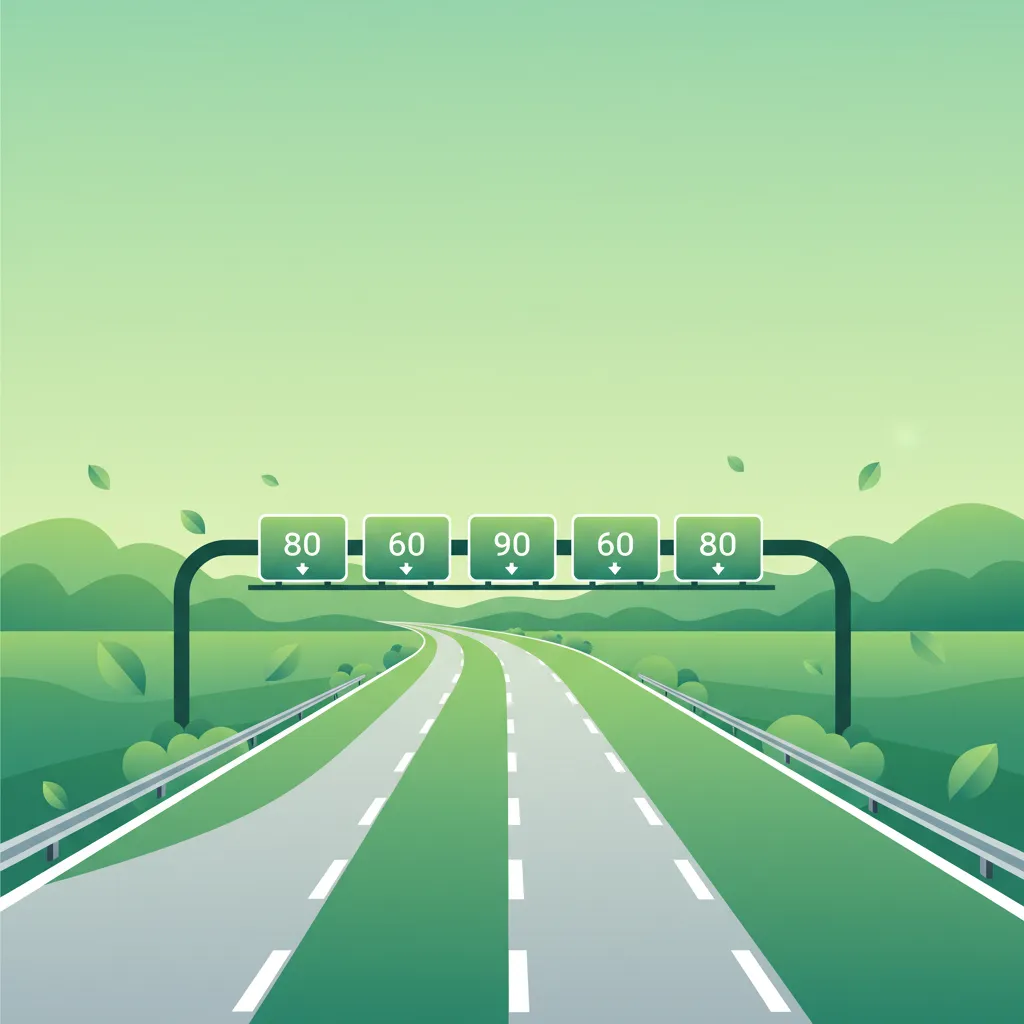
This lesson explains how to respond to variable speed limits shown on overhead electronic signs, which are used to manage traffic flow in real-time. You will learn why these limits are adjusted for factors like congestion, accidents, or bad weather, and the legal requirement to obey them. The content focuses on the importance of anticipatory riding, scanning far ahead for these signs to allow for smooth and safe speed adjustments.
This lesson clarifies the legal distinction between stopping (briefly, while the driver remains with the vehicle) and parking (leaving the vehicle). You will learn to recognize signs and road markings, such as yellow lines, that indicate where stopping or parking is prohibited. The curriculum covers rules for parking in designated zones, such as blue zones requiring a parking disc, and provides a list of locations where parking is always forbidden, for example, on a cycle path or too close to an intersection.
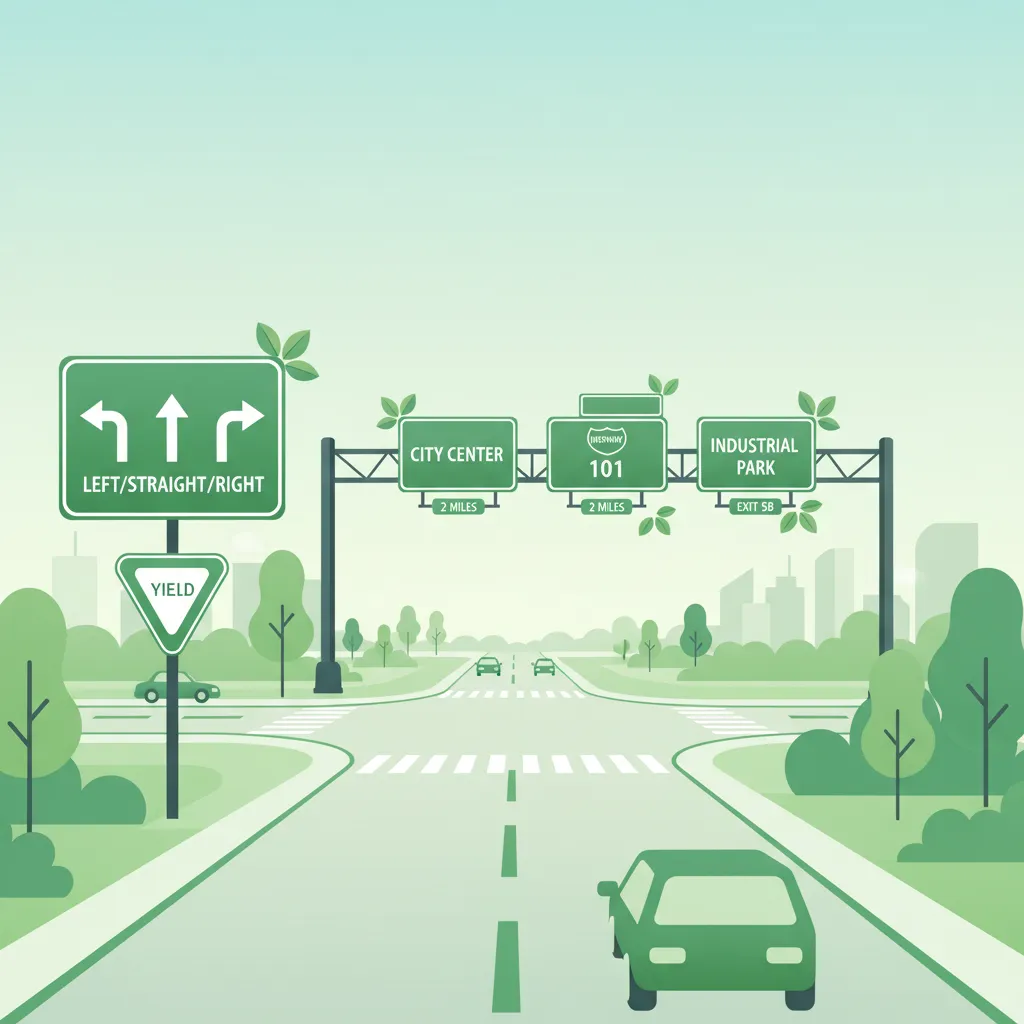
This lesson focuses on the array of signs used to manage traffic at intersections and along multi-lane roads. You will learn to interpret overhead gantry signs, lane designation signs, and markings that guide drivers into the correct lane for their intended direction. The curriculum covers signs indicating priority at upcoming junctions, such as the B3 and B4 signs, which clarify right-of-way rules in complex scenarios. Proper interpretation of these signs is essential for smooth lane changes, efficient navigation, and preventing conflicts at junctions.
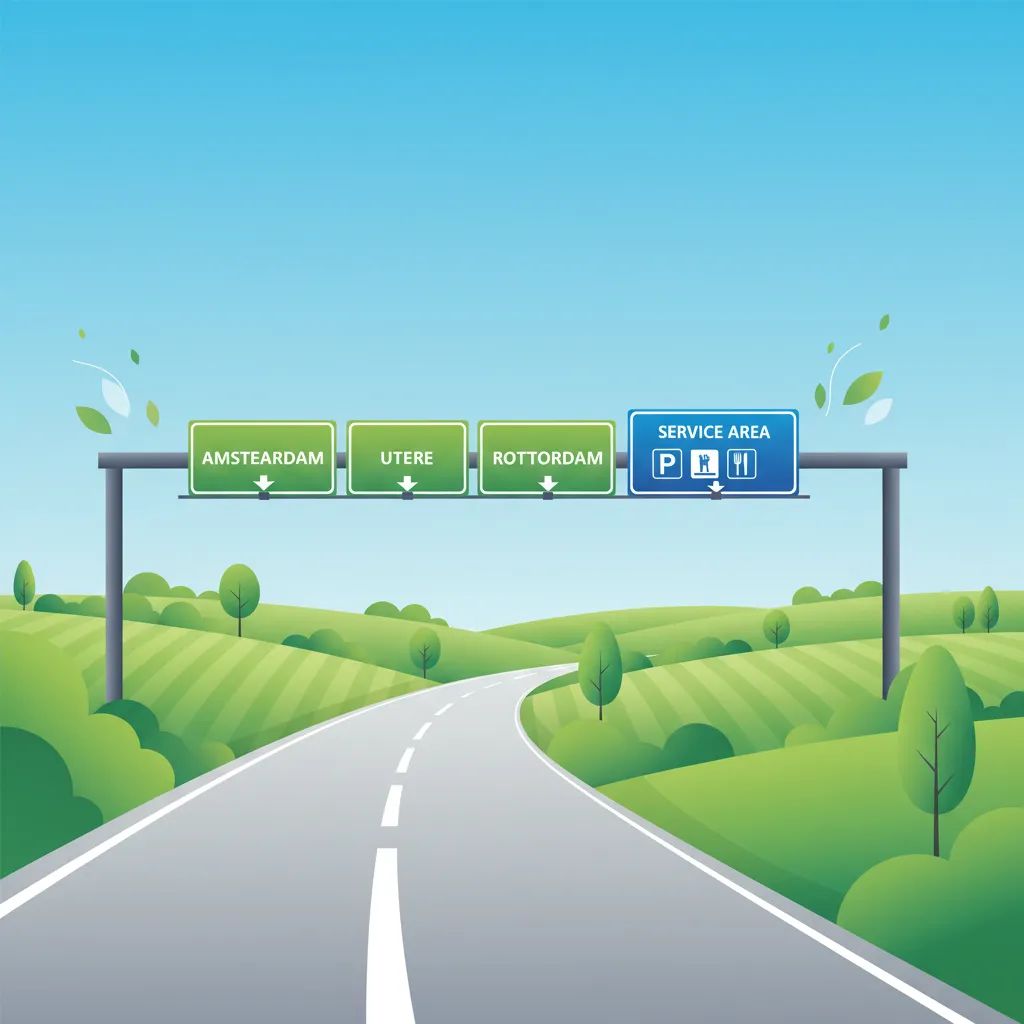
This lesson explains how to interpret informational signs that provide guidance and navigational aid. You will learn to read directional signs indicating cities and locations, understand route numbering on major roads, and recognize signs for services like fuel stations or parking areas. It also covers the signs that mark the beginning and end of a built-up area ('bebouwde kom'), which have important implications for speed limits and traffic rules.
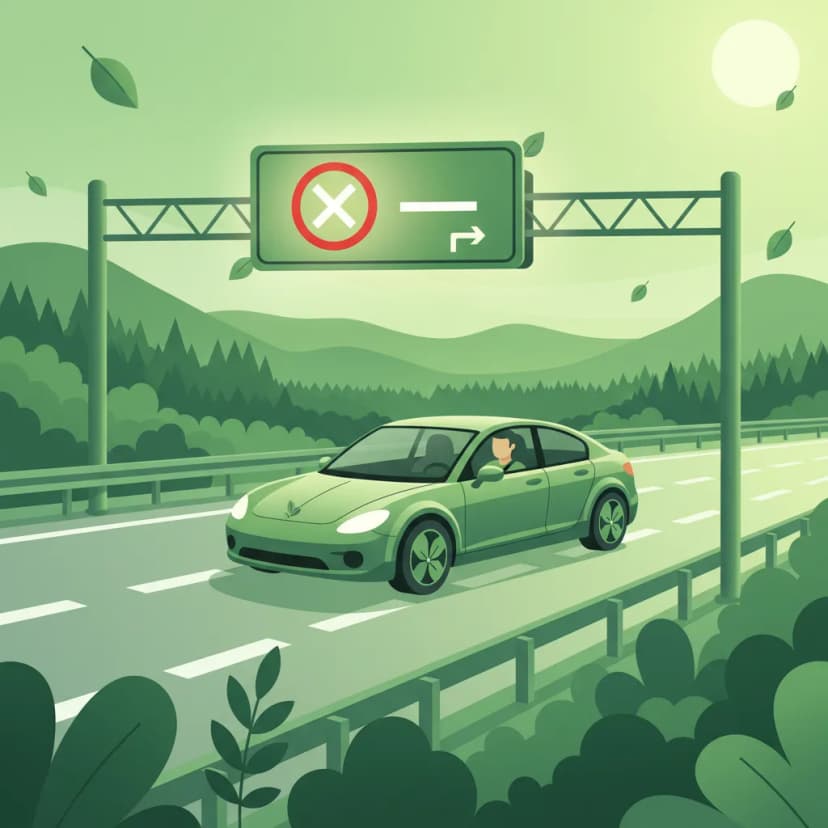
This lesson examines the function and interpretation of variable message signs (VMS) and other digital displays that provide real-time traffic information on Dutch roads. It explains how these systems communicate dynamic speed limits, congestion alerts, lane closures, and diversion routes, and how motorcyclists must legally comply with these instructions. Understanding these 'matrixborden' is critical for adapting to changing road conditions and ensuring safety on motorways and in tunnels.
Learn how to interpret the hierarchy of Dutch traffic signs, focusing on how mandatory prohibition signs take precedence over other rules. Essential for navigating complex traffic situations.
This lesson focuses on the array of signs used to manage traffic at intersections and along multi-lane roads. You will learn to interpret overhead gantry signs, lane designation signs, and markings that guide drivers into the correct lane for their intended direction. The curriculum covers signs indicating priority at upcoming junctions, such as the B3 and B4 signs, which clarify right-of-way rules in complex scenarios. Proper interpretation of these signs is essential for smooth lane changes, efficient navigation, and preventing conflicts at junctions.
This lesson breaks down the rules of priority at intersections. You will learn to identify an 'equal' intersection where the default rule of giving way to traffic from the right applies. It also explains how priority is regulated by signs (such as the B6 Stop sign and B7 priority road sign) and road markings ('shark's teeth'). Understanding these hierarchies is crucial for making safe and correct decisions when crossing or turning at any junction.
This lesson focuses on regulatory signs, which impose legal obligations on drivers and are essential for maintaining traffic order. You will learn to identify and act upon fundamental signs such as the octagonal B6 Stop sign, the diamond-shaped B1 Priority Road sign, and various compulsory direction arrows. The content explains the legal implications of these signs, detailing when a driver must stop completely, when they have priority, or the required path they must follow. Understanding these commands is crucial for safe and lawful driving at intersections and on designated routes.
This lesson introduces warning signs, which are designed to alert drivers to potential dangers or changes in road layout ahead. You will learn to interpret the triangular-shaped signs that indicate hazards such as sharp curves, slippery road surfaces (J27), or upcoming road works (J8). The curriculum explains how these signs help in anticipating risks and adjusting driving behavior accordingly, such as reducing speed or increasing alertness. A thorough understanding of warning signs is vital for proactive and defensive driving in various environments.

This lesson details the specific regulations for driving on Dutch motorways, identifiable by the G1 sign. You will learn the correct procedure for joining the flow of traffic using the acceleration lane and for leaving via the deceleration lane. The curriculum reinforces the 'keep right unless overtaking' rule for lane discipline. It also explains that stopping is strictly forbidden, and the hard shoulder (vluchtstrook) may only be used for genuine emergencies.

This lesson introduces the foundational principles of right-of-way in the Netherlands, starting with the road user hierarchy and the default rule of giving priority to traffic from the right at equal intersections. You will learn to identify a priority road, marked by sign BORD 30, and understand how this designation overrides the default rule. The content establishes the legal framework for making priority decisions in the absence of specific signs or signals.

This lesson covers the full range of lights and signals required on a vehicle for visibility and communication. You will learn about the mandatory requirements for headlights, taillights, brake lights, indicators, and reflectors. The curriculum emphasizes the driver's legal responsibility to ensure all lights are clean and functional before every journey. The correct use and function of the horn as an audible warning device in case of imminent danger are also explained.
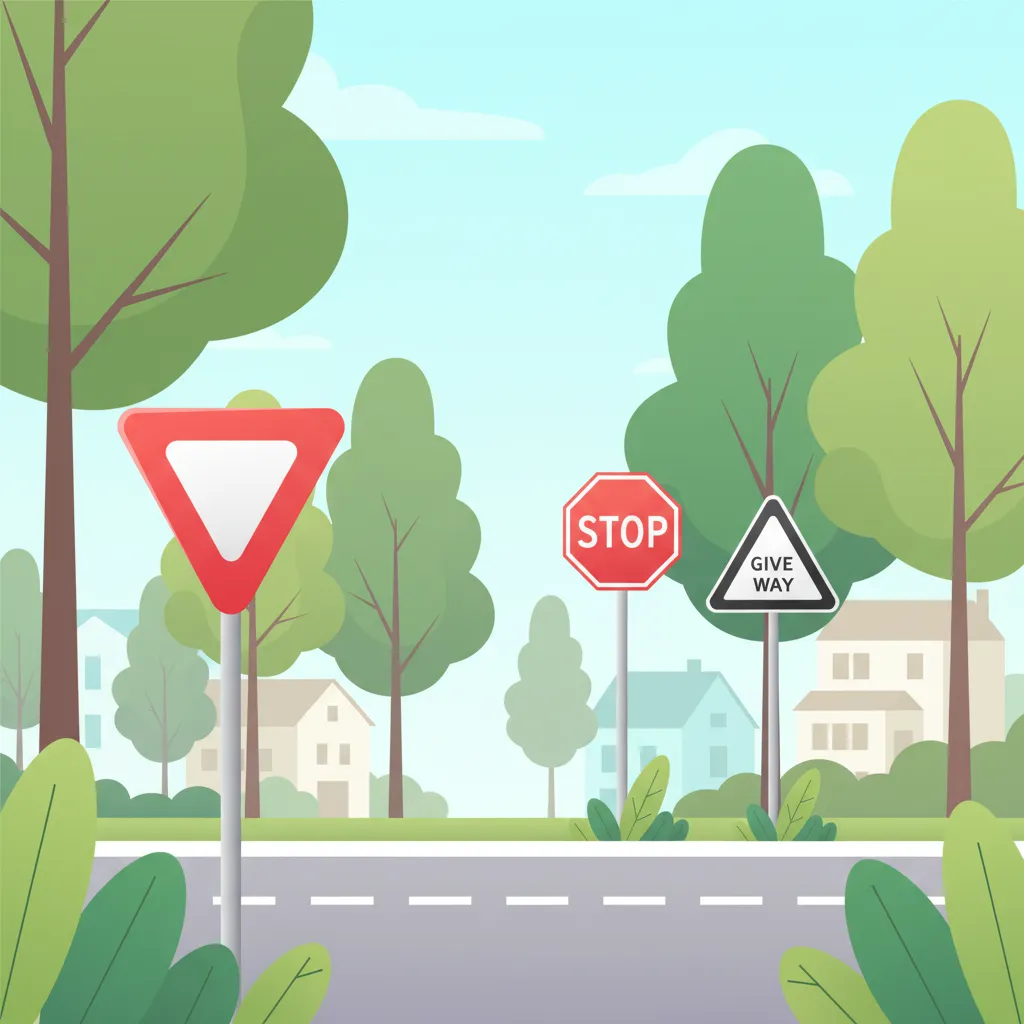
This lesson details the function of signs and markings that explicitly assign priority at intersections. You will learn the difference between the B5 yield sign, which requires giving way to intersecting traffic, and the B6 stop sign, which mandates a complete stop before proceeding. The content also covers the 'haaientanden' (shark teeth) road markings, which function similarly to a yield sign. Understanding how these signs interact with priority road signs (B1) is essential for correctly navigating controlled intersections.
This lesson explains how to interpret informational signs that provide guidance and navigational aid. You will learn to read directional signs indicating cities and locations, understand route numbering on major roads, and recognize signs for services like fuel stations or parking areas. It also covers the signs that mark the beginning and end of a built-up area ('bebouwde kom'), which have important implications for speed limits and traffic rules.
This lesson clarifies the legal distinction between stopping (briefly, while the driver remains with the vehicle) and parking (leaving the vehicle). You will learn to recognize signs and road markings, such as yellow lines, that indicate where stopping or parking is prohibited. The curriculum covers rules for parking in designated zones, such as blue zones requiring a parking disc, and provides a list of locations where parking is always forbidden, for example, on a cycle path or too close to an intersection.
Find clear answers to common questions learners have about Prohibition Sign Identification. Learn how the lesson is structured, which driving theory objectives it supports, and how it fits into the overall learning path of units and curriculum progression in the Netherlands. These explanations help you understand key concepts, lesson flow, and exam focused study goals.
Most prohibition signs in the Netherlands are circular with a red border. The colour red typically indicates a prohibition or a danger. Inside the red circle, a symbol or text will specify the forbidden action or restriction.
The C2 'No Entry' sign means no vehicles are allowed to enter the road or area from the direction you are approaching. The C1 'No Vehicles' sign generally prohibits all vehicles, often used for pedestrian zones or specific areas where no motorised traffic is permitted at all.
Yes, the F1 'No Parking' sign prohibits stopping for longer than necessary to pick up or drop off passengers or goods. This is different from 'No Stopping' signs (often a red circle with a red cross or two red circles). Understanding these nuances is key for exam questions.
Ignoring a prohibition sign is a serious traffic violation. During your practical driving test, this would likely result in an immediate failure because it demonstrates a lack of understanding of traffic rules and a potential hazard to yourself and others.
Not always. Some prohibition signs, like 'No Overtaking,' apply only to specific types of vehicles or situations. Always read the sign carefully and consider any accompanying supplementary signs (onderbord) which might provide further details or exceptions.