
Welcome to the "Stopping and Parking Rules" lesson, a key part of our "Complete Guide to the Dutch Driving Theory Test (Category B)" curriculum. This lesson clarifies the crucial differences between stopping and parking, helping you correctly interpret traffic signs and road markings. Mastering these rules is essential for both passing your CBR theory exam and ensuring smooth, safe traffic flow on Dutch roads.

Navigating the roads of the Netherlands requires a thorough understanding of not just how to drive, but also where and how to safely and legally stop or park your vehicle. Incorrect stopping or parking can lead to fines, inconvenience for other road users, and significantly increase the risk of accidents. This comprehensive lesson will clarify the crucial distinctions between stopping and parking, explain the various signs and road markings, and detail the specific regulations you must adhere to to ensure safe and compliant vehicle placement.
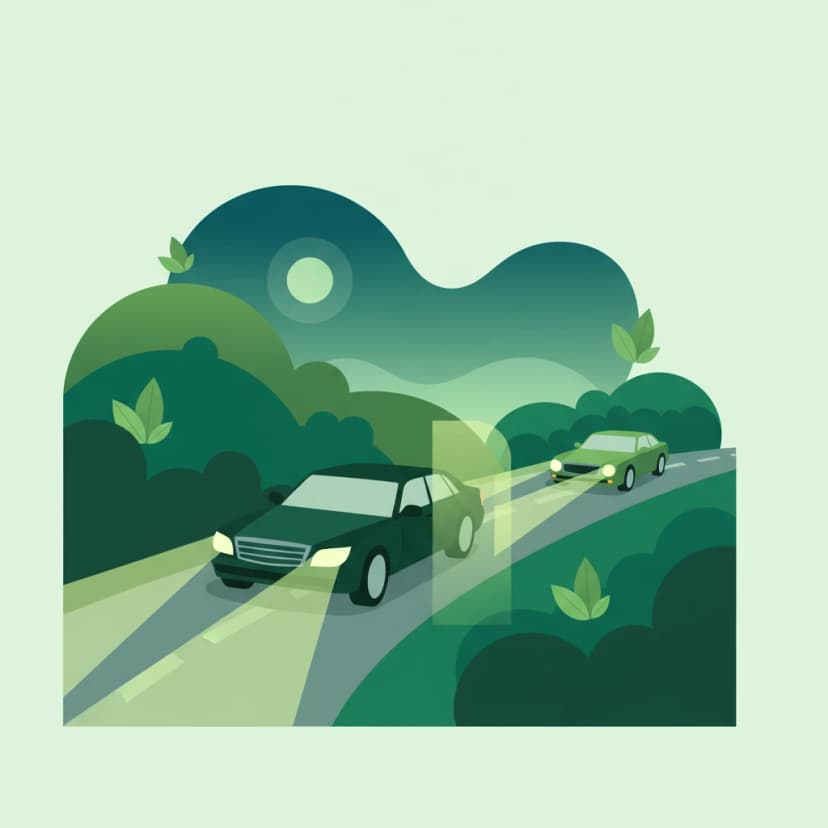
In Dutch traffic law, there is a fundamental difference between stopping and parking. These two actions have distinct legal definitions and are governed by different rules, which is essential for every driver to comprehend.
Stopping (Dutch: stoppen) refers to a temporary cessation of vehicle movement, where the driver remains in control of the vehicle and is either present inside or immediately adjacent to it. This pause is typically brief and may be for purposes such as picking up or dropping off passengers, loading or unloading goods, or waiting for a traffic light to change.
Stopping is permitted in many locations where parking is prohibited, provided it does not obstruct traffic flow or pose a danger to other road users. For example, stopping at a red traffic light, momentarily pausing at a pedestrian crossing to allow someone to pass, or briefly pulling over to let a passenger exit are all forms of stopping. The key element is the driver's active presence and immediate ability to move the vehicle. Generally, a brief stop is considered to be up to 3 minutes, unless otherwise indicated by signs or road markings.
Parking (Dutch: parkeren) occurs when a vehicle is left unattended by the driver, typically for a longer duration, with the intention of continuing another activity or allowing someone else to use the vehicle. This means the driver has exited the vehicle and is no longer in immediate control of it.
Parking is subject to much stricter regulations than stopping. These rules often involve time limits, designated parking areas, and the use of parking discs or payment systems. When you park, your vehicle becomes a stationary object that can potentially obstruct traffic, reduce visibility, or pose a hazard if not placed correctly and legally. Examples include leaving your car in a parking bay while you go shopping, parking at home, or leaving your vehicle in a designated parking zone.
The legal distinction between stopping and parking is critical because different rules, signs, and penalties apply to each. Misinterpreting these rules can lead to fines or even the towing of your vehicle. For instance, a "No Parking" sign (B8) generally permits brief stopping, whereas a "No Stopping" sign (B6) prohibits both stopping and parking completely. Understanding this nuance allows drivers to comply with traffic regulations, contribute to smoother traffic flow, and enhance road safety for everyone in the Netherlands.
Traffic signs are primary indicators of stopping and parking regulations. Recognizing these signs and understanding their implications is fundamental to safe and legal driving in the Netherlands.
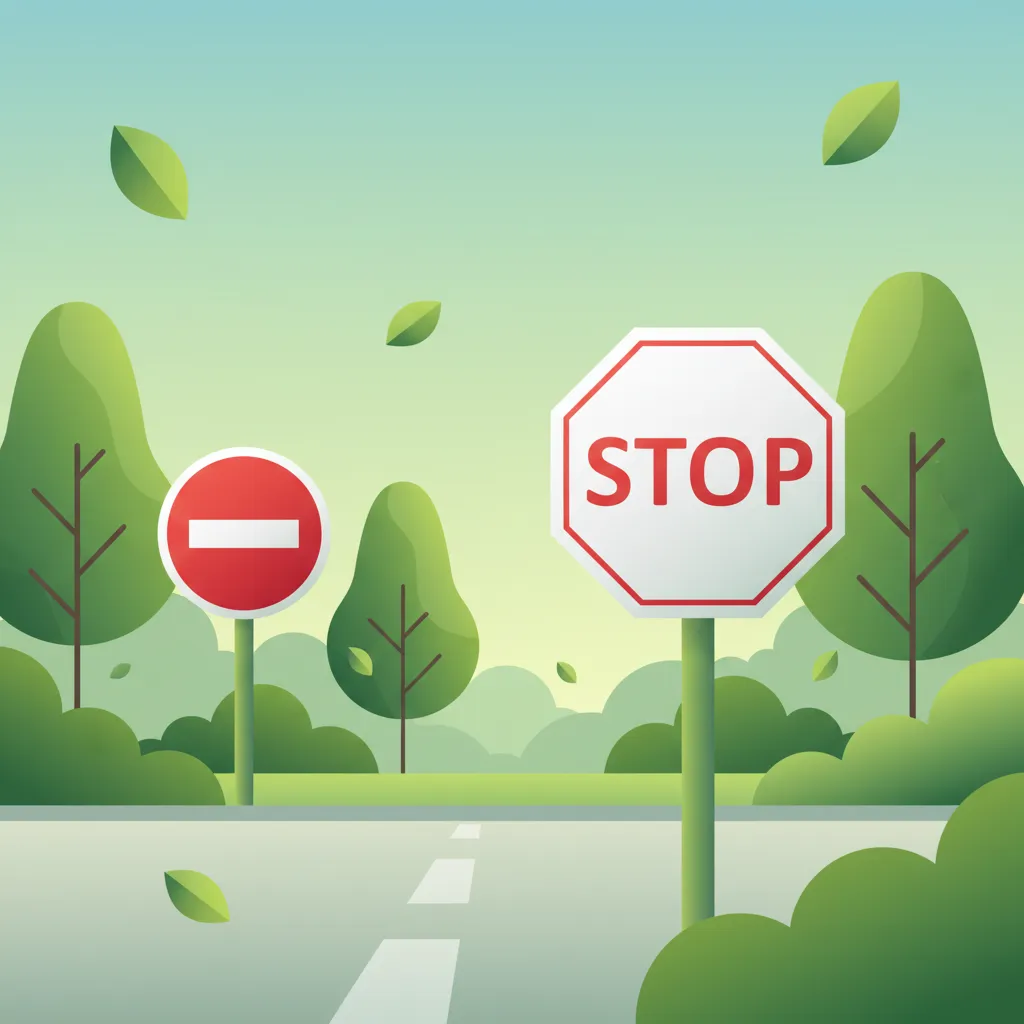
The B6 sign is one of the most stringent regulatory signs regarding vehicle stops. It features a blue circle with a red border and a single red diagonal line through it. When you encounter this sign, it means you cannot stop your vehicle there, even for a moment, to pick up or drop off passengers or goods, or for any other reason, unless it's due to an immediate emergency (e.g., a breakdown, medical emergency, or instructions from a traffic officer). This prohibition ensures that critical areas remain clear for traffic flow and safety.
The B8 sign is also a blue circle with a red border, but it features a red diagonal cross (two diagonal lines). This sign indicates that parking is forbidden, but brief stopping is generally allowed. This means you may stop to let someone out, pick someone up, or quickly load/unload items, provided you remain with the vehicle and do not obstruct other traffic. However, you cannot leave your vehicle unattended in an area marked with a B8 sign.
Variations of the B8 sign (e.g., B8a, B8b) might include additional information such as specific times when parking is prohibited, or indicate exceptions for certain vehicles (e.g., loading zones). Always pay attention to any supplementary panels below the sign.
Blue zones (Dutch: blauwe zones) are common in residential areas and town centres where parking space is limited and turnover is encouraged. The B3 sign is a blue square with a white letter 'P' and often includes a white parking disc symbol. Within these zones, you are allowed to park for a specified maximum duration (e.g., 30 minutes, 1 hour, or 24 hours), but you must display a parking disc (parkeerschijf). The disc must clearly show your arrival time, rounded up to the next half-hour. We will delve deeper into correct parking disc usage later in this lesson.
Green zones (Dutch: groene zones) are specifically designated parking spaces for people with reduced mobility. These are typically marked with a green square sign featuring a white wheelchair symbol. Only vehicles displaying a valid disabled parking permit may use these spaces. Parking in a green zone without a valid permit is a serious offence and will result in significant penalties, as these spaces are crucial for accessibility.
While the specific sign for "No parking on cycle path" may not always be labelled C1, the principle is clear. Cycle paths (Dutch: fietspaden) are vital infrastructure for cyclists and must always remain clear. Parking on a cycle path is strictly forbidden, even for brief stops, as it obstructs cyclists, forcing them into the main roadway and creating dangerous situations. Often, a sign showing a bicycle symbol with a red cross or a red border will indicate this prohibition, but even without a specific sign, parking on a cycle path is generally illegal due to general traffic regulations.
In addition to signs, road markings provide crucial information about stopping and parking regulations. These lines painted on the road surface or curb complement signs and can indicate prohibitions or allowances.
A single continuous yellow line painted along the edge of the road or curb indicates that parking is prohibited, but brief stopping is allowed. This means you may stop to load or unload goods, or to pick up or drop off passengers, provided you remain with your vehicle and do not impede traffic. The duration of such a stop should be minimal, typically no longer than a few minutes. This marking is often found near bus stops, pedestrian crossings, or other areas where maintaining traffic flow is important but short temporary stops are sometimes necessary.
A double continuous yellow line along the edge of the road or curb signifies an absolute prohibition on both stopping and parking. This is the equivalent of a B6 "No Stopping" sign. You cannot stop your vehicle here under any circumstances, except in an immediate emergency or if instructed by a traffic officer. Double yellow lines are used in critical areas such as tunnels, underpasses, close to intersections, or at sharp bends where stopping would severely compromise safety and visibility.
A single continuous white line along the road or curb usually indicates that parking is prohibited, but brief stopping is allowed for specific purposes. This marking is often seen at bus stops or taxi stands. Similar to a single yellow line, you can stop to pick up or drop off passengers or goods, but you cannot leave your vehicle unattended. However, the exact rules for white lines can sometimes vary slightly depending on local municipal regulations and accompanying signage. Always look for additional signs that clarify the exact nature of the prohibition.
Designated parking zones are designed to manage parking space efficiently and ensure accessibility. Understanding the specific rules for these zones is vital.
As mentioned earlier, blue zones require the use of a parking disc (Dutch: parkeerschijf).
Always keep a valid parking disc in your vehicle, especially when driving in urban or residential areas in the Netherlands. They are inexpensive and widely available.
Green zones are strictly reserved for drivers holding a valid disabled parking permit. This permit must be displayed clearly on the dashboard or windscreen of the vehicle. These spaces are strategically located to provide easy access to facilities for individuals with mobility challenges. Misuse of these spaces not only results in fines but also denies access to those who truly need it, making it a particularly serious offense. These rules apply 24/7, regardless of time of day or day of the week.
Beyond specific signs and markings, there are general locations where stopping and parking are inherently prohibited due to safety and traffic flow considerations.
Stopping or parking at an intersection or within 5 meters of a road junction is generally forbidden, even if no specific B8 or B6 sign is present. This rule is crucial for maintaining clear sightlines for drivers entering or exiting the junction and preventing obstructions that could lead to collisions. Vehicles parked too close to an intersection can block the view of oncoming traffic or make turning manoeuvres difficult for larger vehicles.
Parking is prohibited within a certain distance of bus stops to ensure buses can easily pull in and out and passengers can safely board and alight. The specific distance can vary, but generally, it applies to the entire area designated as the bus stop. Similarly, parking near fire stations, police stations, or other emergency service access points is strictly forbidden to ensure emergency vehicles have unimpeded access at all times. Look for B8 signs with additional symbols or local signage.
Stopping or parking inside tunnels, underpasses, or on bridges is universally prohibited. Tunnels and underpasses have specific safety protocols, including ventilation and emergency access, which would be compromised by parked vehicles. Visibility is often restricted, and the risk of fire or other incidents is higher in enclosed spaces. On bridges, parked vehicles can add unnecessary weight, obstruct emergency services, or block viewpoints. Even without explicit signage, these are considered no-stopping and no-parking zones.
As emphasized earlier, parking on cycle paths (fietspaden) or pedestrian lanes (voetpaden) is never allowed. These areas are dedicated to vulnerable road users, and any obstruction poses a direct threat to their safety. This prohibition extends to parking partially on a cycle path or pavement. Always ensure your vehicle is fully off these designated areas when parking.
The proper use of a parking disc (parkeerschijf) in blue zones is crucial to avoid fines. Let's reiterate the essentials.
Traffic rules can sometimes be influenced by external conditions or the specific context of the road.
While adverse weather conditions like heavy rain or snow increase driving risks, they do not generally override stopping and parking prohibitions. A "no stopping" zone (double yellow line or B6 sign) remains a no-stopping zone. However, in emergency situations caused by extreme weather (e.g., severe whiteout making it unsafe to proceed), a temporary emergency stop might be unavoidable. In such rare cases, hazard lights should always be used.
Stopping and parking rules are generally more stringent in urban areas due to higher traffic density, limited space, and the presence of more vulnerable road users. Blue zones, restricted parking times, and a higher density of no-parking/no-stopping signs are common. In rural areas, rules might seem less restrictive, but general prohibitions (e.g., parking on cycle paths, at intersections, or obstructing farm access) still apply. Always be vigilant for specific local signage.
On motorways (autosnelwegen) and provincial roads (autowegen), stopping or parking is strictly prohibited on the carriageway, hard shoulder (emergency lane), or acceleration/deceleration lanes. The only exceptions are designated rest areas, service stations, or in an immediate emergency (e.g., breakdown). Even then, if possible, you should move your vehicle fully off the roadway and use hazard lights and a warning triangle.
If you are driving a vehicle with a trailer or a particularly long/wide load, you must be even more cautious about where you stop or park. Such vehicles require more space and can significantly obstruct visibility or traffic flow if not positioned carefully. Ensure you choose a spot where the entire vehicle combination is safely and legally accommodated, especially considering turning radii and overall length. Parking on a regular street in a manner that obstructs an entire lane because of a trailer is generally forbidden.
Parking is absolutely forbidden on a pedestrian crossing (zebra crossing) and within a distance of 5 meters before it. This rule ensures that pedestrians are always visible to approaching drivers and that drivers have a clear view of the crossing. Stopping briefly on a pedestrian crossing to pick up passengers is also illegal.
Failing to comply with stopping and parking rules in the Netherlands can lead to various penalties.
stopping (brief pause, driver present) and parking (leaving vehicle unattended).By diligently adhering to these stopping and parking rules, you contribute to a safer, more efficient, and compliant driving environment in the Netherlands.
Lesson content overview
Explore all units and lessons included in this driving theory course.
Explore search topics learners often look for when studying Stopping and Parking Rules. These topics reflect common questions about road rules, driving situations, safety guidance, and lesson level theory preparation for learners in the Netherlands.
Browse additional driving theory lessons that cover connected traffic rules, road signs, and common driving situations related to this topic. Improve your understanding of how different rules interact across everyday traffic scenarios.
Understand the strict Dutch traffic rules and road markings like double yellow lines that prohibit stopping and parking. Learn about restricted zones, intersections, and motorways to avoid violations.
This lesson covers prohibition signs, which are used to forbid specific maneuvers or restrict access for certain vehicles. You will study the characteristics of these signs, typically circular with a red border, such as the C2 'No Entry for any vehicle' or the F1 'No Parking' sign. The content details the legal consequences of ignoring these prohibitions and explains how they contribute to traffic flow and safety in congested or sensitive areas. Recognizing these signs is fundamental to avoiding fines and dangerous situations on the road.
This lesson focuses on regulatory signs, which impose legal obligations on drivers and are essential for maintaining traffic order. You will learn to identify and act upon fundamental signs such as the octagonal B6 Stop sign, the diamond-shaped B1 Priority Road sign, and various compulsory direction arrows. The content explains the legal implications of these signs, detailing when a driver must stop completely, when they have priority, or the required path they must follow. Understanding these commands is crucial for safe and lawful driving at intersections and on designated routes.
This lesson provides step-by-step instructions for common parking maneuvers. You will learn the techniques for parallel parking along the roadside and for entering a parking bay, both forwards and backwards (reverse bay parking). The content emphasizes the importance of slow, controlled movements and continuous observation for pedestrians and other vehicles. Additionally, the lesson covers how to properly secure the vehicle after parking by using the handbrake and selecting the correct gear.
This lesson covers the procedures and safety considerations for driving in reverse and turning around. You will learn that reversing should only be done over short distances and when it does not endanger or obstruct other road users. The curriculum details techniques for turning in the road and identifies situations and locations where U-turns are prohibited. The importance of all-around observation, checking blind spots, and yielding to all other traffic is a central theme.

This lesson clarifies the specific Dutch regulations concerning stopping and parking for motorcycles, including designated parking bays and rules for parking on pavements. It also covers the mandatory procedures for safely navigating tunnels, such as required lighting, lane discipline, and actions to take during a breakdown or emergency. By understanding these rules, riders can avoid fines and navigate these specific traffic situations with confidence.

This lesson introduces warning signs, which are designed to alert drivers to potential dangers or changes in road layout ahead. You will learn to interpret the triangular-shaped signs that indicate hazards such as sharp curves, slippery road surfaces (J27), or upcoming road works (J8). The curriculum explains how these signs help in anticipating risks and adjusting driving behavior accordingly, such as reducing speed or increasing alertness. A thorough understanding of warning signs is vital for proactive and defensive driving in various environments.

This lesson offers an in-depth study of Dutch regulatory signs, which impose mandatory actions or prohibitions on road users, with a specific focus on their impact on motorcyclists. It explains the visual language of prohibition symbols ('verbodsborden') and obligation symbols ('verplichtingsborden'), the contexts in which they appear, and the strict statutory consequences of non-compliance. Real-world examples are used to illustrate how these signs directly influence route planning, overtaking decisions, and speed management.
This lesson covers the most critical category of traffic signs: regulatory signs, which impose a legal obligation or prohibition. You will learn the precise meaning and required action for essential signs such as the B6 Stop sign, which mandates a full stop, and the C2 No Entry sign, which forbids access. Understanding the shapes, colors, and symbols of these signs is fundamental to safe driving and a major focus of the official CBR theory test.
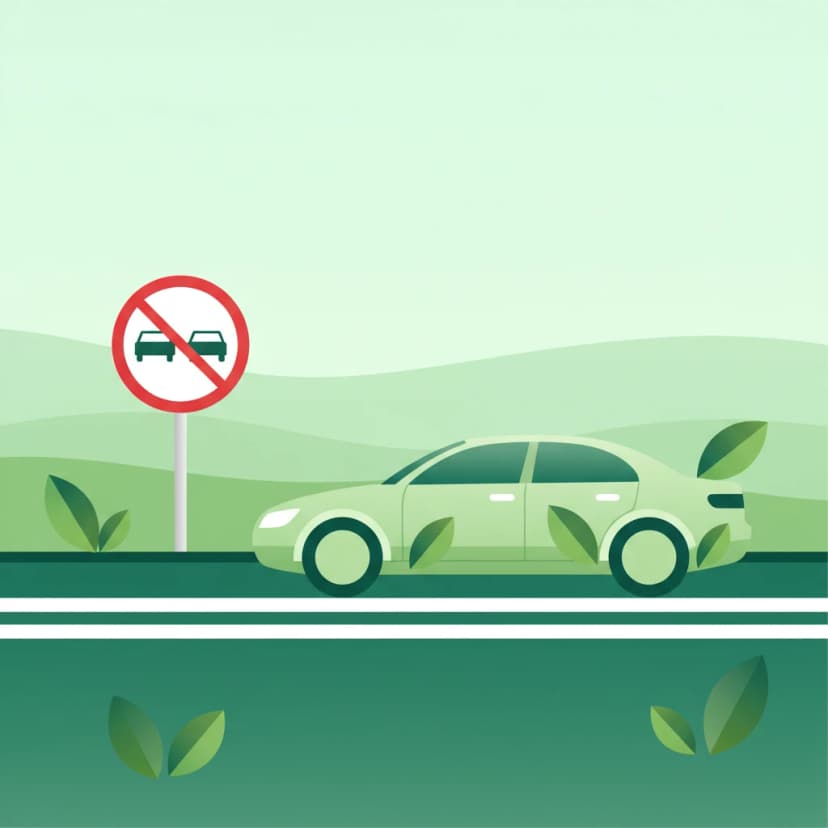
This lesson provides a detailed guide on the rules and safety precautions for overtaking. You will learn that overtaking must almost always be done on the left and requires careful judgment of speed and distance. The content covers situations where overtaking is forbidden, such as before pedestrian crossings, at intersections, or where there are solid white lines. Key steps like checking mirrors, signaling intention, checking blind spots, and returning to the lane safely are explained thoroughly.
This lesson covers the core principle of road positioning in the Netherlands: drive as far to the right as is safely possible. You will learn why this rule is critical for maintaining traffic flow and preventing conflicts with oncoming and overtaking vehicles. The curriculum explains how to apply this rule on different road types, from single-lane rural roads to multi-lane motorways. It also discusses maintaining a safe lateral distance from the edge of the road, parked cars, and vulnerable road users like cyclists.
Learn the regulations for designated parking areas in the Netherlands, including how to use a parking disc in blue zones and the rules for disabled parking spaces.
This lesson provides step-by-step instructions for common parking maneuvers. You will learn the techniques for parallel parking along the roadside and for entering a parking bay, both forwards and backwards (reverse bay parking). The content emphasizes the importance of slow, controlled movements and continuous observation for pedestrians and other vehicles. Additionally, the lesson covers how to properly secure the vehicle after parking by using the handbrake and selecting the correct gear.

This lesson explains speed limits in specially designated zones designed to protect vulnerable road users. You will learn the rules of a 'woonerf' (home zone), where the speed limit is walking pace (max 15 km/h) and pedestrians can use the full width of the road. The content also covers 30 km/h zones, common in residential areas and around schools, which are often enforced through road design like speed bumps. Understanding the purpose and rules of these zones is key to driving responsibly in urban environments.
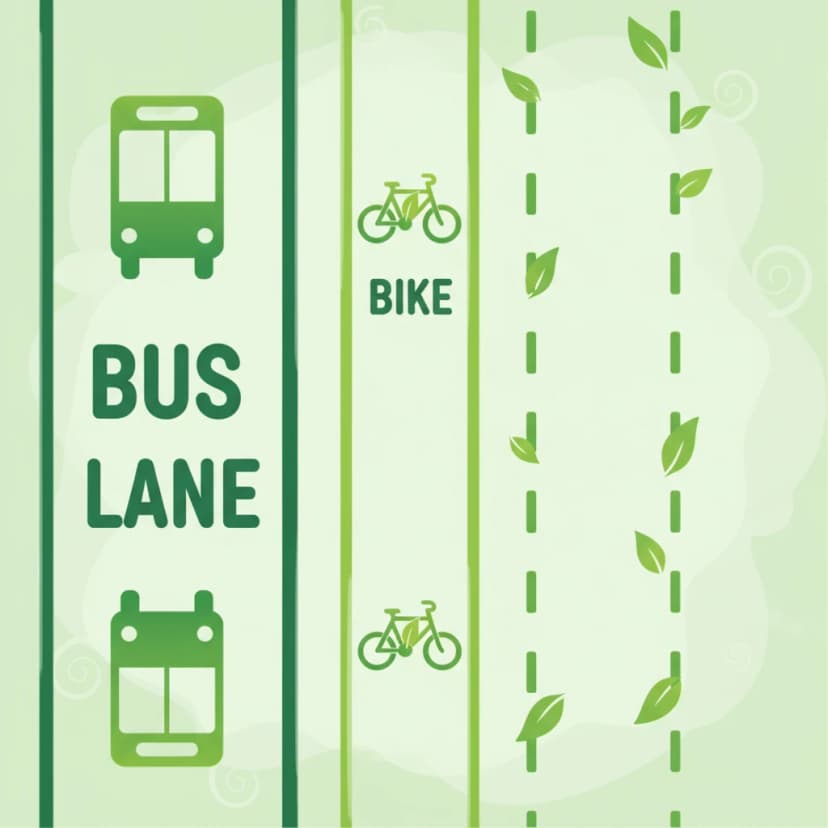
This lesson covers a variety of lanes and markings with specific rules. You will learn to recognize and respect bus lanes, which are reserved for public transport, and rush-hour lanes (spitsstrook), which are only open during busy periods as indicated by electronic signs. The curriculum also explains the meaning of different line types (solid, broken, double lines) that dictate whether lane changes or overtaking are permitted. Understanding these special lanes and markings is key to navigating Dutch infrastructure correctly.
This lesson covers the procedures and safety considerations for driving in reverse and turning around. You will learn that reversing should only be done over short distances and when it does not endanger or obstruct other road users. The curriculum details techniques for turning in the road and identifies situations and locations where U-turns are prohibited. The importance of all-around observation, checking blind spots, and yielding to all other traffic is a central theme.

This lesson details the specific regulations for driving on Dutch motorways, identifiable by the G1 sign. You will learn the correct procedure for joining the flow of traffic using the acceleration lane and for leaving via the deceleration lane. The curriculum reinforces the 'keep right unless overtaking' rule for lane discipline. It also explains that stopping is strictly forbidden, and the hard shoulder (vluchtstrook) may only be used for genuine emergencies.
This lesson details the functions of the various lights on a car and the legal requirements for their use. You will learn the difference between dipped beams (dimlicht), which are the standard headlights for night driving and poor visibility, and main beams (grootlicht), which can only be used when they won't dazzle other road users. The content also covers the use of sidelights (stadslicht) for parking and the automatic function of Daytime Running Lights (DRLs). Correct usage is vital for visibility and avoiding blinding other drivers.
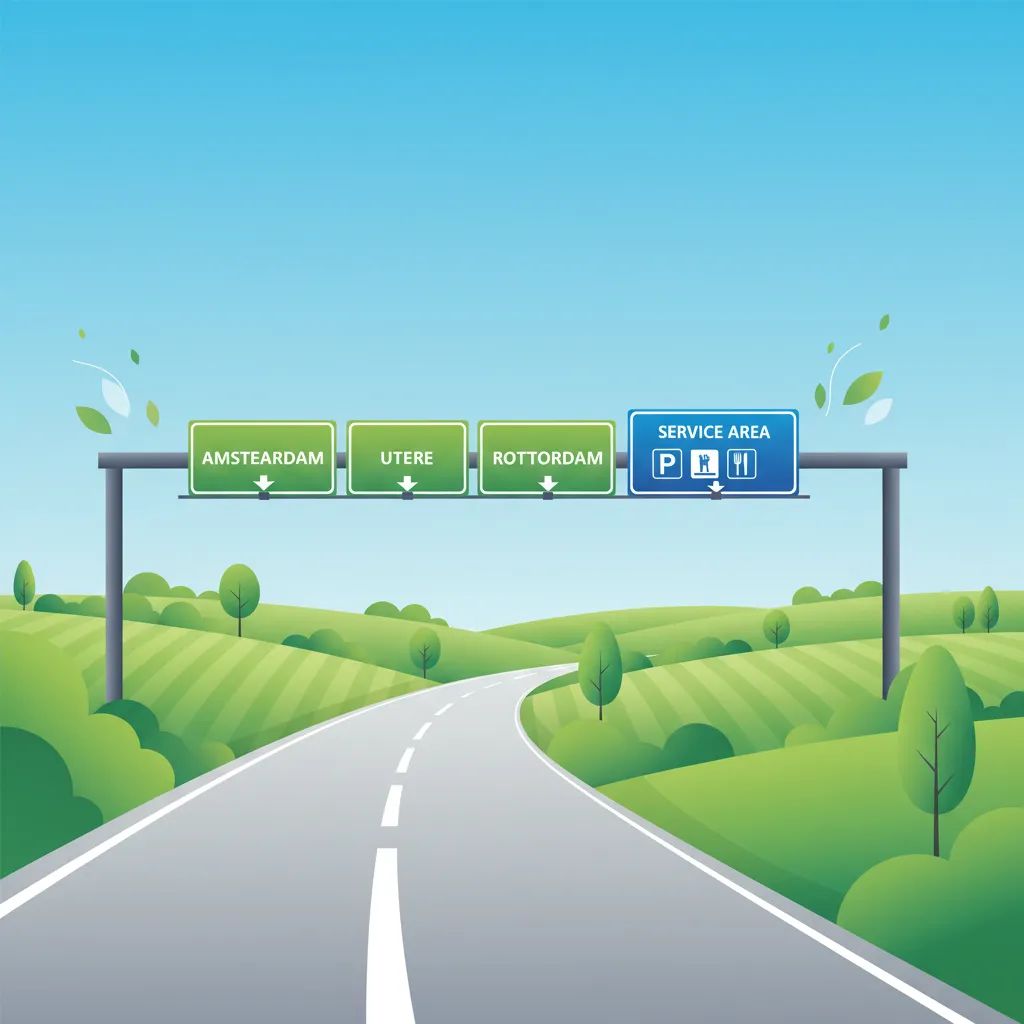
This lesson explains how to interpret informational signs that provide guidance and navigational aid. You will learn to read directional signs indicating cities and locations, understand route numbering on major roads, and recognize signs for services like fuel stations or parking areas. It also covers the signs that mark the beginning and end of a built-up area ('bebouwde kom'), which have important implications for speed limits and traffic rules.
This lesson covers the core principle of road positioning in the Netherlands: drive as far to the right as is safely possible. You will learn why this rule is critical for maintaining traffic flow and preventing conflicts with oncoming and overtaking vehicles. The curriculum explains how to apply this rule on different road types, from single-lane rural roads to multi-lane motorways. It also discusses maintaining a safe lateral distance from the edge of the road, parked cars, and vulnerable road users like cyclists.

This lesson focuses on the legal and moral responsibility to be extra vigilant around certain groups of vulnerable road users. You will learn that children can be impulsive and have poor traffic awareness, requiring drivers to be prepared to stop suddenly, especially near schools and playgrounds. The content also discusses the need for patience with elderly or disabled road users, who may move more slowly. You will learn to recognize signs of disability, like a white cane or a guide dog, and give these individuals extra space and time.
This lesson focuses on the rules governing interactions with pedestrians. You will learn the absolute requirement to stop for pedestrians who are on or clearly intending to cross at a designated zebra crossing. The curriculum also covers how to share the road in a 'woonerf' (home zone) where pedestrians have priority. It emphasizes being particularly cautious around children, the elderly, and disabled pedestrians, who may require more time or behave unpredictably.
Find clear answers to common questions learners have about Stopping and Parking Rules. Learn how the lesson is structured, which driving theory objectives it supports, and how it fits into the overall learning path of units and curriculum progression in the Netherlands. These explanations help you understand key concepts, lesson flow, and exam focused study goals.
In the Netherlands, 'stopping' means briefly pausing your vehicle, with the driver remaining in or immediately next to the car, ready to move off. 'Parking' means leaving your vehicle unattended or for a longer duration, even if you remain nearby. This distinction is crucial as rules for stopping and parking often differ.
Yellow lines, whether solid or broken, typically indicate parking or stopping prohibitions. A continuous yellow line along the edge of the roadway or pavement usually means parking is prohibited. A broken yellow line might indicate that stopping is prohibited, or parking is only allowed under specific conditions. Always check accompanying signs for precise restrictions.
Yes, Dutch law prohibits parking in several locations to ensure safety and traffic flow. This includes too close to intersections, on pedestrian crossings, on cycle paths, blocking driveways, or on a road where it could obstruct other traffic. The theory exam often tests these general prohibitions.
Blue zones are areas where parking is restricted by time, usually during specific hours, even on paid parking spots. You must display a parking disc ('parkeerschijf') showing your arrival time. The maximum parking duration, often 1 or 2 hours, is indicated by traffic signs. Exceeding this limit or failing to display the disc results in a fine.
Exam questions often present scenarios where you need to decide if a particular spot is legal for stopping or parking. They might show signs, road markings like yellow lines, or ask about general prohibitions (e.g., parking near a junction). Understanding the definitions and rules is key to selecting the correct answer.