
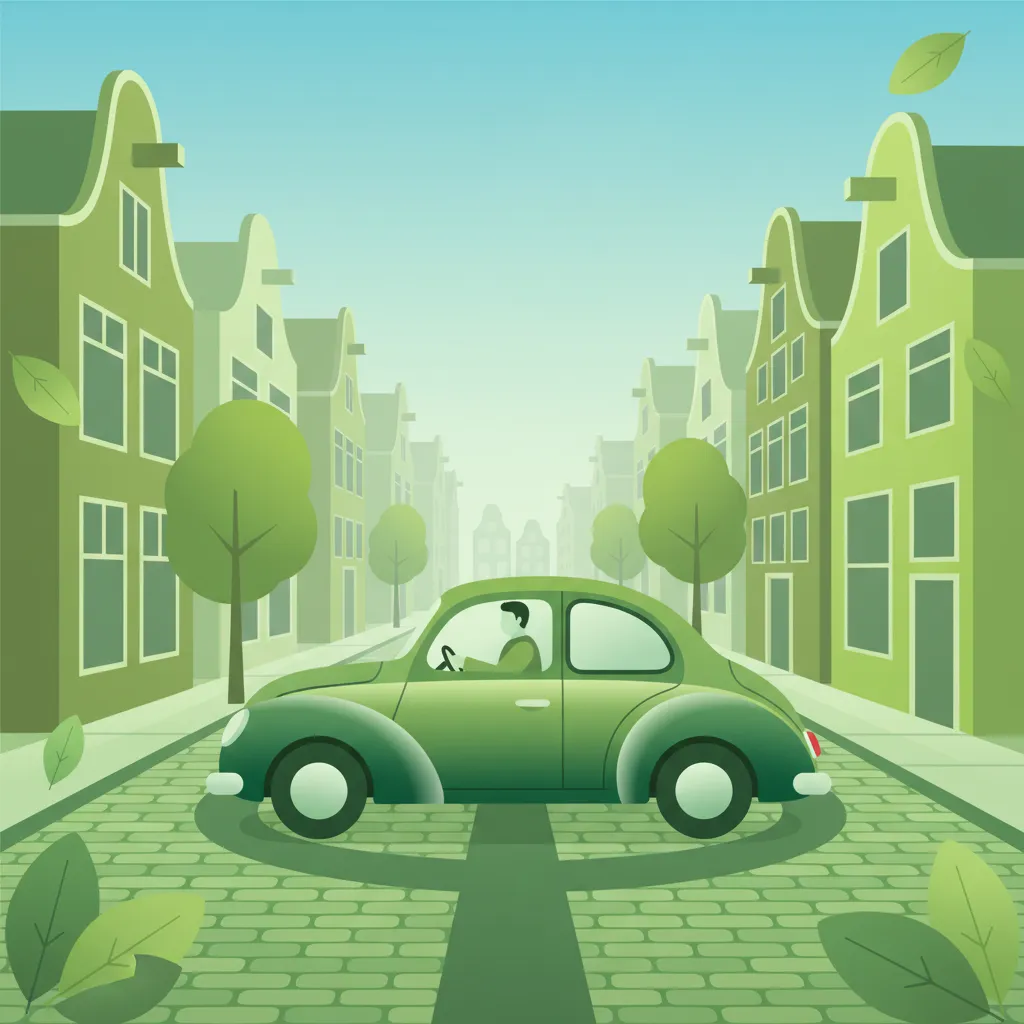
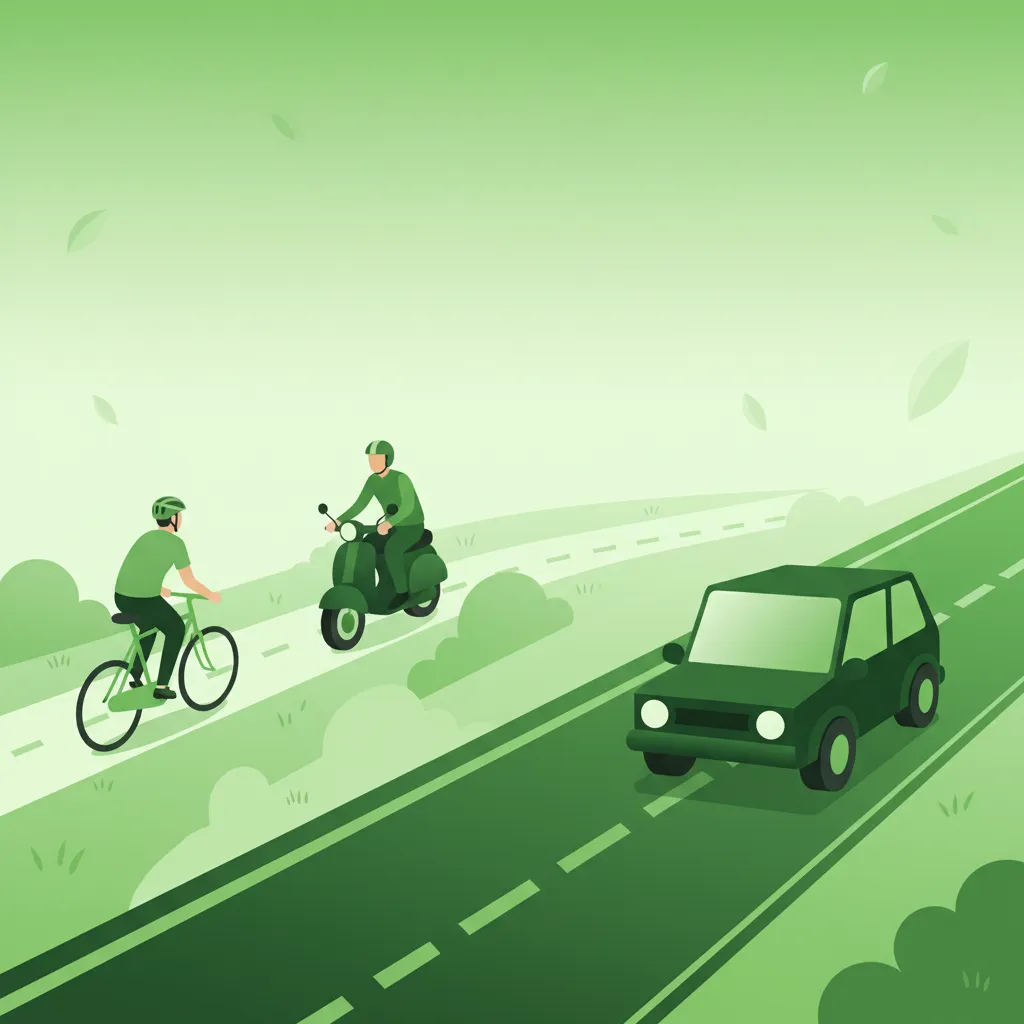
This lesson focuses on advanced low-speed control, crucial for maneuvers like making a U-turn on a narrow road. Mastering these skills, including comprehensive observation and smooth execution, is vital for your Category AM theory exam and safe real-world riding.
Lesson content overview
Explore all units and lessons included in this driving theory course.
Explore search topics learners often look for when studying U‑Turns, 180° Turns, and Narrow Path Navigation. These topics reflect common questions about road rules, driving situations, safety guidance, and lesson level theory preparation for learners in the Netherlands.
Browse additional driving theory lessons that cover connected traffic rules, road signs, and common driving situations related to this topic. Improve your understanding of how different rules interact across everyday traffic scenarios.
Understand the typical errors and dangers associated with executing U-turns and navigating narrow roads on a moped or scooter in the Netherlands. Learn to avoid common hazards and legal violations for safer riding.
This lesson covers the procedures and safety considerations for driving in reverse and turning around. You will learn that reversing should only be done over short distances and when it does not endanger or obstruct other road users. The curriculum details techniques for turning in the road and identifies situations and locations where U-turns are prohibited. The importance of all-around observation, checking blind spots, and yielding to all other traffic is a central theme.

Overtaking is a high-risk maneuver that must be executed correctly. This lesson provides a step-by-step guide: assess if it is safe and legal, check mirrors and blind spots, signal your intention, accelerate smoothly past the other vehicle, and return to your lane leaving adequate space. You will also learn to identify situations where overtaking is prohibited, such as before a pedestrian crossing or when approaching a blind corner.
Safely merging and changing lanes requires a systematic approach known as 'mirror-signal-blind spot'. This lesson explains the correct procedure for entering a carriageway from an acceleration lane, ensuring you match the speed of the traffic flow and find a safe gap. It also covers the technique for changing lanes, emphasizing the critical importance of checking your blind spot with a shoulder check (dode hoek) before making any lateral movement to prevent collisions.
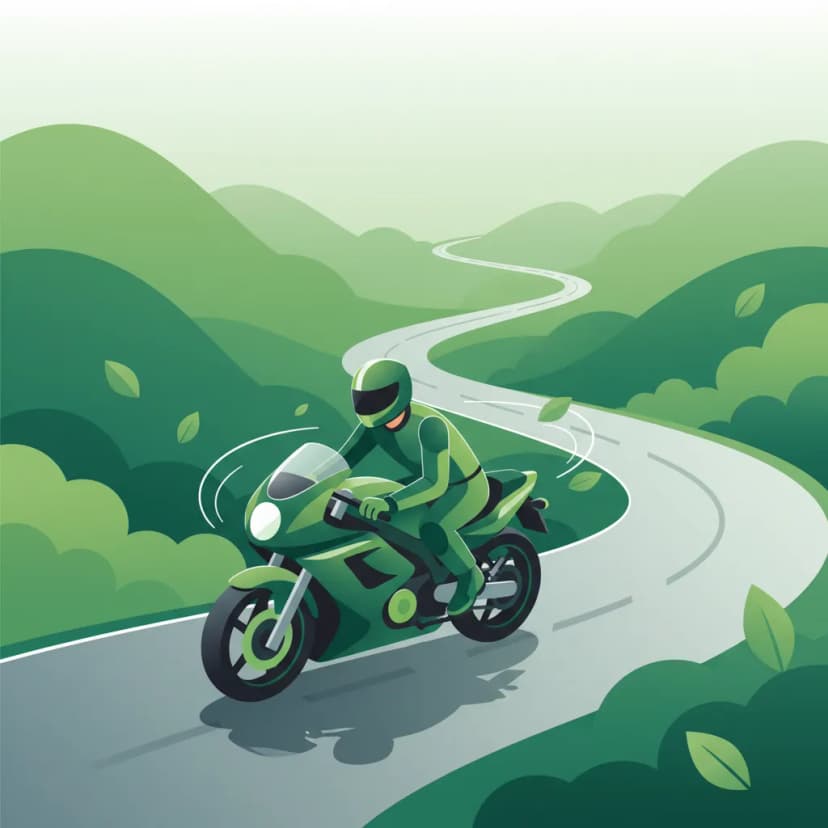
Proper cornering technique is vital for safety and stability on a two-wheeler. This lesson explains the physics of turning, including the concepts of lean angle and counter-steering. You will learn the importance of adjusting your speed before the turn, looking where you want to go, and maintaining a smooth throttle through the corner. These techniques help you maximize grip and maintain control, ensuring you can navigate bends safely.
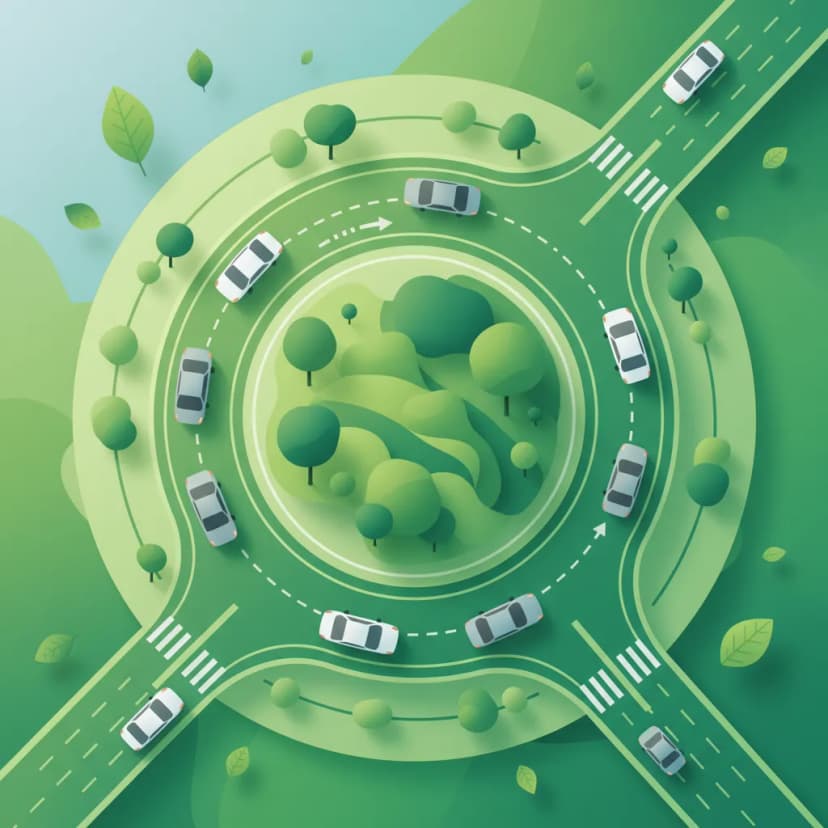
This lesson focuses on the rules and techniques for safely navigating Dutch roundabouts, a common feature of the road network. You will learn that traffic circulating on the roundabout typically has priority and that you must yield before entering. The content covers correct lane selection for your intended exit, proper use of turn signals, and maintaining awareness of cyclists who may have priority on adjacent paths.
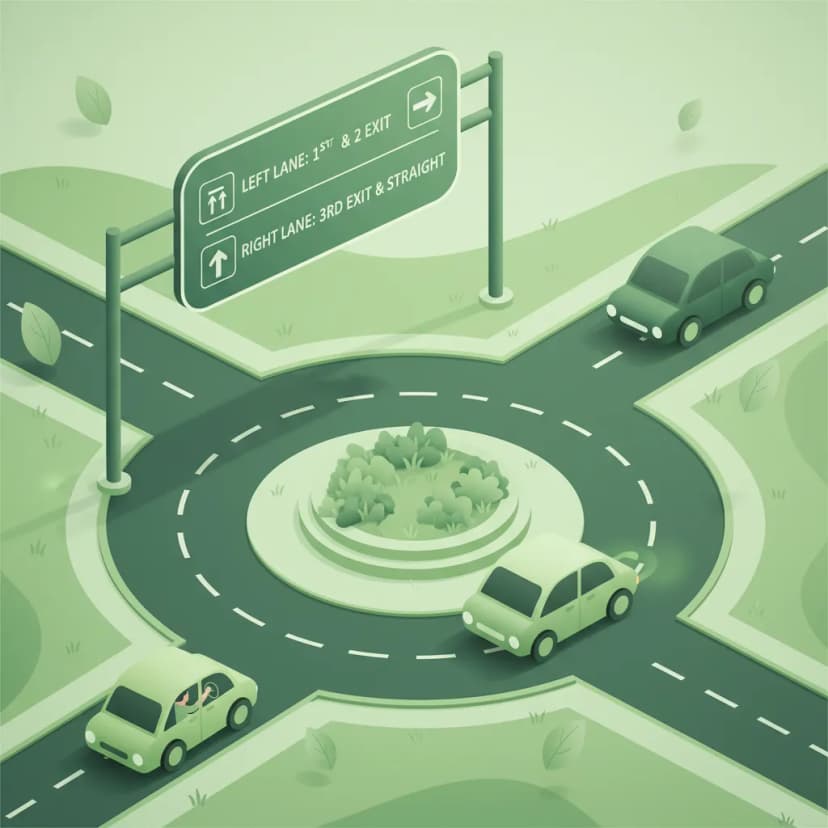
This lesson provides a detailed guide to navigating Dutch roundabouts ('rotondes'), including single-lane, multi-lane, and 'turbo' designs. It clarifies the specific priority rules that apply when entering the roundabout and the critical importance of correct signaling when changing lanes or exiting. Special attention is given to the vulnerable position of motorcyclists and the need to be aware of other vehicles' blind spots and the priority rules concerning cyclists on or near the roundabout.

This lesson provides a step-by-step guide to executing a safe and legal overtaking maneuver. It covers the entire process: assessing the situation for a sufficient gap in oncoming traffic, performing necessary mirror and shoulder checks, signaling intent, and accelerating decisively. The lesson also highlights situations where overtaking is prohibited by law, such as before pedestrian crossings or where there are solid white lines.

Defensive riding means riding to prevent collisions, despite the actions of others or the conditions around you. This lesson teaches the core principles of this proactive safety strategy. Key techniques include managing the space cushion around your vehicle, positioning yourself in your lane for maximum visibility, constantly planning an escape route, and communicating your intentions clearly to other road users. This mindset acknowledges your vulnerability and empowers you to take control of your own safety.
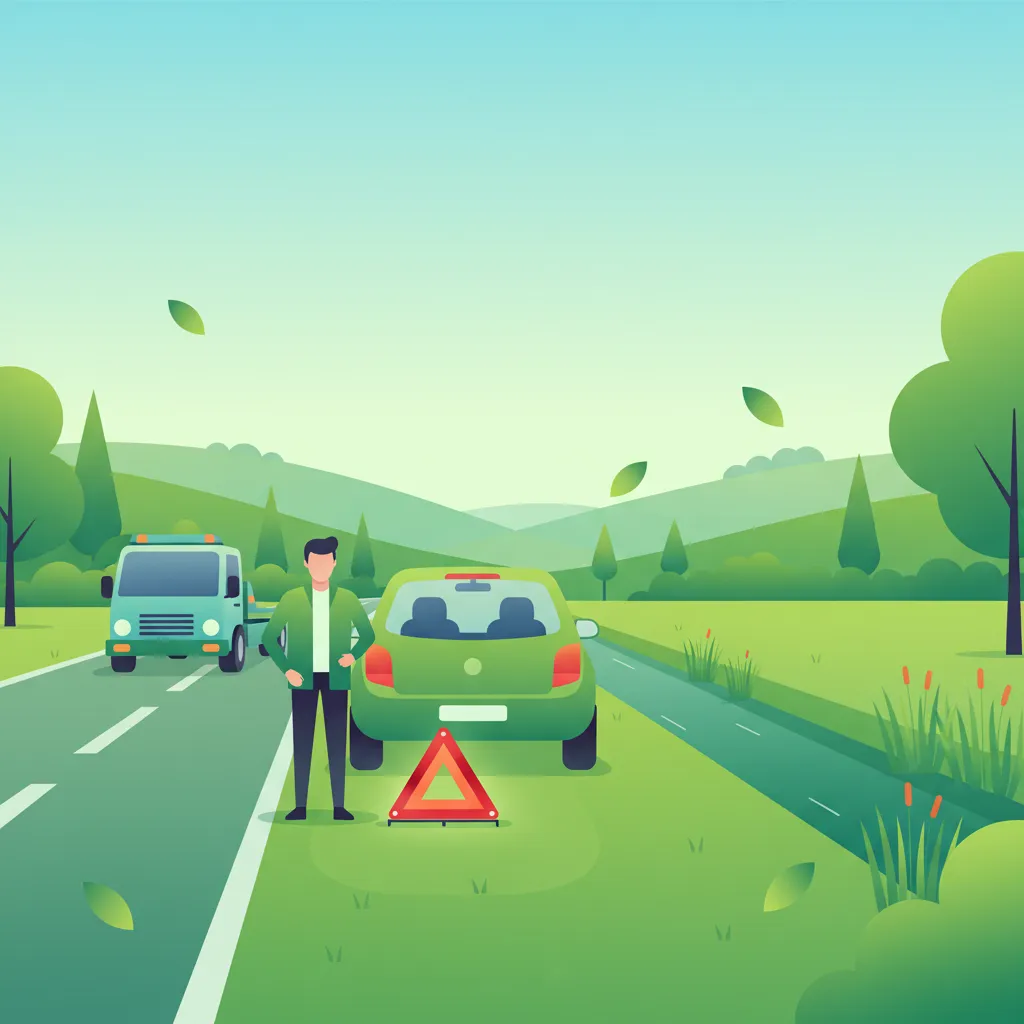
A vehicle breakdown can be a dangerous situation if not handled correctly. This lesson provides a clear safety protocol: switch on your hazard lights immediately, and move your vehicle as far to the right of the road or onto the hard shoulder as possible. For your personal safety, you should get away from the vehicle and stand behind a safety barrier if one is available. You will learn the steps for calling for roadside assistance and the legal requirements regarding warning triangles if applicable.
This lesson provides a detailed guide on the rules and safety precautions for overtaking. You will learn that overtaking must almost always be done on the left and requires careful judgment of speed and distance. The content covers situations where overtaking is forbidden, such as before pedestrian crossings, at intersections, or where there are solid white lines. Key steps like checking mirrors, signaling intention, checking blind spots, and returning to the lane safely are explained thoroughly.
Explore the broader legal and practical context for advanced maneuvers like U-turns and narrow path navigation. Understand how these skills relate to RVV 1990 regulations and safe riding principles for Category AM in the Netherlands.
Overtaking is a high-risk maneuver that must be executed correctly. This lesson provides a step-by-step guide: assess if it is safe and legal, check mirrors and blind spots, signal your intention, accelerate smoothly past the other vehicle, and return to your lane leaving adequate space. You will also learn to identify situations where overtaking is prohibited, such as before a pedestrian crossing or when approaching a blind corner.
Safely merging and changing lanes requires a systematic approach known as 'mirror-signal-blind spot'. This lesson explains the correct procedure for entering a carriageway from an acceleration lane, ensuring you match the speed of the traffic flow and find a safe gap. It also covers the technique for changing lanes, emphasizing the critical importance of checking your blind spot with a shoulder check (dode hoek) before making any lateral movement to prevent collisions.
This lesson focuses on the rules and techniques for safely navigating Dutch roundabouts, a common feature of the road network. You will learn that traffic circulating on the roundabout typically has priority and that you must yield before entering. The content covers correct lane selection for your intended exit, proper use of turn signals, and maintaining awareness of cyclists who may have priority on adjacent paths.
Proper cornering technique is vital for safety and stability on a two-wheeler. This lesson explains the physics of turning, including the concepts of lean angle and counter-steering. You will learn the importance of adjusting your speed before the turn, looking where you want to go, and maintaining a smooth throttle through the corner. These techniques help you maximize grip and maintain control, ensuring you can navigate bends safely.
This lesson covers the procedures and safety considerations for driving in reverse and turning around. You will learn that reversing should only be done over short distances and when it does not endanger or obstruct other road users. The curriculum details techniques for turning in the road and identifies situations and locations where U-turns are prohibited. The importance of all-around observation, checking blind spots, and yielding to all other traffic is a central theme.
This lesson clarifies the regulations determining where each type of Category AM vehicle is allowed to travel. It explains the rules for using mandatory cycle paths (fietspad) and combined moped/cycle paths (bromfietspad), identified by specific road signs. You will also learn the conditions under which a bromfiets must use the main carriageway. Understanding these positioning rules is essential for legal compliance and for ensuring safety in mixed traffic environments with cyclists and cars.
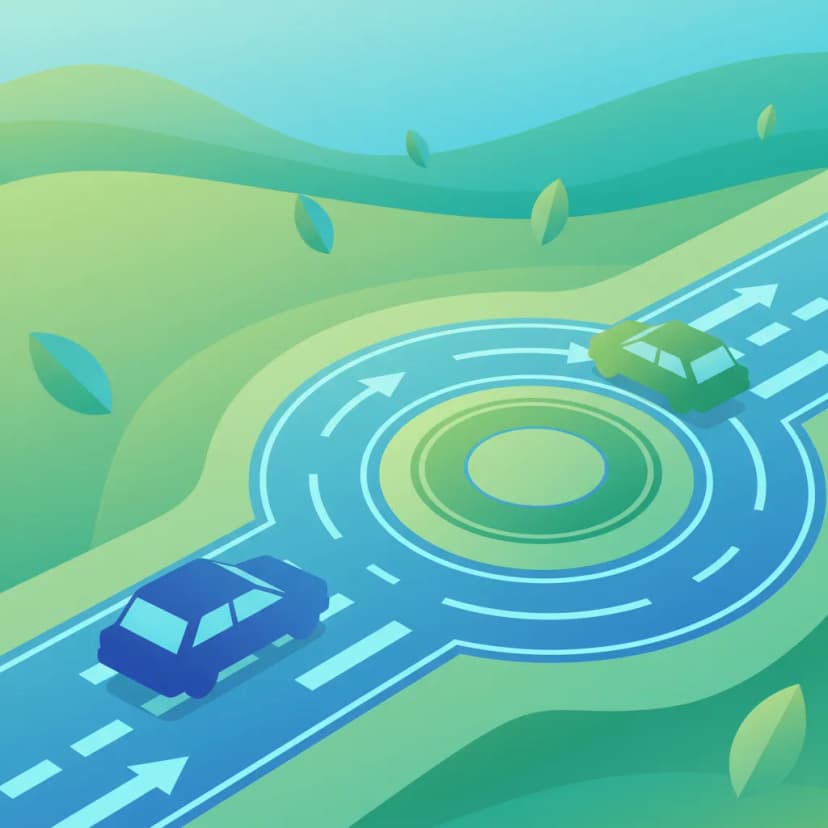
Roundabouts are a common feature of Dutch roads, and they have specific priority rules. This lesson teaches the standard rule of yielding to traffic already circulating on the roundabout before you enter. It also covers correct lane positioning, the importance of signaling your intention to exit, and the specific rules that often apply to cyclists who may have priority when crossing the exits. These skills ensure smooth and safe passage through both large and mini-roundabouts.
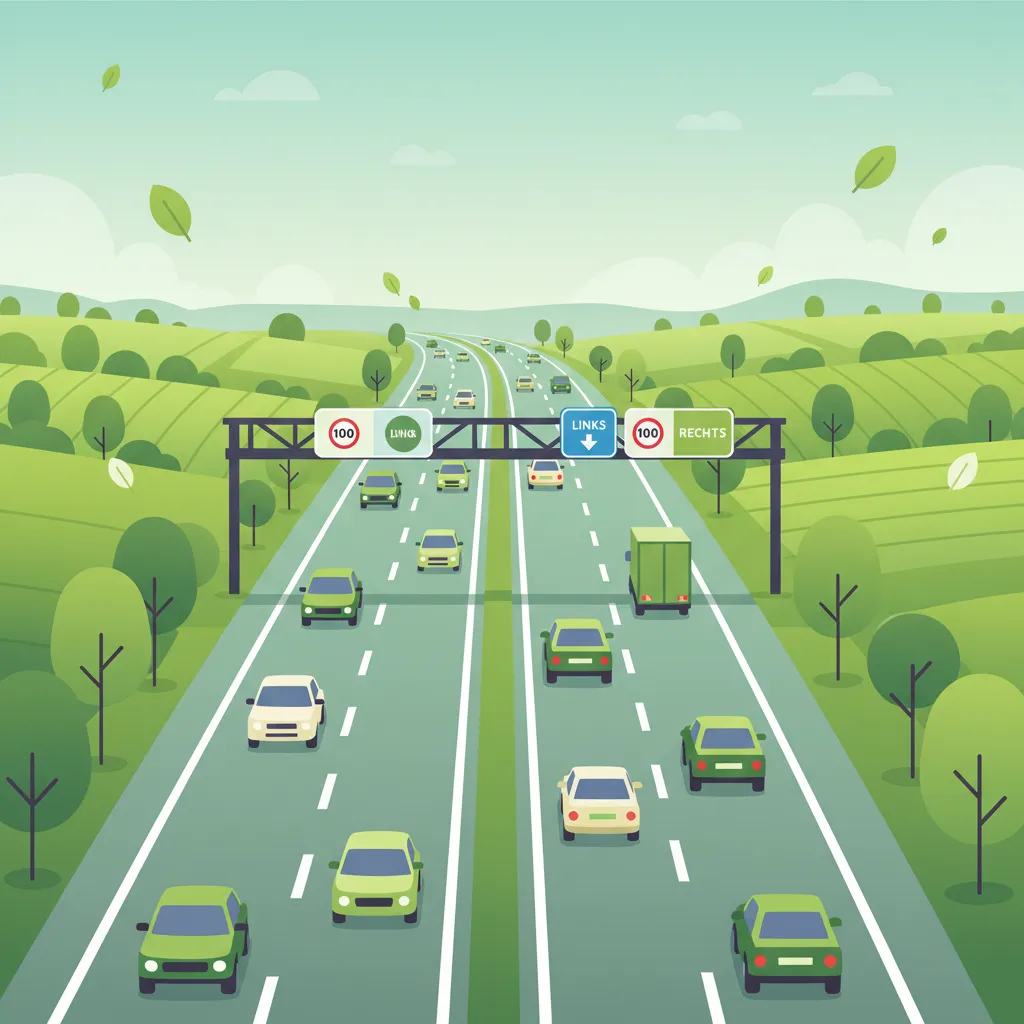
This lesson covers the specific articles of the Dutch Road Traffic Act that apply to motorways, with a primary focus on the strict rule of keeping to the rightmost available lane unless overtaking. It explains the legal and safety reasons for only passing on the left and discusses the correct positioning within a lane for maximum visibility and safety. The content also addresses the nuances of lane usage during heavy congestion, ensuring riders comply with the law and contribute to smooth traffic flow.
Defensive riding means riding to prevent collisions, despite the actions of others or the conditions around you. This lesson teaches the core principles of this proactive safety strategy. Key techniques include managing the space cushion around your vehicle, positioning yourself in your lane for maximum visibility, constantly planning an escape route, and communicating your intentions clearly to other road users. This mindset acknowledges your vulnerability and empowers you to take control of your own safety.

Riding at night presents two main challenges: seeing the road and being seen by others. This lesson covers the legal requirements for your vehicle's lighting system and how to use it effectively, including when to use high beams. It also emphasizes strategies to increase your own conspicuity, such as wearing bright or reflective clothing. You will learn how darkness affects your perception of speed and distance and how to adapt your riding to compensate for these limitations.
Find clear answers to common questions learners have about U‑Turns, 180° Turns, and Narrow Path Navigation. Learn how the lesson is structured, which driving theory objectives it supports, and how it fits into the overall learning path of units and curriculum progression in the Netherlands. These explanations help you understand key concepts, lesson flow, and exam focused study goals.
The most critical part is comprehensive observation. Before even starting the turn, you must thoroughly check all around your vehicle – front, back, and sides – for any approaching traffic, cyclists, or pedestrians. This includes using mirrors, looking over your shoulder, and assessing the road width and any potential hazards.
Maintaining balance involves a combination of slow, steady movement and precise control. Keep your body relaxed, use slight counter-steering at higher speeds (though U-turns are typically slow), and maintain a gentle throttle to keep the engine engaged. As you lean into the turn, use your knees and body weight subtly to assist. Looking where you want to go is also crucial for maintaining balance.
A U-turn is generally not allowed where it would obstruct traffic, pose a danger, or be prohibited by road signs (like 'no U-turn' signs or continuous white lines). On very narrow roads, if you cannot complete the turn in one smooth motion without reversing or holding up traffic significantly, it may be considered unsafe or impractical, even if not explicitly forbidden by signage.
A U-turn is a maneuver where you turn your vehicle around to travel in the opposite direction, effectively making a half-circle shape. A 180° turn is the general term for turning your vehicle around to face the opposite direction. While a U-turn is a specific type of 180° turn, the term 180° turn can also encompass other methods of turning around, such as reversing if necessary (though less common for mopeds).
For speed pedelecs, the principles of safe U-turns and narrow path navigation remain the same, with an added emphasis on maintaining adequate speed and stability, as they are faster than traditional mopeds. The greater mass and speed mean that observation, planning, and smooth control are even more critical to avoid losing control or causing a hazard.