
Your tires are your critical link to the road, making their condition paramount for safe AM-category riding. This lesson in our Dutch Driving License Theory Course for Category AM focuses on precisely that: performing thorough tire inspections. You'll learn how to check and adjust tire pressure to the correct levels, verify sufficient tread depth according to Dutch regulations, and identify potential hazards like cuts or bulges that could compromise safety.
Your vehicle's tires are its only point of contact with the road, making their condition paramount for your safety and the safety of others. For Category AM vehicles like mopeds and scooters, proper tire maintenance directly influences grip, braking distance, handling stability, and the overall risk of accidents. This comprehensive guide will teach you how to conduct a thorough tire inspection, covering essential aspects such as correct tire pressure, adequate tread depth, and identifying various forms of tire wear and damage according to Dutch regulations.
Maintaining your tires is not just a recommendation; it's a legal obligation in the Netherlands and a critical component of safe riding. Worn or improperly inflated tires can lead to longer braking distances, reduced steering precision, and an increased risk of hydroplaning on wet surfaces. Neglecting tire health can result in fines, vehicle impoundment, and significantly increase your liability in the event of an accident. Regular checks ensure your moped or scooter remains roadworthy and performs predictably in all conditions.
Tire pressure is arguably the most fundamental aspect of tire maintenance. Correct inflation ensures your tire maintains its intended shape, maximizing its contact patch with the road. This optimizes grip, distributes wear evenly, and contributes to fuel efficiency.
The internal air pressure of a tire, measured when the vehicle has been stationary for at least three hours, ensuring the tires have cooled to ambient temperature.
This "cold" pressure is the reference point for all manufacturer specifications. As a tire rolls, friction and road conditions generate heat, causing the air inside to expand and the pressure to rise. Checking pressure when the tire is hot will give you an artificially high reading, leading to under-inflation once the tire cools down.
Most mopeds and scooters typically operate with cold tire pressures between 2.0 and 2.5 bar, although specific values vary by model. Always consult your vehicle's data plate, owner's manual, or a sticker on the vehicle (often near the tire valve, fuel cap, or in the storage compartment) for the precise manufacturer-recommended cold pressures for both front and rear tires.
Regularly checking your tire pressure is a quick and simple safety routine that can prevent numerous problems.
Ensure tires are cold: The most accurate reading is obtained after the vehicle has been stationary for at least three hours, or has been driven for less than 1 km at low speed.
Attach the pressure gauge: Firmly press a reliable tire pressure gauge onto the valve stem. You should hear a brief hiss of air as it seals. The gauge will display the current pressure.
Adjust if necessary:
If under-inflated: Add air using an air compressor (available at petrol stations or as a portable unit) until the correct pressure is reached. Re-check with the gauge.
If over-inflated: Gently press the small pin in the center of the valve stem to release air until the correct pressure is reached. Re-check with the gauge.
Maintaining proper tire pressure is crucial for several reasons:
Tire pressure is not static; it's influenced by both ambient temperature and the vehicle's load.
When checking tire pressure in cold weather (e.g., below 0°C), it's often advisable to add an extra 0.1 to 0.2 bar above the manufacturer's specification to compensate for the colder air inside the tire. However, always refer to your vehicle's specific guidelines if available.
Dutch law, specifically RVV 1990 Article 38 bis, mandates that tires must be inflated to the pressure specified by the vehicle manufacturer. This regulation underscores the critical safety role of correct tire pressure and ensures compliance with vehicle standards.
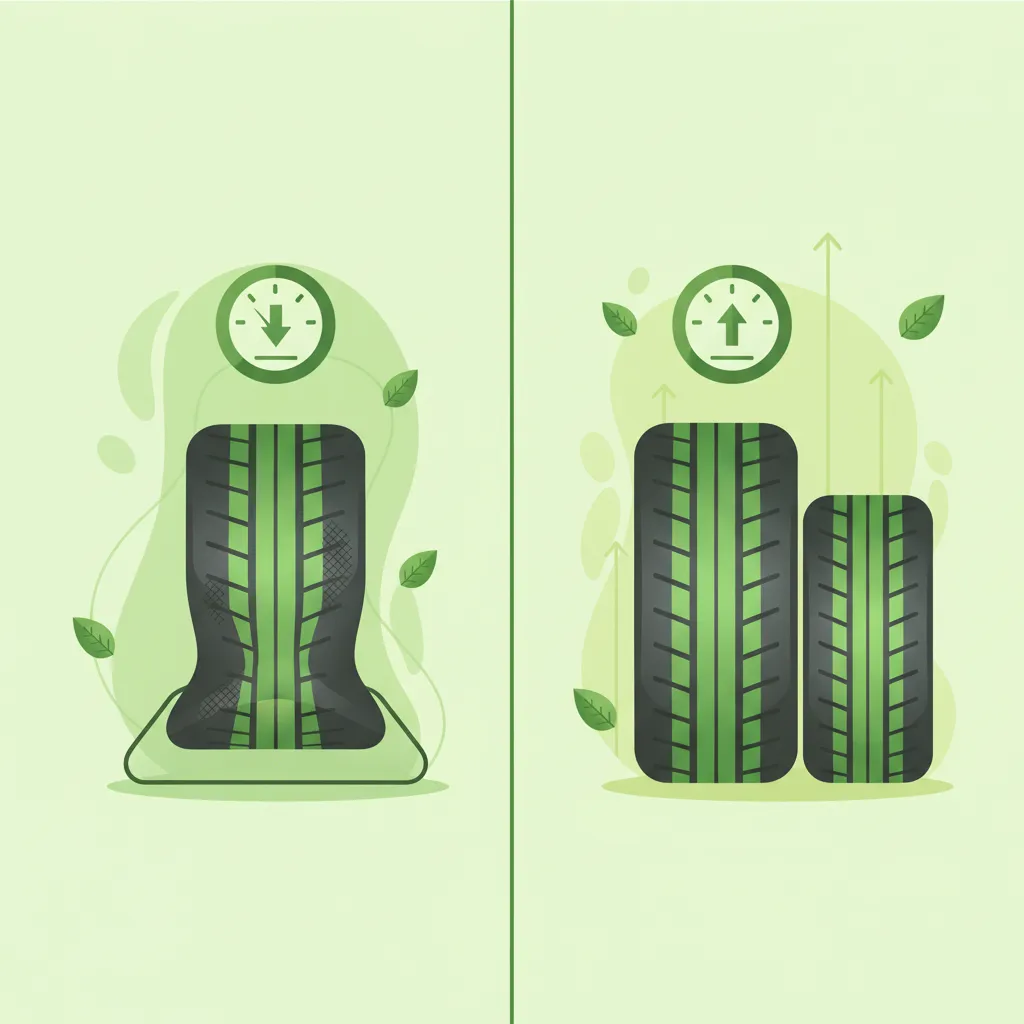
The tread on your tires is designed to provide grip by channeling water away from the contact patch, especially on wet roads. Over time, this tread wears down, reducing the tire's ability to maintain traction.
The vertical distance between the deepest point of a tire's main tread groove and the surface of the tread, typically measured in millimetres (mm).
Adequate tread depth is vital for preventing hydroplaning (or aquaplaning), a dangerous phenomenon where a layer of water builds up between the tires and the road surface, causing a loss of steering and braking control. Deeper tread grooves can evacuate more water, maintaining direct rubber-to-road contact.
In the Netherlands, the RVV 1990 Article 33 b sets a strict legal minimum tread depth of 1.6 mm for all tires on motor vehicles, including Category AM mopeds and scooters. Driving with tires below this minimum is illegal and extremely hazardous.
While 1.6 mm is the legal minimum, many experts and tire manufacturers recommend replacing tires when their tread depth falls below 3 mm, especially for optimal performance and safety on wet roads. The difference in braking distance between a tire with 3 mm tread and one at 1.6 mm can be substantial.
There are several methods to check your tire's tread depth:
Beyond pressure and tread depth, a thorough visual inspection for physical damage and abnormal wear patterns is crucial. These issues can compromise the tire's structural integrity and lead to sudden failure.
Regularly examine the entire surface of your tires, including the tread, sidewalls, and areas around the rim.
Any significant damage that compromises the tire's structural integrity means the tire is no longer roadworthy and must be repaired by a professional or, more commonly for severe damage, replaced. Driving on a damaged tire increases the risk of a blow-out, which can cause you to lose control of your vehicle.
Tires are made of rubber compounds that degrade over time, even if they have sufficient tread depth and show no obvious signs of damage. UV light, heat, and oxygen contribute to this aging process, making the rubber harder and more brittle, which reduces grip and increases the risk of cracking.
The date of manufacture is stamped on the tire's sidewall as a DOT code (e.g., "1223" means the 12th week of 2023). Most tire manufacturers and safety organizations recommend replacing tires that are older than 6 years, regardless of their visual condition.
The Netherlands has specific regulations to ensure the safety of all vehicles on its roads, including mopeds and scooters.
Failing to comply with these regulations can lead to significant penalties, including fines and potential impoundment of your vehicle. More importantly, it places you and other road users at severe risk.
Proactive tire maintenance is simple and saves lives and money in the long run.
When purchasing new tires, it's crucial to ensure they match or exceed your vehicle's specifications for load and speed. These are indicated by codes on the tire's sidewall.
Always refer to your vehicle's manual or data plate for the correct load index and speed rating for your moped or scooter. Using tires with an insufficient load index can lead to overheating and premature failure, especially when carrying a passenger or heavy cargo.
Many road incidents involving mopeds and scooters can be linked to tire neglect.
The physics of tire inflation (ideal gas law, PV=nRT) dictates that pressure changes with temperature. Ignoring this can lead to systematic under-inflation, a hidden but pervasive safety risk.
Maintaining your Category AM vehicle's tires is a continuous responsibility that directly impacts your safety, riding experience, and legal compliance.
By diligently following these guidelines, you ensure that your moped or scooter's tires provide the maximum possible grip and stability, keeping you safer on Dutch roads.
Lesson content overview
Explore all units and lessons included in this driving theory course.
Explore search topics learners often look for when studying Tire Pressure, Tread Depth, and Wear Monitoring. These topics reflect common questions about road rules, driving situations, safety guidance, and lesson level theory preparation for learners in the Netherlands.
Browse additional driving theory lessons that cover connected traffic rules, road signs, and common driving situations related to this topic. Improve your understanding of how different rules interact across everyday traffic scenarios.
Understand the specific Dutch laws (RVV 1990) regarding minimum tire tread depth and correct tire pressure for mopeds and scooters. Ensure your vehicle is roadworthy and compliant with traffic regulations to avoid fines and ensure safety.
This lesson emphasizes that tires are the single most critical safety component on a motorcycle, being the only connection to the road. It provides detailed instructions on how to correctly check tire pressure ('bandenspanning') when the tires are cold and explains how to read tire wear indicators to assess remaining tread depth. The content also covers the legal minimum tread depth and the severe impact that incorrect pressure or excessive wear has on handling, braking, and overall safety.

This lesson details the critical role that tires play in motorcycle safety, as they are the only connection to the road. It explains the importance of selecting the right type of tire for the season and expected riding conditions. The content provides a guide on how to perform regular pre-ride checks, including inspecting for correct inflation pressure, checking tread depth, and looking for any signs of damage or wear.

This lesson explains the legal framework for the mandatory periodic technical inspection (APK) as it applies to motorcycles in the Netherlands, although noting its specific applicability rules. It outlines the key safety and environmental components that are scrutinized during the inspection, such as brakes, tires, lighting, and exhaust emissions. Understanding these criteria helps riders maintain their vehicle in a constant state of roadworthiness and prepare for the formal inspection when required.

This lesson covers the mandatory lighting and signaling equipment for A2 motorcycles under Dutch law, ensuring you remain visible and communicate your intentions correctly. You will learn the rules for using headlights, taillights, turn signals, and brake lights in various conditions, including daytime and adverse weather. The content also addresses the importance of maintaining this equipment and using hand signals as a valid secondary method of communication in traffic.

Riding at night presents two main challenges: seeing the road and being seen by others. This lesson covers the legal requirements for your vehicle's lighting system and how to use it effectively, including when to use high beams. It also emphasizes strategies to increase your own conspicuity, such as wearing bright or reflective clothing. You will learn how darkness affects your perception of speed and distance and how to adapt your riding to compensate for these limitations.

This lesson details the statutory helmet regulations applicable to all Category AM vehicles. It clearly defines the mandatory helmet use for bromfiets and speed pedelec riders and the specific rules for snorfiets riders, including the required ECE safety certification for all approved helmets. The content also provides information on recommended protective gear, such as gloves and sturdy footwear, explaining how proper equipment enhances rider safety and is a key part of responsible riding culture in the Netherlands.

Rain significantly reduces tire grip and rider visibility. This lesson covers the essential adjustments needed for wet-weather riding, including reducing speed, increasing following distance, and applying all controls more smoothly. It explains the danger of hydroplaning (aquaplaning) when tires lose contact with the road over standing water and how to avoid it. You will also learn about the importance of good tire tread depth for channeling water away and maintaining traction.

Holding a license and owning a vehicle comes with continuous legal responsibilities. This lesson reminds you of the importance of renewing your driving license before it expires and ensuring your vehicle's insurance policy remains active. It also covers your duty to inform the relevant authorities (like the RDW) of any changes, such as a change of address. Fulfilling these administrative obligations is essential to remaining a legal and responsible road user in the Netherlands.
This lesson focuses on the three most critical safety systems of a car. You will learn the legal minimum tire tread depth (1.6 mm) and the importance of maintaining correct tire pressure for safety and fuel efficiency. The content covers the basics of the braking system, including how to check brake fluid and recognize warning signs of worn brakes. Additionally, the lesson explains the function of the steering system and the importance of ensuring it operates smoothly and without issue.

Each season brings unique challenges for riders. This lesson discusses common seasonal hazards, such as wet autumn leaves that are as slippery as ice, the risk of black ice in winter, and increased agricultural traffic in the summer. It also highlights the importance of seasonal vehicle maintenance. For example, after winter, it is crucial to wash away corrosive road salt, and before winter, to check antifreeze and battery health, ensuring your vehicle is prepared for the conditions ahead.
Find clear answers to common questions learners have about Tire Pressure, Tread Depth, and Wear Monitoring. Learn how the lesson is structured, which driving theory objectives it supports, and how it fits into the overall learning path of units and curriculum progression in the Netherlands. These explanations help you understand key concepts, lesson flow, and exam focused study goals.
In the Netherlands, the legal minimum tread depth for most tires, including those on mopeds (bromfietsen and snorfietsen), is 1.6 mm across the main grooves. Tires should be checked regularly to ensure they meet this standard for safety and legal compliance.
The correct tire pressure for your specific moped is usually found in the owner's manual or on a sticker located on the vehicle itself, often near the rear shock absorber or on the frame. Always use a reliable tire pressure gauge and check pressure when tires are cold.
When inspecting your tires, look for cuts, cracks, bulges on the sidewalls, embedded objects like nails or glass, and uneven wear patterns. Any significant damage or excessive wear can compromise tire integrity and lead to a blowout or loss of control.
Yes, absolutely. Speed pedelecs have higher top speeds and are subject to different regulations, making correct tire pressure crucial for stability, braking performance, and safe handling. Always refer to the manufacturer's specifications for your specific speed pedelec.
It's recommended to check your tire pressure at least once a month and before any long rides. A visual inspection for wear and damage should be done more frequently, ideally every time you prepare to ride.