
This lesson prepares you for safe group riding, a crucial aspect of motorcycle operation in the Netherlands. We'll cover the recommended staggered formation and the standard hand signals used to communicate effectively with your fellow riders. Mastering these skills ensures you can ride cohesively and safely within a group, which is often tested in the CBR theory exam.

Group riding is a popular and enjoyable aspect of motorcycling, whether for club outings, weekend tours, or daily commutes with friends. However, riding in a group demands a higher level of coordination, communication, and adherence to specific rules and etiquette to ensure the safety of all participants and other road users. This lesson will equip you with the essential knowledge for safe and predictable group riding, crucial for your Dutch Category A2 motorcycle license.
Understanding proper group formations, mastering standard hand signals, and internalizing the responsibilities of each rider significantly reduces collision risk, enhances visibility, and helps maintain legal compliance with Dutch traffic laws, particularly the RVV 1990 (Reglement Verkeersregels en Verkeerstekens). This knowledge builds upon foundational skills such as maintaining safe following distances (Lesson 4), understanding visibility (Lesson 7), and managing human factors like fatigue and risk perception (Lesson 10.1-10.2).
The way motorcycles arrange themselves on the road is critical for safety and efficiency. A well-chosen formation provides a safety cushion, improves visibility, and minimizes aerodynamic turbulence, allowing the group to operate as a cohesive unit.
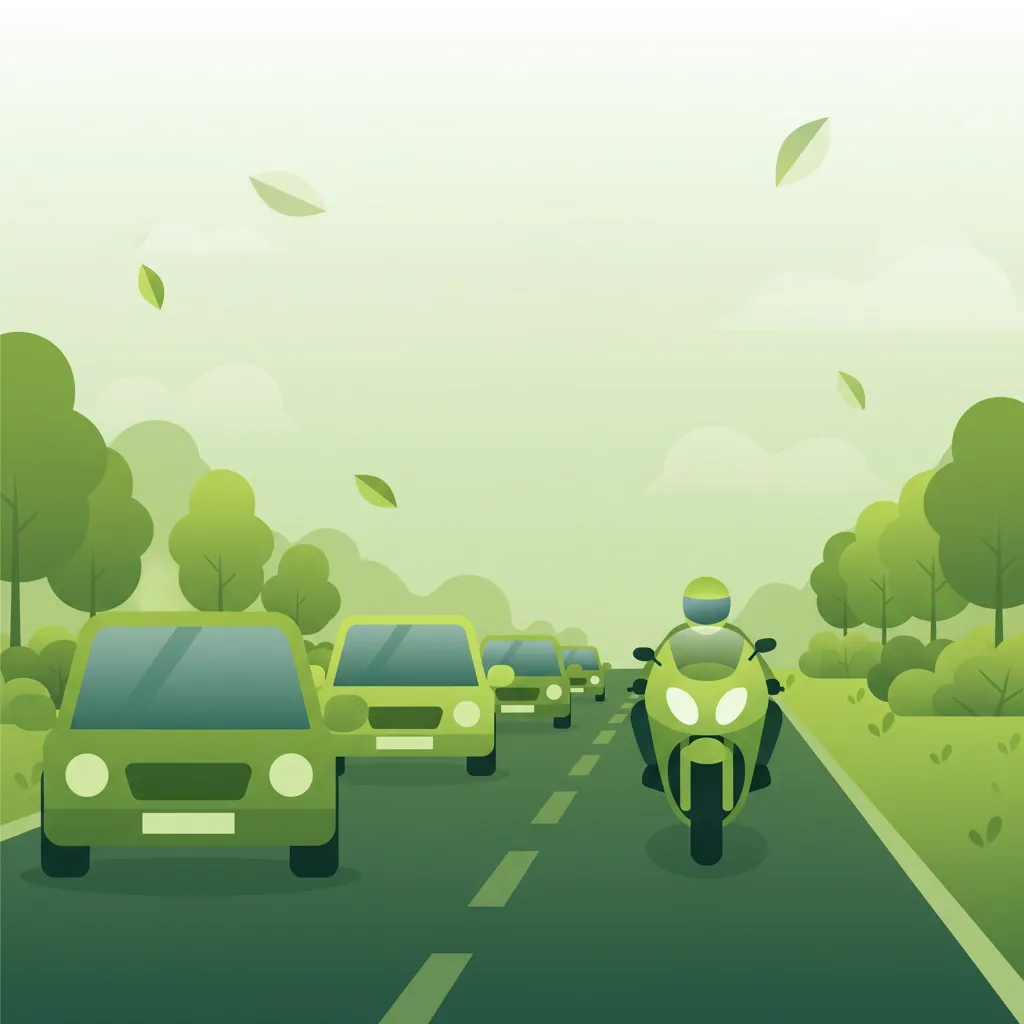
The staggered riding formation is the most common and recommended arrangement for group riding, particularly on wider roads and highways. In this formation, riders are positioned in offset rows, typically following a 1-2-1-2 pattern. This means the lead rider takes the left side of the lane, the second rider takes the right side, the third the left, and so on.
The primary benefit of a staggered formation is the creation of a safety cushion around each rider. This cushion consists of both lateral and longitudinal space. Riders maintain a lateral separation of at least 1 meter between adjacent motorcycles, which allows for evasive maneuvers and reduces the impact of crosswinds or unexpected road debris. Crucially, each rider maintains a longitudinal (front-to-back) separation of at least 2 seconds from the rider directly in front of them in their lane position. This 2-second gap is a minimum on dry roads and provides vital reaction time.
This formation also significantly improves the visibility of each individual rider to surrounding traffic. Instead of appearing as one large mass, the staggered pattern allows each motorcycle to be more distinctly perceived, reducing the chance of other drivers misjudging the group's size or intent. Additionally, the offset positions minimize aerodynamic turbulence (slipstream effects) that can occur when riding directly behind another vehicle, enhancing stability for all riders.
While staggered is preferred, other formations are used in specific contexts:
The safety cushion is paramount. It is the intentional space between any two motorcycles that allows at least 1 second reaction time for the trailing rider to respond to the leading rider’s braking. The 2-second rule for longitudinal spacing is a minimum under ideal conditions. In adverse conditions like rain, fog, or heavy traffic, this gap should be increased to 3 seconds or more to account for longer braking distances and reduced visibility. Riders must continuously adjust their speed to maintain these vital gaps.
Effective communication is the cornerstone of safe group riding. While electronic intercoms are increasingly common, they can fail or be unclear. Standard hand signals provide a universally understood visual language that is visible to all group members and surrounding traffic, even in daylight. All riders in a group must be trained on, and consistently use, the predefined signal set.
Here are the essential hand signals used in Dutch group riding:
For a group ride to be safe and enjoyable, each rider has distinct roles and responsibilities. Clear hierarchy and mutual understanding are key.
The lead rider is the most experienced and decisive rider, positioned at the front (or front-left in a staggered formation). They are the "eyes and brain" of the group and carry significant responsibilities:
Trail riders are those positioned behind the lead, with specific duties to ensure the group's cohesion and safety, particularly at the rear.
Intermediate riders, positioned between the lead and trail, are crucial for maintaining the formation's integrity. Their primary roles include:
A successful and safe group ride begins long before the engines start.
A pre-ride briefing is a formal discussion held before departure, crucial for aligning expectations and minimizing miscommunication. Key topics should include:
Beyond formal procedures, a set of unwritten rules, or etiquette, fosters harmony and predictability:
These maneuvers require specific, deliberate actions to avoid disrupting the group's flow or surprising other road users:
Safe group riding is dynamic. Riders must adjust their behavior based on environmental and road conditions.
Adverse conditions significantly impact braking distances, visual detection, and rider stability.
A well-organized motorcycle group is perceived by other drivers as a single, predictable traffic participant. This perception is vital for safety.
Adhering to specific articles of the RVV 1990 is mandatory for all road users, including motorcycle groups.
RVV 1990 Article 9(1): Safe Distance
RVV 1990 Article 13(4)(b): Group Formation Without Obstruction
RVV 1990 Article 16(2): Visible Hand Signals
RVV 1990 Article 24(4): Headlight Use
Understanding common pitfalls can help prevent incidents and ensure a smooth group ride.
Understanding the underlying principles of safety in group riding reinforces the importance of these rules:
Lesson content overview
Explore all units and lessons included in this driving theory course.
Explore search topics learners often look for when studying Group Riding: Formations, Signals, and Etiquette. These topics reflect common questions about road rules, driving situations, safety guidance, and lesson level theory preparation for learners in the Netherlands.
Browse additional driving theory lessons that cover connected traffic rules, road signs, and common driving situations related to this topic. Improve your understanding of how different rules interact across everyday traffic scenarios.
Understand the Dutch rules for safe motorcycle group riding. This lesson covers essential formations like staggered and single-file, standard hand signals for communication, and the roles of lead and trail riders. Crucial theory for A2 licence.

This lesson provides a detailed framework for how motorcyclists must safely and legally interact with diverse road users, including cars, trucks, cyclists, and pedestrians. It covers the required communication signals, anticipatory behaviors, and specific positioning techniques necessary to coexist in complex traffic environments like urban centers and shared spaces. Emphasis is placed on legal expectations and practical methods that actively reduce collision risk and promote smooth traffic flow.
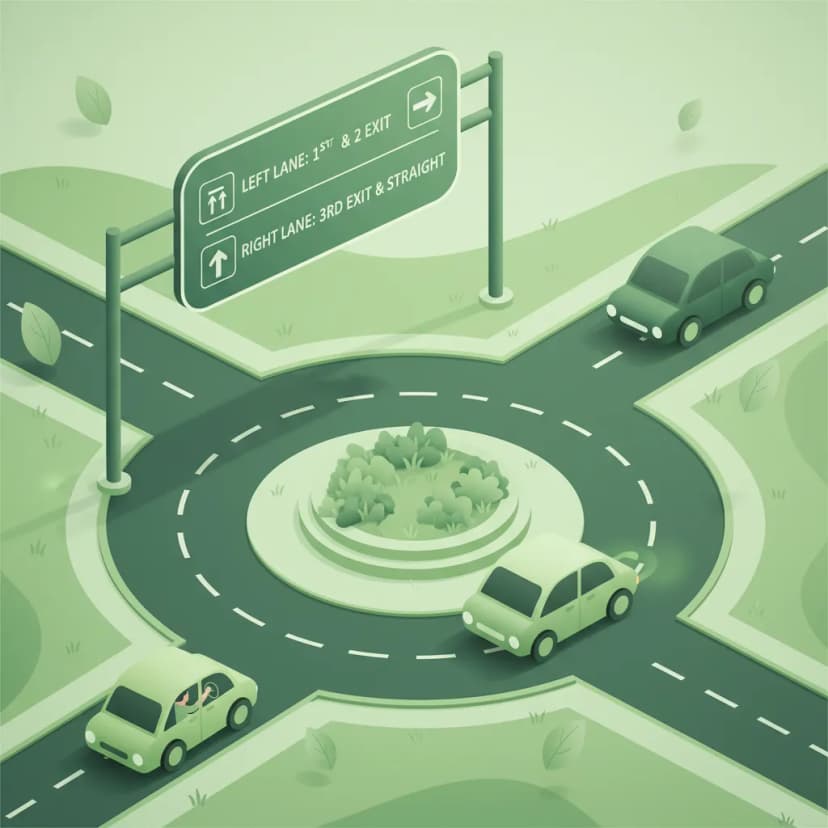
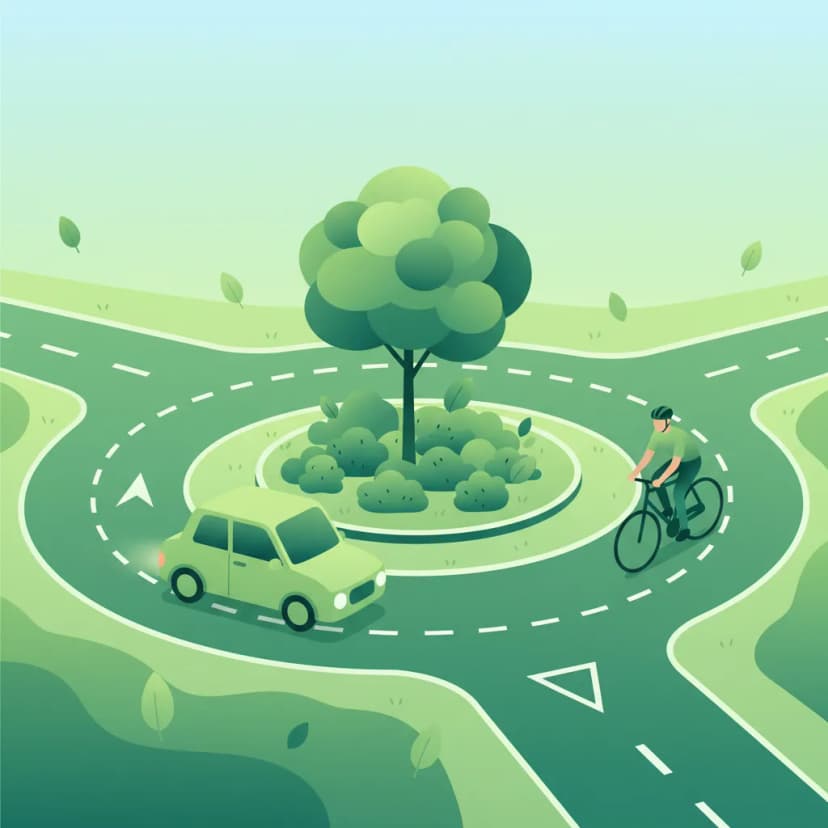
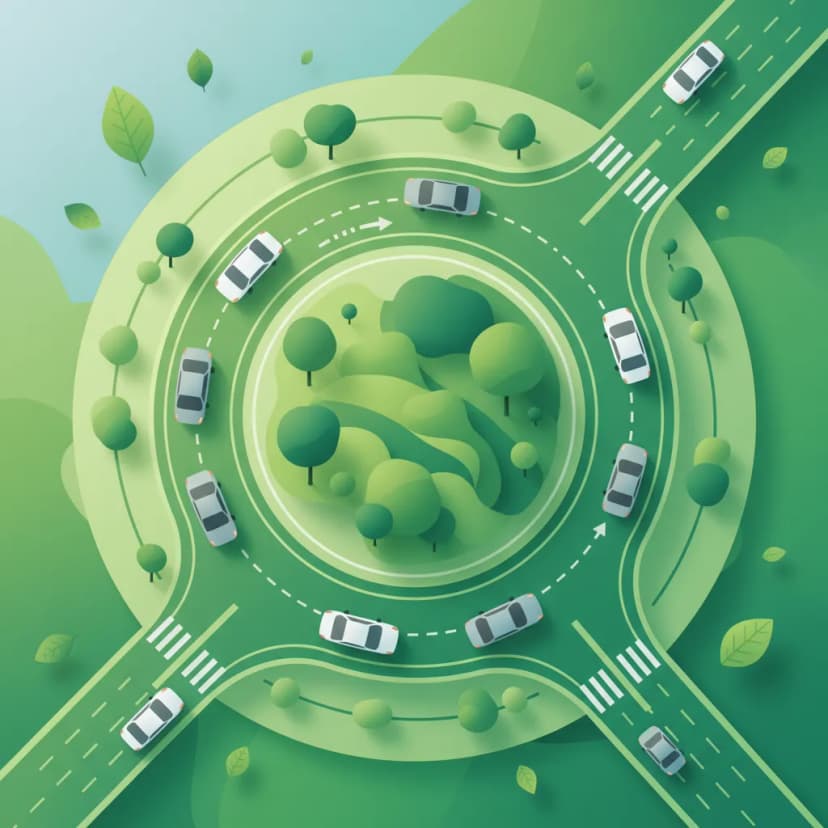
This lesson provides a detailed guide to navigating Dutch roundabouts ('rotondes'), including single-lane, multi-lane, and 'turbo' designs. It clarifies the specific priority rules that apply when entering the roundabout and the critical importance of correct signaling when changing lanes or exiting. Special attention is given to the vulnerable position of motorcyclists and the need to be aware of other vehicles' blind spots and the priority rules concerning cyclists on or near the roundabout.

This lesson focuses on the meaning of different road markings and their implications for motorcycle lane discipline. You will learn the legal distinction between solid and broken lines regarding overtaking, how to interpret directional arrows for lane choice, and the rules for using special lanes. The content emphasizes maintaining a safe and strategic position within the lane to maximize visibility and create a safety buffer from other vehicles.

This lesson reinforces the fundamental rule of Dutch highway driving: use the rightmost lane available and use the lanes to the left only for overtaking. You will learn the complete, safe overtaking procedure: check mirrors, signal, perform a shoulder check for the blind spot, smoothly move over, accelerate past the vehicle, and then return to the right lane when safe.

This lesson details the specific actions required at intersections controlled by 'Stop' and 'Give Way' signs. You will learn the legal requirement to come to a complete stop at a stop line (BORD 44) and the obligation to yield to all crossing traffic when encountering give-way markings ('haaientanden'). The content covers safe approach speeds and effective scanning techniques for motorcyclists to accurately assess gaps in traffic before proceeding.
This lesson delves into the hierarchy of priority rules on Dutch roads, clarifying who has the right-of-way in various intersection scenarios. It explains the meaning of signs like 'voorrangsweg' and road markings such as shark's teeth ('haaientanden'). Special attention is given to the correct procedure for entering, navigating, and exiting roundabouts on a motorcycle, including proper signaling and lane choice to ensure safe and efficient passage.
This lesson focuses on the rules and techniques for safely navigating Dutch roundabouts, a common feature of the road network. You will learn that traffic circulating on the roundabout typically has priority and that you must yield before entering. The content covers correct lane selection for your intended exit, proper use of turn signals, and maintaining awareness of cyclists who may have priority on adjacent paths.
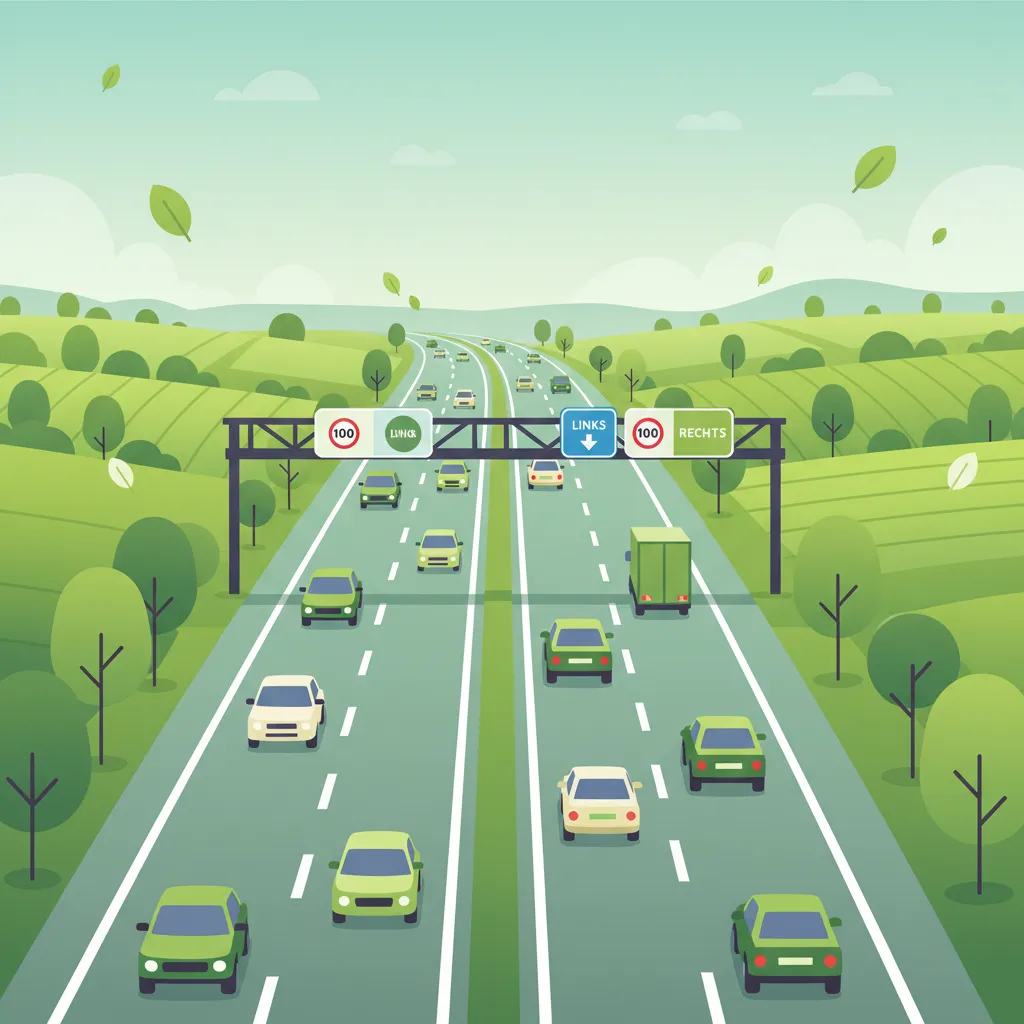
This lesson covers the specific articles of the Dutch Road Traffic Act that apply to motorways, with a primary focus on the strict rule of keeping to the rightmost available lane unless overtaking. It explains the legal and safety reasons for only passing on the left and discusses the correct positioning within a lane for maximum visibility and safety. The content also addresses the nuances of lane usage during heavy congestion, ensuring riders comply with the law and contribute to smooth traffic flow.

This lesson covers the mandatory lighting and signaling equipment for A2 motorcycles under Dutch law, ensuring you remain visible and communicate your intentions correctly. You will learn the rules for using headlights, taillights, turn signals, and brake lights in various conditions, including daytime and adverse weather. The content also addresses the importance of maintaining this equipment and using hand signals as a valid secondary method of communication in traffic.
This lesson explains the purpose of audible indicator reminders, often called 'squealers' or 'piepers', which help prevent riders from unintentionally leaving their turn signals on. It also provides a detailed breakdown of the legal nuances and restrictions related to lane splitting and filtering. The content clarifies the distinction between these maneuvers and outlines the specific road situations and traffic conditions where such actions are explicitly prohibited or heavily regulated.
Learn to avoid frequent errors in motorcycle group rides, focusing on Dutch traffic regulations (RVV 1990). Understand how specific rules for spacing, signaling, and formation apply in real-world scenarios to ensure safety and compliance.
This lesson covers the specific articles of the Dutch Road Traffic Act that apply to motorways, with a primary focus on the strict rule of keeping to the rightmost available lane unless overtaking. It explains the legal and safety reasons for only passing on the left and discusses the correct positioning within a lane for maximum visibility and safety. The content also addresses the nuances of lane usage during heavy congestion, ensuring riders comply with the law and contribute to smooth traffic flow.

This lesson covers the universal Dutch road rules with a specific focus on their application to light motorcycles. It details the various speed limits for different road types, from urban areas to motorways, and explains the correct procedures for overtaking and lane positioning. The legal aspects of lane filtering in congestion are also examined, alongside mandatory equipment use like daytime running lights, to ensure riders can integrate safely and legally into traffic flow.

This lesson clarifies the legal status and accepted code of conduct for filtering ('gedogen') between lanes of slow or stationary traffic in the Netherlands. It explains the conditions under which it is generally tolerated, such as maintaining a small speed differential. The content focuses heavily on the associated risks, including drivers changing lanes without looking and opening doors, and emphasizes the need for extreme caution and slow speed.
This lesson focuses on the meaning of different road markings and their implications for motorcycle lane discipline. You will learn the legal distinction between solid and broken lines regarding overtaking, how to interpret directional arrows for lane choice, and the rules for using special lanes. The content emphasizes maintaining a safe and strategic position within the lane to maximize visibility and create a safety buffer from other vehicles.
This lesson focuses on the legal requirements and safe practices for riding near pedestrian crossings ('zebrapaden') and designated school zones. It details the absolute obligation to yield to pedestrians on or about to use a crossing and the need for significantly reduced speeds and heightened vigilance in areas with children. The content underscores the importance of anticipation and being prepared for unpredictable movements from vulnerable road users to prevent serious incidents.

This lesson provides a detailed overview of the structure of Dutch traffic legislation, focusing on the Road Traffic Act (Wegenverkeerswet 1994) and its relationship with CBR regulations. It explains the hierarchy from national statutes to local ordinances and how these rules govern rider behavior in various traffic situations. Furthermore, the lesson clarifies the mechanisms for enforcement, the types of sanctions for non-compliance, and the legislative goal of ensuring road safety for all participants.

This lesson provides a step-by-step guide to executing a safe and legal overtaking maneuver. It covers the entire process: assessing the situation for a sufficient gap in oncoming traffic, performing necessary mirror and shoulder checks, signaling intent, and accelerating decisively. The lesson also highlights situations where overtaking is prohibited by law, such as before pedestrian crossings or where there are solid white lines.

This lesson focuses on Dutch regulatory signs that enforce mandatory rules and restrictions, particularly those impacting A2 motorcyclists. You will learn to recognize and obey prohibition signs, such as those indicating a motorcycle ban (BORD 40), speed limits, and overtaking restrictions (BORD 21). The content explains the legal consequences of non-compliance and how to apply these rules in practical riding scenarios to ensure full adherence to Dutch traffic law.
This lesson provides a detailed framework for how motorcyclists must safely and legally interact with diverse road users, including cars, trucks, cyclists, and pedestrians. It covers the required communication signals, anticipatory behaviors, and specific positioning techniques necessary to coexist in complex traffic environments like urban centers and shared spaces. Emphasis is placed on legal expectations and practical methods that actively reduce collision risk and promote smooth traffic flow.
This lesson reinforces the fundamental rule of Dutch highway driving: use the rightmost lane available and use the lanes to the left only for overtaking. You will learn the complete, safe overtaking procedure: check mirrors, signal, perform a shoulder check for the blind spot, smoothly move over, accelerate past the vehicle, and then return to the right lane when safe.
Find clear answers to common questions learners have about Group Riding: Formations, Signals, and Etiquette. Learn how the lesson is structured, which driving theory objectives it supports, and how it fits into the overall learning path of units and curriculum progression in the Netherlands. These explanations help you understand key concepts, lesson flow, and exam focused study goals.
The staggered formation allows each rider to maintain a safe following distance from the rider ahead and beside them, creating a safety buffer. It also helps the group stay more compact and makes it easier for riders to see and communicate with each other, which is vital for coordinated manoeuvres and safe lane changes on Dutch roads.
Key signals include a fist held up for stopping, pointing forward to indicate turning, pointing to the side for a lane change, and sometimes a pat on the helmet or a sweeping motion for hazards. It's essential for all riders in the group to agree on and consistently use these standard signals.
The group leader initiates the lane change after ensuring it's safe. Other riders follow in formation, maintaining their staggered positions. Each rider is still individually responsible for checking their own blind spots and ensuring their manoeuvre is safe before proceeding.
As a follower, you must maintain your position within the staggered formation, keep a safe distance from the rider in front and beside you, and watch the signals from the leader and the riders around you. Your primary responsibility is to follow safely and predictably, mirroring the actions of the rider ahead of you when appropriate.
Yes, while the staggered formation is generally used, riders must be particularly mindful of higher speeds and faster traffic. Lane filtering ('file rijden') may be permitted under specific conditions, but group members must always prioritize safety and clear communication.