
Understanding speed limits is crucial for safe driving and passing your Dutch theory exam. This lesson focuses on the default speed limits within and outside built-up areas, which apply when no specific signs indicate otherwise. It builds upon your general knowledge of road signs by detailing the specific signs (H1 and H2) that define these zones, helping you navigate Dutch roads confidently and legally.
Understanding and adhering to speed limits is a fundamental aspect of safe driving, directly impacting reaction times, stopping distances, and overall road safety. In the Netherlands, speed limits are meticulously regulated to suit varying road environments, from bustling city streets to open rural landscapes. This lesson delves into the default speed limits that apply in the absence of specific signage, focusing on how to identify built-up areas and how to apply the correct speed on non-highway roads.
Speed limits are not arbitrary numbers; they are carefully determined by the Road Traffic Code (Verkeersregels en Verkeerstekens - RVV 1990) based on a scientific understanding of road design, traffic flow, and human physiology. These regulations aim to create predictable and safe driving conditions for all road users, including drivers, cyclists, and pedestrians.
The default speed limits in the Netherlands are derived from several critical factors:
This foundational understanding of speed limits is crucial for adaptive speed management, which you will explore further in modules addressing dynamic conditions like weather or special vehicle circumstances.
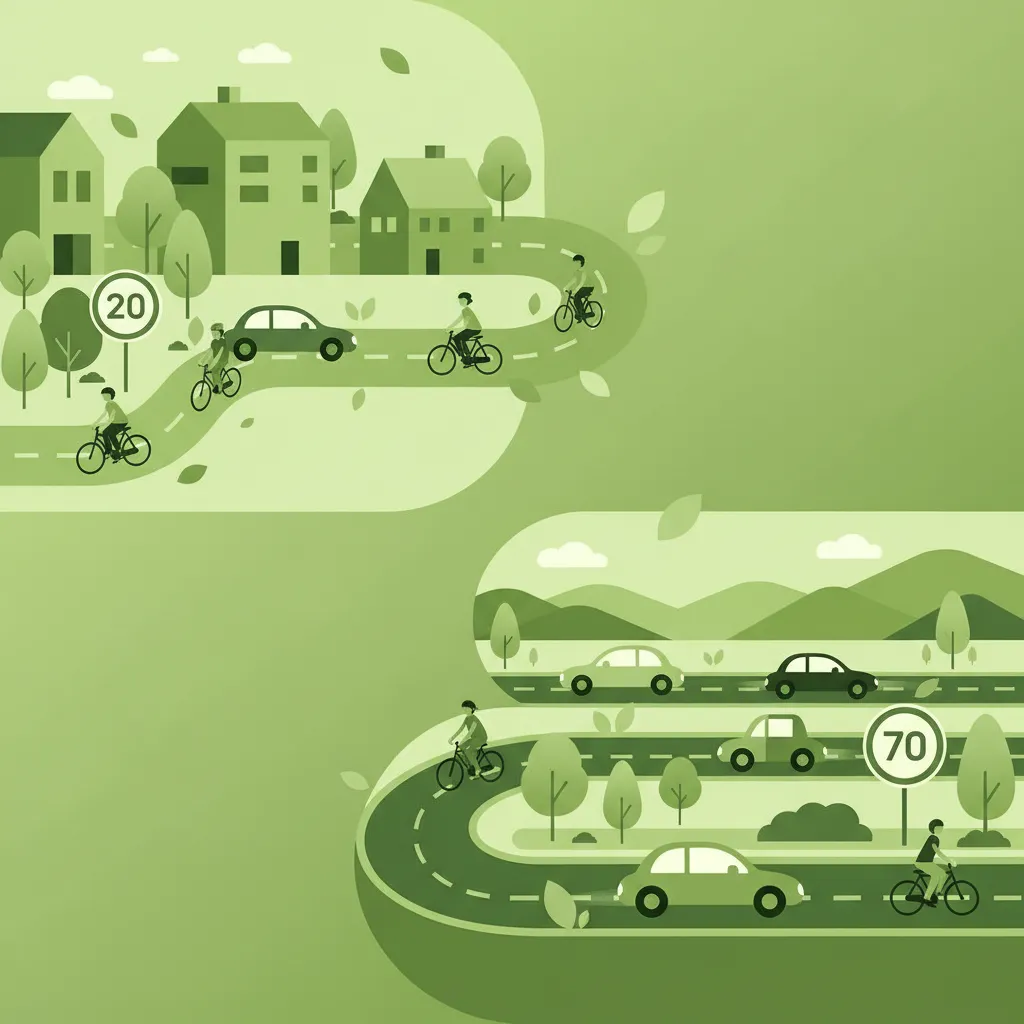
One of the most important speed regulations to master is the default limit for built-up areas. In the Netherlands, unless otherwise indicated by a specific speed sign, the maximum speed permitted within a built-up area is 50 km/h. This limit is critical for urban safety and is clearly communicated through specific traffic signs.
The transition into and out of a built-up area is marked by distinct traffic signs, known as H-signs in the Dutch system. Recognizing these signs is paramount for correctly adjusting your speed.
Sign H1 (Built-up area start): This sign signals your entry into a built-up area. It typically features a white square on a blue background with a black silhouette of buildings. Upon passing this sign, the default speed limit automatically reduces to 50 km/h. It is essential to reduce your speed before reaching the sign, ensuring you are already at or below 50 km/h as you enter the area.
Sign H2 (Built-up area end): This sign marks your departure from a built-up area. It is visually similar to H1 but has a red diagonal line across the building silhouette, indicating the end. Once you pass H2, the default speed limit typically reverts to 80 km/h, unless another specific speed sign or road type (like a highway) dictates a different limit.
The 50 km/h limit in built-up areas is a cornerstone of Dutch traffic safety policy. Its primary objectives include:
When you leave a built-up area, the default speed limit changes to reflect the different characteristics of rural roads. On non-highway roads outside built-up areas, the standard maximum speed is 80 km/h, unless specific signage indicates otherwise.
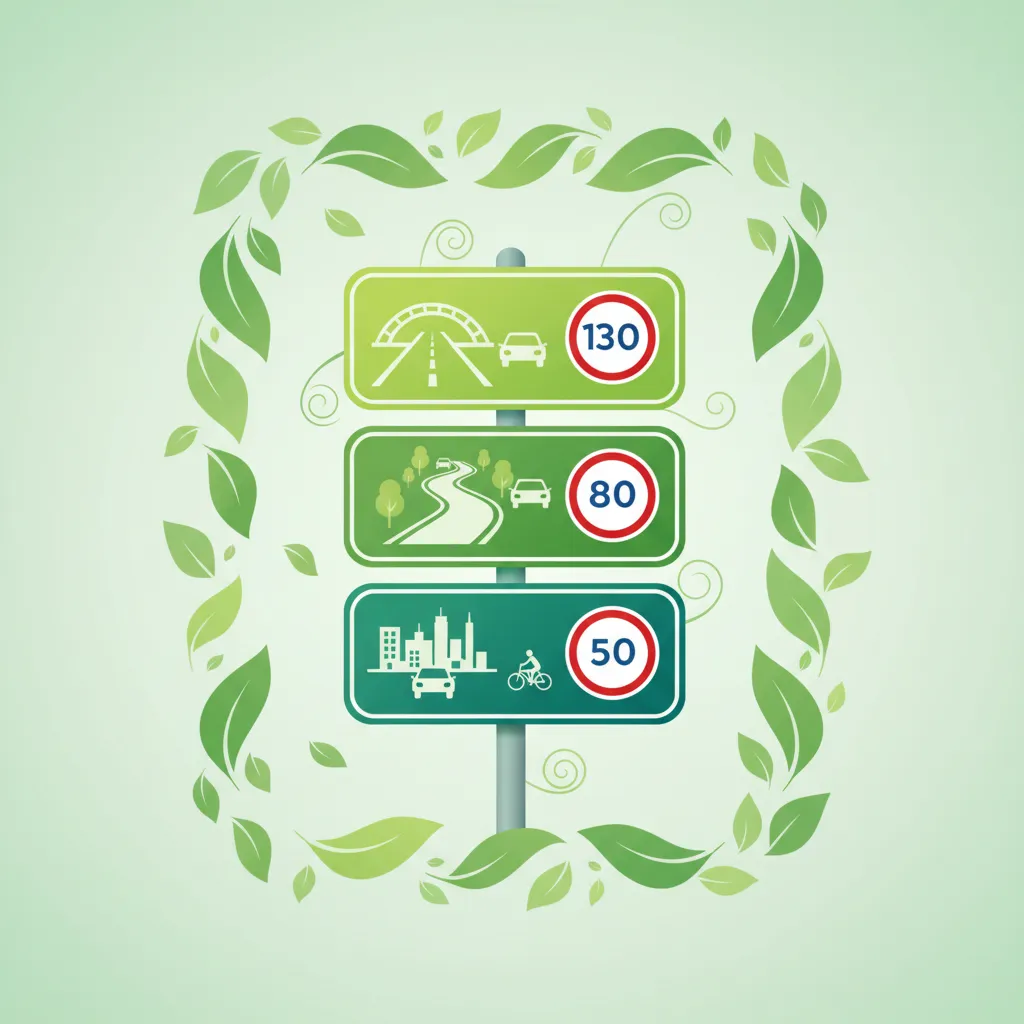
The 80 km/h default applies to a wide range of roads that are not designated as Autowegen (highways with variable speed limits) or Autosnelwegen (motorways with typically 130 km/h limits). These include:
These roads generally have fewer junctions, pedestrians, and cyclists compared to built-up areas, allowing for a higher default speed while still maintaining a reasonable safety margin.
The 80 km/h limit is chosen to balance efficient travel with safety on roads that still present potential hazards, such as:
While the 50 km/h and 80 km/h limits are the defaults, they can often be overridden by specific traffic signs or conditions. Understanding this hierarchy of rules is crucial for legal and safe driving.
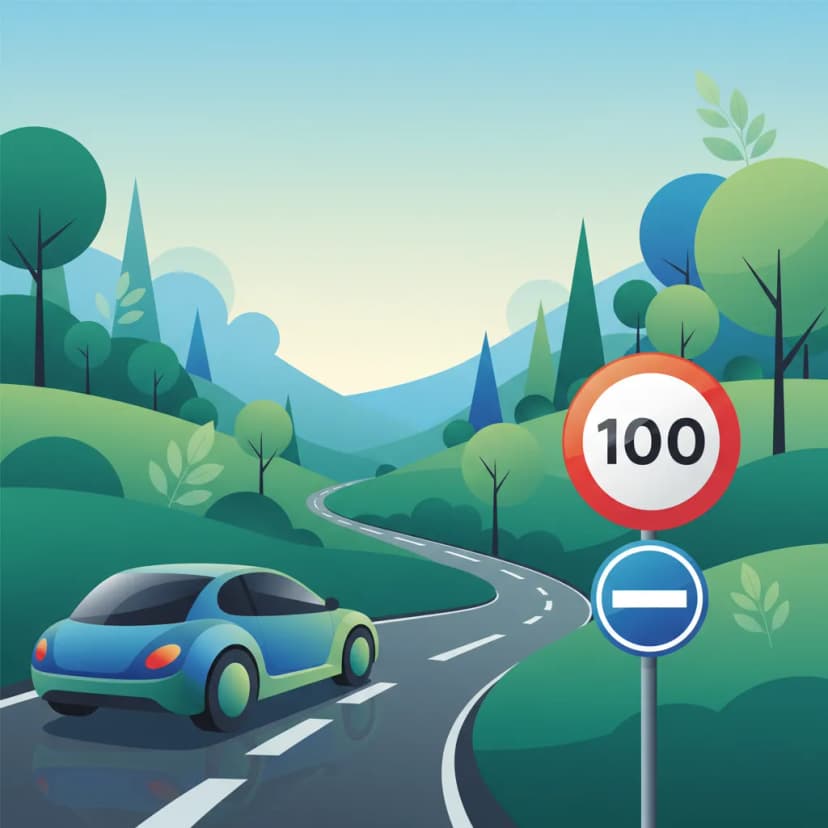
Speed limit signs, often referred to as S-signs in a broader context (though specific codes like A01-30 are used), always take precedence over the default speed limits. These signs are circular with a red border and a white background, displaying the numerical speed limit in black.
If you are driving in a built-up area (where the default is 50 km/h) and encounter a 30 km/h sign (e.g., A01-30, commonly known as S3), you must reduce your speed to 30 km/h. Similarly, outside a built-up area, a sign indicating 60 km/h would override the 80 km/h default. The general rule is: the last applicable speed sign you passed dictates the current maximum speed.
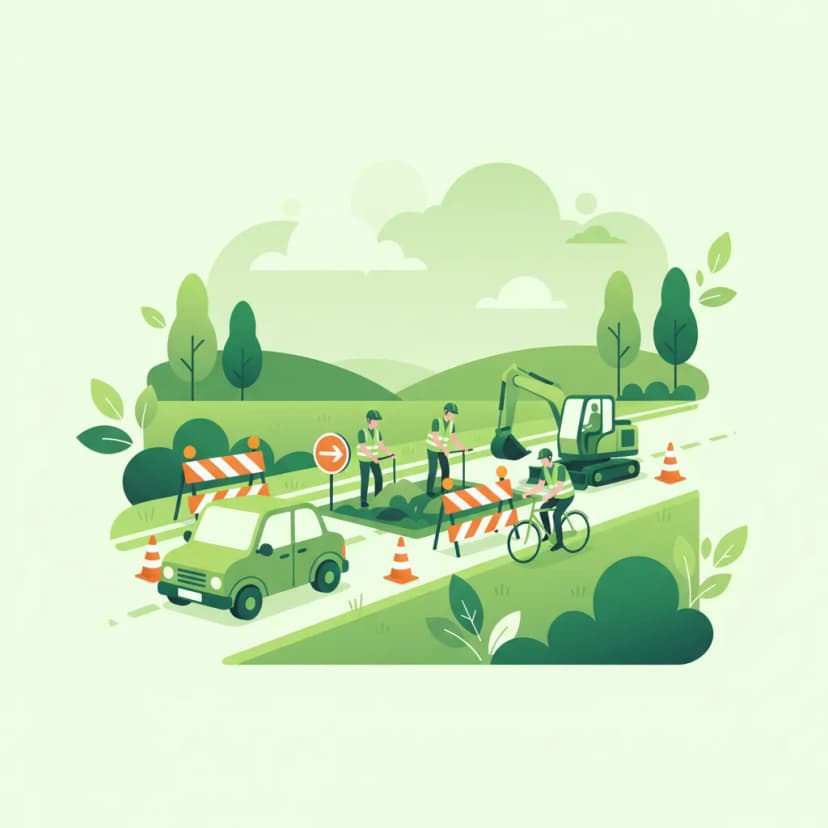
Temporary speed limits are frequently imposed in areas with roadworks, construction, or other temporary hazards. These limits are indicated by specific signs, often with yellow backgrounds or supplementary panels, and they always override default or permanent speed limits. It is vital to comply with these temporary limits, as they are put in place to protect both road users and workers.
Some areas, particularly around schools, hospitals, or residential zones, may have special speed limits, often 30 km/h or even 20 km/h (S7), to enhance safety for vulnerable groups. These zones might be indicated by specific signs, sometimes accompanied by time-of-day restrictions. For instance, a school zone might impose a 30 km/h limit only during school hours. Always be alert for these contextual speed reductions.
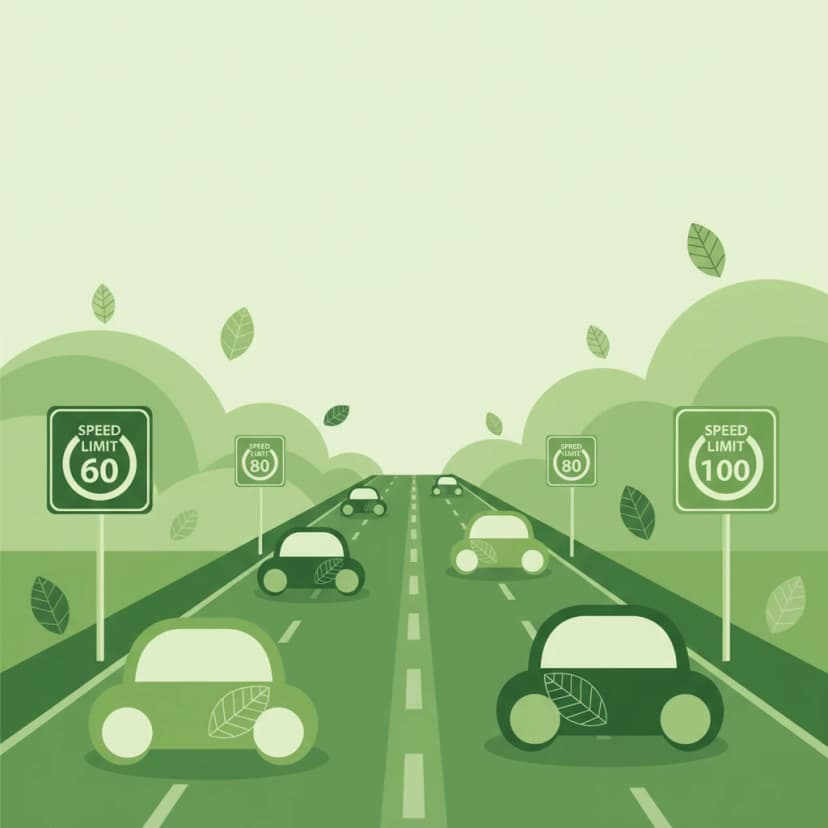
The default speed limits for built-up and non-highway rural roads do not apply to Autowegen (expressways) and Autosnelwegen (motorways). These types of roads have their own specific speed regulations, which are generally higher and are clearly indicated by signage.
Autowegen can vary, often from 100 km/h to 130 km/h, and are indicated by specific speed signs.Autosnelwegen is generally 130 km/h during the day (6:00 AM to 7:00 PM) and may differ at other times (e.g., 100 km/h or 130 km/h).It is a common misunderstanding to assume that H1 or H2 signs can somehow influence speed limits on Autowegen or Autosnelwegen. This is incorrect. Once you are on a highway, the built-up area signs and their associated 50 km/h default become irrelevant. Highway speeds are governed solely by the signs specific to that type of road. Always follow the explicit speed limits posted on highways, which are designed for continuous high-speed traffic flow and safety.
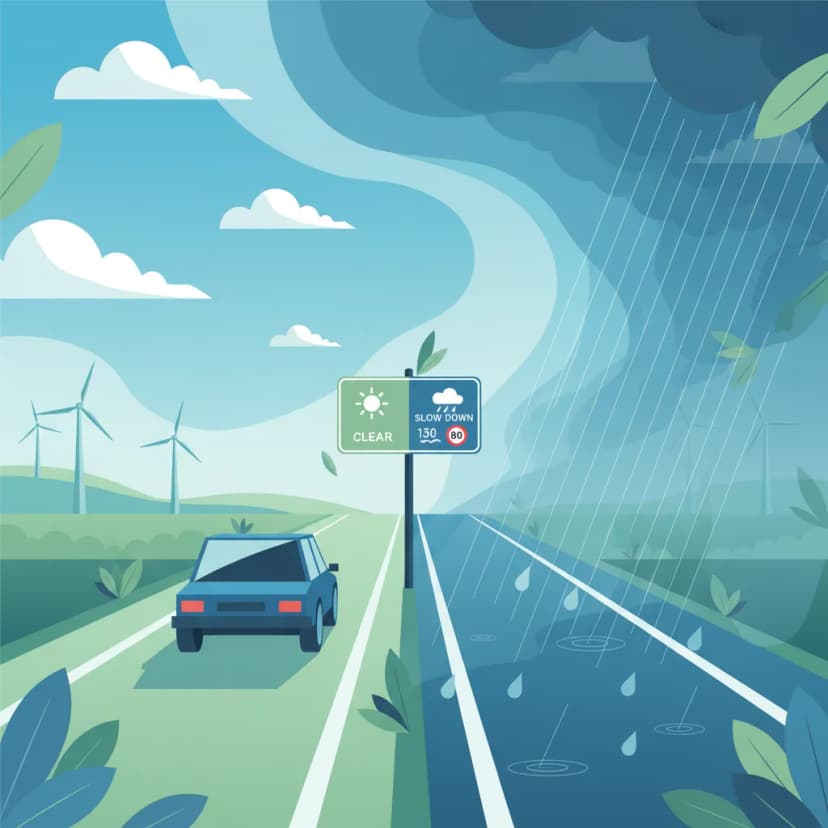
While default and signed speed limits provide the legal maximum, a responsible driver understands that the safe speed can often be significantly lower. Adaptive speed management means continually adjusting your speed based on prevailing conditions, even if it means driving well below the posted limit.
Adverse weather conditions are a prime example where adaptive speed is critical:
Failing to adhere to speed limits, whether default or signed, carries serious legal consequences and significantly increases accident risk.
H1 sign into a built-up area.30 km/h (A01-30) zone sign.A thorough understanding of speed limits, both default and those indicated by signs, is indispensable for responsible driving in the Netherlands. The 50 km/h limit in built-up areas and the 80 km/h limit on non-highway rural roads are foundational to traffic safety. Always remember that specific speed signs and dynamic conditions like weather or construction zones take precedence over these defaults.
By consistently applying the correct speed, you contribute to your own safety, the safety of other road users, and the efficient flow of traffic. This lesson underpins many other aspects of driving, from correctly judging right-of-way at intersections (Unit 2) to understanding how speed influences your ability to respond in emergencies (Unit 12). Drive safely and mind your speed!
Lesson content overview
Explore all units and lessons included in this driving theory course.
Explore search topics learners often look for when studying Speed Limits Inside and Outside Built-Up Areas. These topics reflect common questions about road rules, driving situations, safety guidance, and lesson level theory preparation for learners in the Netherlands.
Browse additional driving theory lessons that cover connected traffic rules, road signs, and common driving situations related to this topic. Improve your understanding of how different rules interact across everyday traffic scenarios.
Learn about specific speed limits in school zones, roadworks, and other special areas. Understand how temporary signs override default speed limits and the importance of adaptive speed in these contexts for Dutch driving theory.

This lesson explains speed limits in specially designated zones designed to protect vulnerable road users. You will learn the rules of a 'woonerf' (home zone), where the speed limit is walking pace (max 15 km/h) and pedestrians can use the full width of the road. The content also covers 30 km/h zones, common in residential areas and around schools, which are often enforced through road design like speed bumps. Understanding the purpose and rules of these zones is key to driving responsibly in urban environments.

This lesson prepares you for encountering road works, a common feature on any road network. You will learn that signs and markings related to road works are often yellow and that they temporarily override permanent white markings and signs. The curriculum stresses the importance of adhering to temporary speed limits, being alert for workers and machinery, and navigating narrowed lanes. It also covers how to follow diversion routes ('omleiding') and obey instructions given by traffic controllers.
This lesson prepares riders for navigating the unique challenges of construction zones and temporary road layouts. It covers the identification of orange-colored temporary signs, understanding detour (omleiding) routes, and adhering to reduced speed limits. Special attention is given to the hazards common in work zones, such as loose gravel, uneven surfaces, and the presence of workers, emphasizing the need for heightened awareness and caution.

This lesson focuses on identifying different types of speed zones and understanding the rationale behind their limits. It explains how to recognize the start and end of a 'built-up area' ('binnen de bebouwde kom') via place-name signs and discusses special zones like 30 km/h zones and 'woonerven' (residential yards). The curriculum emphasizes adapting riding style to the specific hazards present in each type of zone, from high pedestrian activity in urban areas to unexpected curves on rural roads.
This lesson focuses on the specific speed regulations for major highways in the Netherlands. You will learn to identify an 'autosnelweg' (motorway, G1 sign), where the speed limit is 100 km/h between 6:00 and 19:00 and often 130 km/h at other times, unless indicated otherwise. The lesson also covers the 'autoweg' (expressway, G3 sign), which typically has a speed limit of 100 km/h. Furthermore, you will study dynamic speed limits indicated on electronic signs, which can change due to traffic or weather conditions.
This lesson provides a detailed overview of fixed speed limits on the Dutch road network and the signs that indicate them. You will learn to identify signs for maximum speed (BORD 50) and understand the default limits that apply within built-up areas, on rural roads, and on motorways. The content emphasizes the importance of constant awareness and legal compliance to avoid penalties and ensure road safety for yourself and others.
This lesson provides a definitive guide to the legal speed limits on different types of Dutch roads. It covers the rules for built-up areas (typically 50 km/h), rural roads (80 km/h), expressways ('autowegen'), and motorways ('snelwegen'), including time-dependent variations. Understanding these official limits is the first step in managing speed legally and appropriately for the road environment, a core topic on the CBR theory test.
This lesson explains how to respond to variable speed limits shown on overhead electronic signs, which are used to manage traffic flow in real-time. You will learn why these limits are adjusted for factors like congestion, accidents, or bad weather, and the legal requirement to obey them. The content focuses on the importance of anticipatory riding, scanning far ahead for these signs to allow for smooth and safe speed adjustments.

This lesson emphasizes the critical importance of adapting your speed to prevailing conditions, which may require driving slower than the legal limit. You will learn how factors like rain, fog, snow, and darkness significantly increase braking distances and reduce visibility. The curriculum explains the dangers of aquaplaning on wet roads and black ice in winter. The core principle taught is that a safe driver always adjusts their speed to ensure they can stop within the distance they can see to be clear.
The posted speed limit is a maximum, not a target. This lesson teaches the crucial skill of adapting your speed to prevailing conditions. You will learn how to assess factors like traffic density, poor weather (rain, fog), limited visibility (at night), and slippery road surfaces. Adjusting your speed downwards in these situations provides you with more time to react to hazards and significantly reduces the risk of losing control or being involved in a collision.
Understand the key differences between speed limits on Dutch highways (Autoweg, Autosnelweg) and rural roads outside built-up areas. Essential driving theory knowledge for navigating various road types safely and legally in the Netherlands.
This lesson focuses on the specific speed regulations for major highways in the Netherlands. You will learn to identify an 'autosnelweg' (motorway, G1 sign), where the speed limit is 100 km/h between 6:00 and 19:00 and often 130 km/h at other times, unless indicated otherwise. The lesson also covers the 'autoweg' (expressway, G3 sign), which typically has a speed limit of 100 km/h. Furthermore, you will study dynamic speed limits indicated on electronic signs, which can change due to traffic or weather conditions.
This lesson clarifies the features of an 'autoweg,' indicated by the G3 sign. Unlike motorways, autowegen can have intersections at the same level (crossroads and traffic lights) and generally lack a hard shoulder. You will learn to recognize different types of autowegen by their central road markings, which indicate the speed limit and whether overtaking is permitted. Understanding these distinctions is crucial for applying the correct speed and driving behavior on these high-speed roads.

This lesson outlines the statutory national speed limits applicable to motorcycles in the Netherlands. It clearly defines the maximum permitted speeds on motorways ('snelwegen'), non-motorway rural roads ('buiten de bebouwde kom'), and within built-up areas ('binnen de bebouwde kom'). The content also addresses variations, such as time-dependent speed limits on certain motorways, ensuring riders have a complete and accurate understanding of the legal requirements for speed.
This lesson provides a definitive guide to the legal speed limits on different types of Dutch roads. It covers the rules for built-up areas (typically 50 km/h), rural roads (80 km/h), expressways ('autowegen'), and motorways ('snelwegen'), including time-dependent variations. Understanding these official limits is the first step in managing speed legally and appropriately for the road environment, a core topic on the CBR theory test.
This lesson provides a detailed overview of fixed speed limits on the Dutch road network and the signs that indicate them. You will learn to identify signs for maximum speed (BORD 50) and understand the default limits that apply within built-up areas, on rural roads, and on motorways. The content emphasizes the importance of constant awareness and legal compliance to avoid penalties and ensure road safety for yourself and others.

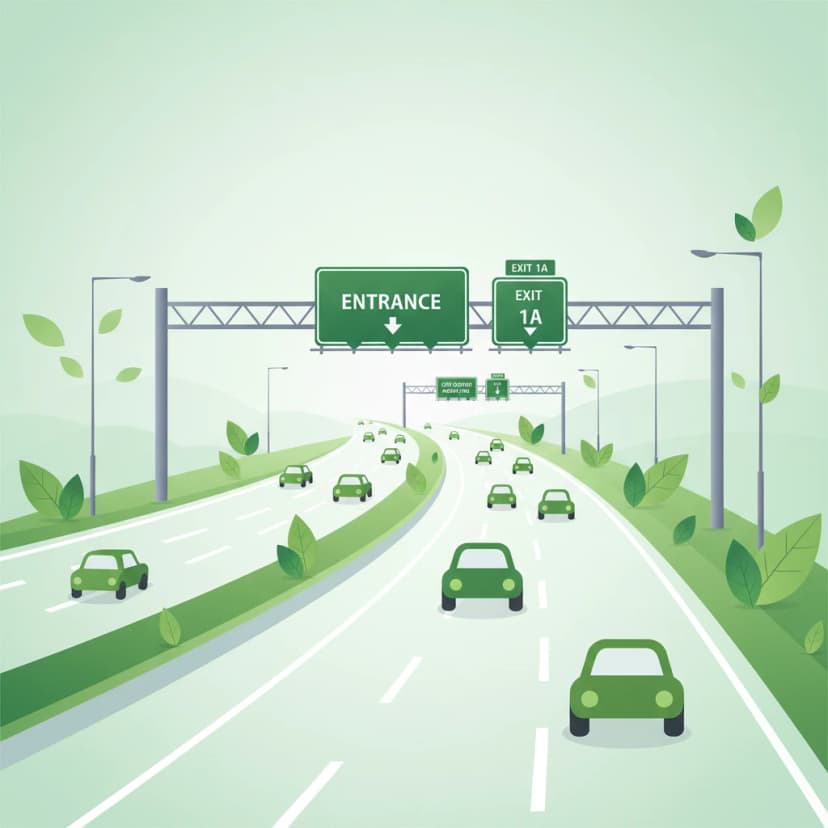
This lesson details the specific regulations for driving on Dutch motorways, identifiable by the G1 sign. You will learn the correct procedure for joining the flow of traffic using the acceleration lane and for leaving via the deceleration lane. The curriculum reinforces the 'keep right unless overtaking' rule for lane discipline. It also explains that stopping is strictly forbidden, and the hard shoulder (vluchtstrook) may only be used for genuine emergencies.
This lesson focuses on identifying different types of speed zones and understanding the rationale behind their limits. It explains how to recognize the start and end of a 'built-up area' ('binnen de bebouwde kom') via place-name signs and discusses special zones like 30 km/h zones and 'woonerven' (residential yards). The curriculum emphasizes adapting riding style to the specific hazards present in each type of zone, from high pedestrian activity in urban areas to unexpected curves on rural roads.
This lesson focuses on the specific skills required for managing speed on high-speed highways (autosnelwegen). You will learn the correct technique for accelerating on the on-ramp to smoothly merge with traffic flow. The content covers how to choose an appropriate cruising speed, maintain a safe following distance, and manage the aerodynamic effects of wind and turbulence from larger vehicles at high speeds.

This lesson reinforces the fundamental rule of Dutch highway driving: use the rightmost lane available and use the lanes to the left only for overtaking. You will learn the complete, safe overtaking procedure: check mirrors, signal, perform a shoulder check for the blind spot, smoothly move over, accelerate past the vehicle, and then return to the right lane when safe.
This lesson focuses on the unique demands of riding at sustained high speeds on motorways ('snelwegen'). It covers essential topics such as strict lane discipline, safe overtaking procedures, and maintaining a greater following distance to compensate for higher reaction and braking times. The content also addresses the physical and mental challenges, including managing wind blast, increased noise levels, and maintaining heightened situational awareness over long distances to combat fatigue.
Find clear answers to common questions learners have about Speed Limits Inside and Outside Built-Up Areas. Learn how the lesson is structured, which driving theory objectives it supports, and how it fits into the overall learning path of units and curriculum progression in the Netherlands. These explanations help you understand key concepts, lesson flow, and exam focused study goals.
The sign that marks the beginning of a built-up area in the Netherlands is a square white sign with a black border, depicting the silhouette of houses. This is officially known as sign H1. It signifies that the default speed limit of 50 km/h now applies.
The sign indicating the end of a built-up area is a round sign with a red border, a black horizontal bar, and a black silhouette of houses. This is sign H2. When you see this sign, the 50 km/h limit no longer applies, and you must adhere to the standard speed limit for the road type outside built-up areas (usually 80 km/h).
The 50 km/h limit is the *default* speed limit inside built-up areas. However, specific signs can and often do indicate different speed limits, such as 30 km/h zones or higher limits on certain arterial roads. Always pay attention to all signs present.
On provincial roads (provinciale wegen) and other standard roads outside built-up areas, the default speed limit is 80 km/h, provided there are no other signs indicating a different speed. This applies unless the road is specifically designated as an 'autoweg' or 'autosnelweg'.
Theory exam questions will often present a scenario with specific road signs or ask you to apply the default speed limit. You will need to recognize whether the situation is within or outside a built-up area based on the signs shown or described, and then select the correct default speed or adjust for any specific speed limit signs.