
Welcome to this crucial lesson on adapting your speed to weather and visibility conditions. As part of the 'Speed Management and Limits' unit, this topic is vital for passing your Dutch driving theory exam and ensuring safety on the road. We’ll focus on how factors like rain, fog, and darkness drastically affect your driving, making it essential to adjust your speed below the legal limit.
Driving safely requires more than simply adhering to posted speed limits. It demands a constant assessment of your surroundings and conditions. This lesson on speed adjustments for weather and visibility is crucial for all drivers seeking a Dutch driving license (Category B), emphasizing the vital skill of adapting your speed to ensure safety, especially when adverse conditions make roads treacherous or reduce your ability to see. Understanding how factors like rain, fog, snow, and darkness affect your vehicle's performance and your own perception is fundamental to preventing collisions and maintaining control.
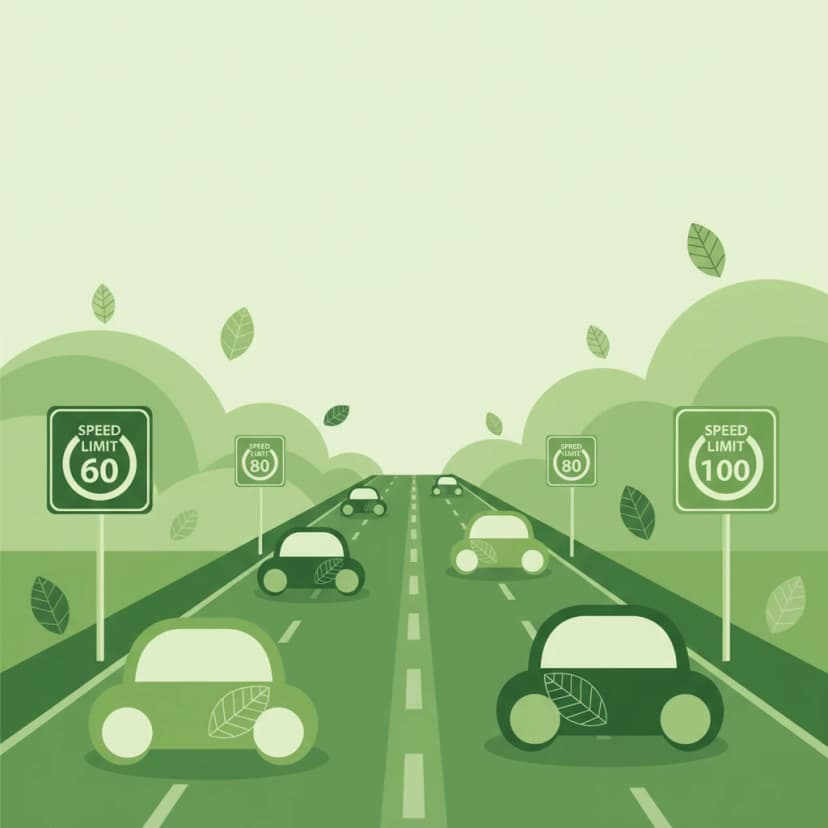
The fundamental principle guiding safe driving speed is that you must always be able to stop your vehicle safely within the distance you can see to be clear. This principle transcends legal speed limits, which represent the maximum permissible speed under ideal conditions. When conditions deteriorate, the safe speed often falls significantly below the legal maximum.
The stopping distance is the total distance your vehicle travels from the moment you perceive a hazard until it comes to a complete halt. This distance is a combination of two main components:
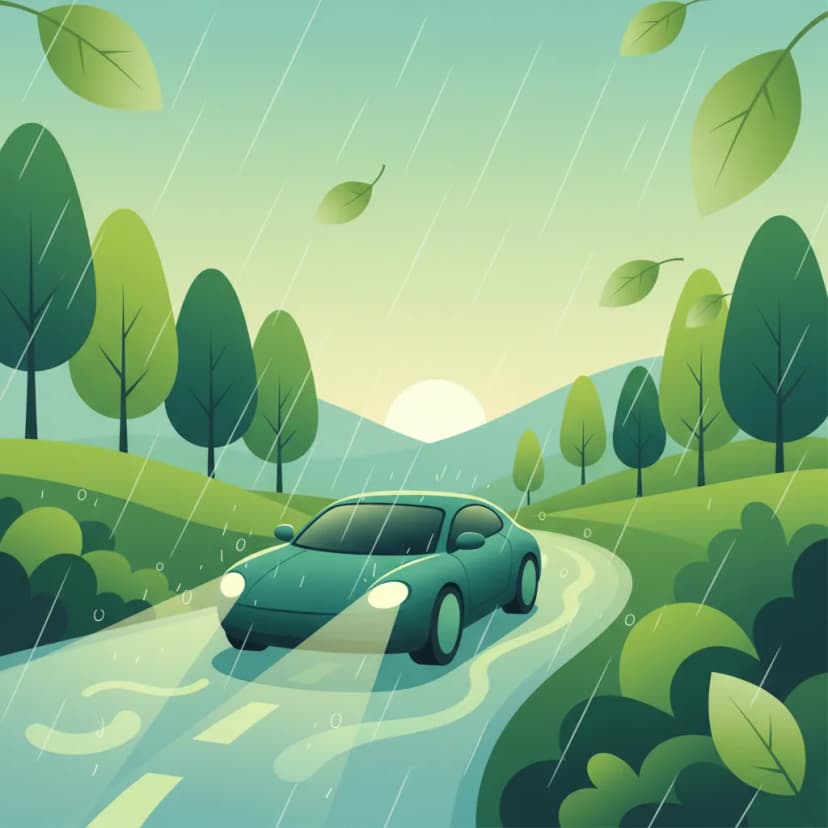
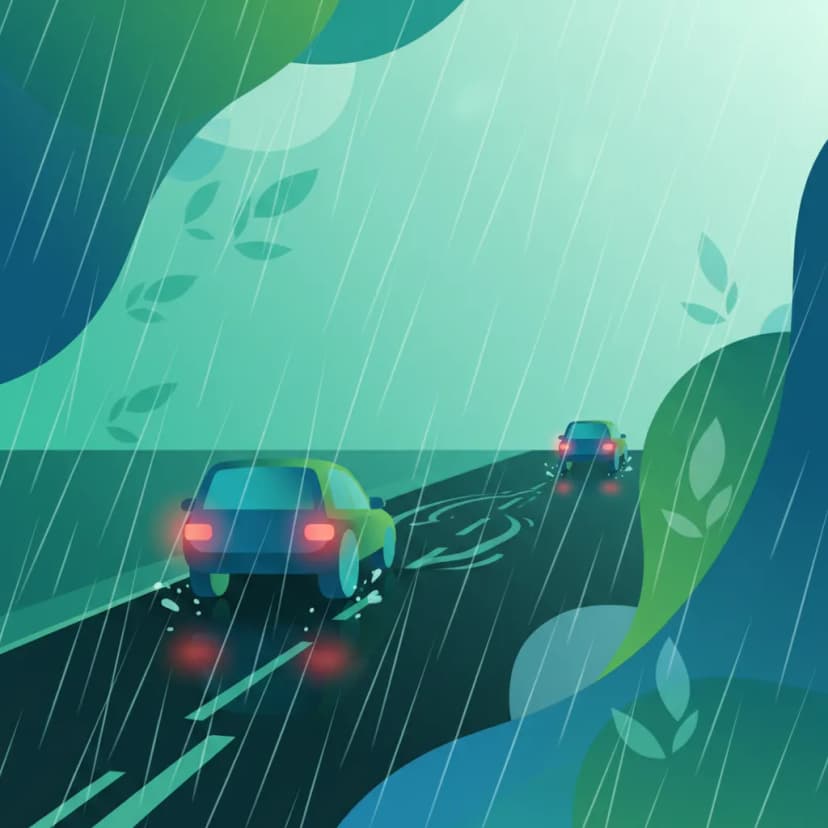
When visibility decreases or the road surface becomes slippery, the braking distance increases substantially. This means you must reduce your speed to ensure your total stopping distance remains within the range of what you can clearly see ahead.
Always be prepared to stop within your visible range. If you can only see 50 metres ahead due to fog, your speed should allow you to stop within 50 metres.
Visibility distance refers to the maximum distance ahead that you can clearly perceive, identify hazards, and react to them. This distance is not constant; it changes dramatically with various factors, including road curvature, natural light, and meteorological conditions. Driving at a speed that exceeds your visibility distance means you could encounter a hazard you cannot avoid in time.
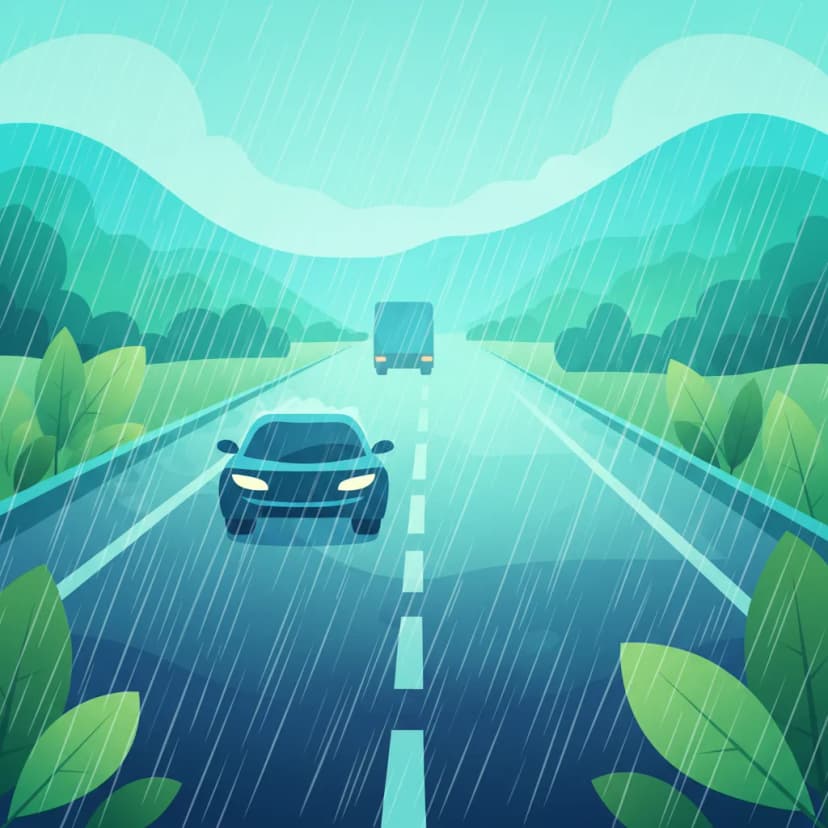
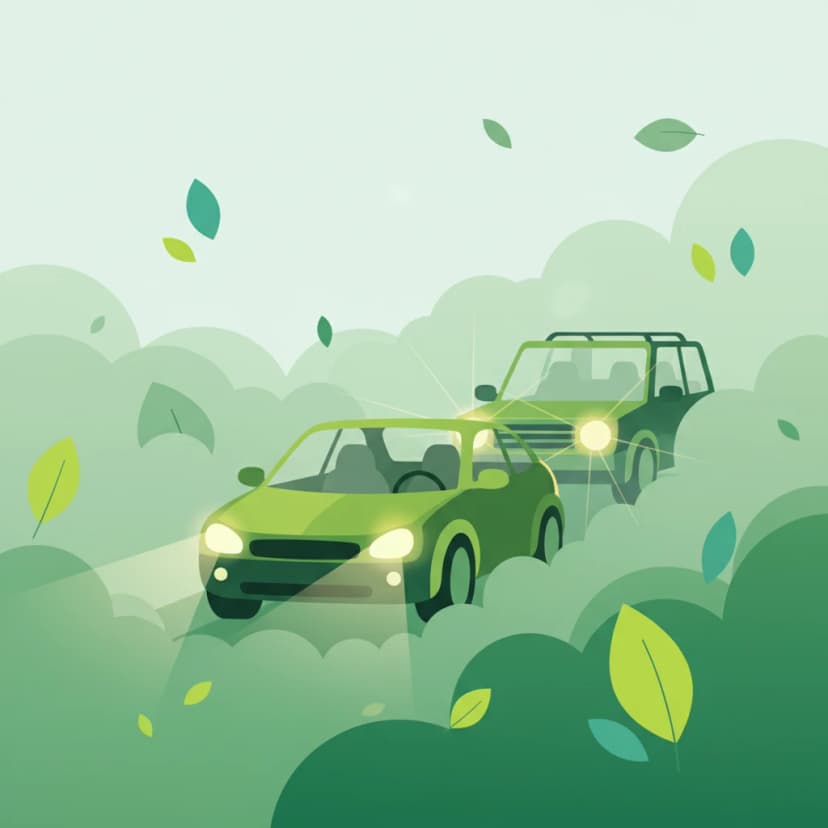
In scenarios of limited visibility due to fog, heavy rain, or darkness, high speeds become inherently unsafe. For instance, if dense fog reduces your visibility to just 80 metres, driving at 80 km/h is extremely dangerous, as your stopping distance would likely exceed this. Proper lighting, such as using low beams, can improve visibility for you and make your vehicle more visible to others, but it does not negate the need for a significant speed reduction.
The condition of the road surface profoundly impacts the tire-road friction (μ), which is the grip your tires have on the road. Wet, icy, or snowy surfaces drastically reduce this friction, leading to significantly longer braking distances and an increased risk of losing traction. A road surface safety margin means consciously reducing your speed beyond what might seem necessary on a dry road, even if the legal speed limit is higher. This accounts for the reduced grip and the higher risk of skidding or hydroplaning.
Dutch traffic law, particularly the Reglement Verkeersregels en Verkeerstekens 1990 (RVV 1990), explicitly requires drivers to adjust their speed according to prevailing conditions. This isn't just a recommendation; it's a legal obligation. The societal expectation is that driving speed should never compromise safety. While you must not drive unnecessarily slowly and obstruct traffic (RVV 60), the law prioritizes safety when conditions are poor.
For example, RVV 25a states: "Bij slecht zicht of slechte wegomstandigheden rijden op een zo’n snelheid als het zich kan, dat het voertuig veilig tegen te stoppen is." This roughly translates to: "In case of poor visibility or poor road conditions, drive at a speed such that the vehicle can be stopped safely." This rule underscores that the legal limit is a maximum, not a target, in adverse conditions.
Several interconnected factors determine the appropriate safe speed. Understanding each of these helps you make informed decisions behind the wheel.
Braking distance is a critical component of stopping distance. It is not linearly proportional to speed; rather, it increases with the square of your speed. This means doubling your speed quadruples your braking distance. When road surfaces are wet or icy, the coefficient of friction between your tires and the road decreases, further extending the braking distance.
For instance, a vehicle traveling at 90 km/h might have a braking distance of around 110 metres on a dry surface. On a wet surface, this could easily extend to 140 metres or more. On ice, it could be several times that distance. This dramatic increase necessitates a significant reduction in speed to maintain safety.
Never overestimate your vehicle's braking capability, especially on wet or icy roads. Always assume longer braking distances than you might initially expect.
Hydroplaning (also known as aquaplaning) is a hazardous condition that occurs when a layer of water builds up between your vehicle's tires and the road surface, causing a complete loss of traction. When this happens, your tires are no longer in contact with the asphalt, and you lose steering control, braking ability, and acceleration.
Hydroplaning is more likely to occur on roads with standing water, during heavy rain, or when tire treads are worn. Speed is a major factor; as your speed increases on a wet surface, the tires have less time to displace the water, making hydroplaning more probable. If you experience hydroplaning, you should immediately ease off the accelerator, do not brake suddenly, and hold the steering wheel straight until your tires regain contact with the road.
Black ice is a thin, transparent layer of ice that forms on road surfaces and is extremely difficult to see. It often appears as a wet patch, deceiving drivers into thinking the road is merely damp. Black ice typically forms when temperatures drop rapidly, especially after rain or when moisture on the road freezes. It can also form in shaded areas (bridges, tunnels, underpasses) even when the surrounding road is dry.
Encountering black ice, especially at higher speeds, almost guarantees a sudden and complete loss of traction, leading to uncontrolled skidding. RVV 38 specifically mandates that drivers must reduce speed in winter regardless of posted limits to prevent accidents on icy roads. The key to mitigating the risk of black ice is to be highly vigilant, especially during winter months, and to reduce speed proactively if conditions suggest ice might be present.
Each type of adverse weather presents unique challenges that demand specific speed adjustments:
RVV 22 emphasizes the general need for speed adjustment in weather conditions, reinforcing the principle that legal limits are for ideal conditions.
Driving during daylight hours typically offers the best visibility, allowing you to drive closer to the legal speed limits if the road is dry. However, at night, even with headlights, your visibility distance is significantly reduced. This reduction necessitates a lower speed, especially on unlit roads, to ensure you can stop within the range illuminated by your headlights.
Lighting decisions are critical in low visibility:
The weight and distribution of your vehicle's load significantly affect its handling and braking distance. A heavier vehicle or one towing a trailer requires a longer distance to stop, regardless of road conditions. If you are driving a fully loaded car or a car with a trailer, you must increase your safe speed margin and reduce your speed even more aggressively in adverse weather. RVV 35 requires ensuring safe braking distances for vehicles with trailers.
For example, a fully loaded vehicle might need 30% more braking distance compared to an unloaded one. Ignoring this factor during rain or ice can lead to severe loss of control or a rear-end collision.
The Dutch traffic laws (RVV 1990) are clear about a driver's responsibility to adjust speed and driving behavior to prevailing conditions.
Here’s a summary of relevant Dutch traffic rules:
| Rule | Statement | Applicability | Rationale |
|---|---|---|---|
| RVV 25a | Adapt speed to poor road or visibility conditions. | All road types, any weather | Ensures safe stopping within visible distance. |
| RVV 30a | Maintain a safe distance, accounting for reaction time. | Any situation | Prevents rear-end collisions. |
| RVV 32 | Adjust speed or halt if minimum visibility distances are not met. | All roads | Ensures safety for all road users, especially vulnerable ones. |
| RVV 38 | Reduce speed in winter regardless of posted limits. | All winter months / icy conditions | Prevents accidents on slippery roads. |
| RVV 47 | Headlights must be on from sunset to sunrise. | Night driving | Ensures vehicle visibility. |
| RVV 50 | High beams must be turned off in fog or heavy rain. | Fogged or rain conditions | Prevents glare and improves overall visibility. |
| RVV 60 | Do not drive slower than necessary, causing obstruction. | All roads | Maintains traffic flow while prioritizing safety. |
| RVV 65 | On wet roads, drivers must use wet tires if available. | Wet roads | Reduces hydroplaning risk and improves grip. |
RVV 60 is important: while it is critical to reduce speed for safety, you also have an obligation not to unduly obstruct traffic. The key is to find the safest and most reasonable speed for the conditions.
A common misunderstanding is the belief that the legal speed limit is always the safe speed, regardless of conditions. This is fundamentally incorrect. Driving at 100 km/h in dense fog on an Autosnelweg where the limit is 100 km/h is a serious violation of safety principles and RVV 25a.
Another error is overestimating one's vehicle's braking capability, especially with worn tires or a heavy load. This leads to maintaining speeds that are too high for the conditions. Ignoring recommendations for wet tires (tires with deeper tread patterns, often winter tires, designed to channel water) also increases the risk of hydroplaning.
Let's consider how these principles apply in practical situations:
Imagine driving on an Autoweg (major road, often 100 km/h or 130 km/h limit) when heavy rain begins. Visibility decreases, and large puddles form, increasing the risk of hydroplaning.
You are driving through a built-up area (binnen de bebouwde kom) where the speed limit is 50 km/h. Suddenly, dense fog rolls in, reducing visibility to less than 50 metres.
It's early morning in winter, temperatures are around freezing, and you're on a 80 km/h road outside a built-up area. The road appears merely wet in places, but you suspect black ice might be forming, especially on a bridge or in a shaded dip.
The relationship between speed, kinetic energy, and stopping distance is fundamental. Kinetic energy is proportional to the square of your speed. This means that a small increase in speed results in a disproportionately large increase in the energy that needs to be dissipated through braking, and thus a longer stopping distance. At higher speeds, there is also less time for your brain to process information and for your body to react, further increasing the total distance traveled before you can even begin to slow down.
The energy of motion. For a vehicle, it increases with the square of its speed (E = 0.5 * mass * speed²). Higher kinetic energy requires more distance and force to stop.
Even with perfect vehicle mechanics, human factors play a crucial role. Your reaction time can be affected by fatigue, distractions, and even the complexity of the driving situation. In adverse weather, your driver concentration must be at its peak to identify hazards sooner and react appropriately. Reduced visibility and slippery conditions require more cognitive effort and faster decision-making, leaving less margin for error.
Lowering your speed in adverse conditions isn't just about avoiding tickets; it's about minimizing risk. Slower speeds:
The core message of this lesson is that a truly safe driver always prioritizes adapting their speed to prevailing conditions rather than rigidly adhering to the maximum legal limit. In the Netherlands, this is not just a recommendation but a legal and ethical obligation. By understanding the physics of stopping, the dangers of hydroplaning and black ice, the impact of various weather types, and the role of proper lighting and vehicle load, you can make informed decisions that drastically reduce the risk of accidents.
Always remember the principle: You must be able to stop safely within the distance you can see to be clear. This means being vigilant, anticipating hazards, and proactively reducing your speed whenever visibility or road conditions deteriorate.
Lesson content overview
Explore all units and lessons included in this driving theory course.
Explore search topics learners often look for when studying Speed Adjustments for Weather and Visibility. These topics reflect common questions about road rules, driving situations, safety guidance, and lesson level theory preparation for learners in the Netherlands.
Browse additional driving theory lessons that cover connected traffic rules, road signs, and common driving situations related to this topic. Improve your understanding of how different rules interact across everyday traffic scenarios.
Learn the essential Dutch traffic rules for adjusting your speed in rain, fog, snow, or darkness. Understand braking distances, hydroplaning risks, and how to maintain safety when visibility is limited, as required by RVV 1990.
This lesson provides practical advice for driving in challenging weather. You will learn about the risk of aquaplaning in heavy rain and how to react, as well as how to manage the effects of strong crosswinds. The curriculum covers winter driving, explaining the danger of black ice, the benefits of winter tires, and techniques for avoiding and correcting a skid. A key focus is on adjusting driving style: increasing following distances, reducing speed, and making gentle steering and braking inputs.

This lesson reinforces the critical relationship between adverse conditions, reduced traction, and massively increased stopping distances. It provides a clear framework for how much riders need to increase their following distance and reduce their overall speed to maintain a safe margin for error. The curriculum teaches riders to constantly reassess their speed based on visual feedback from the road surface and the level of visibility, ensuring they can always stop within the distance they can clearly see.
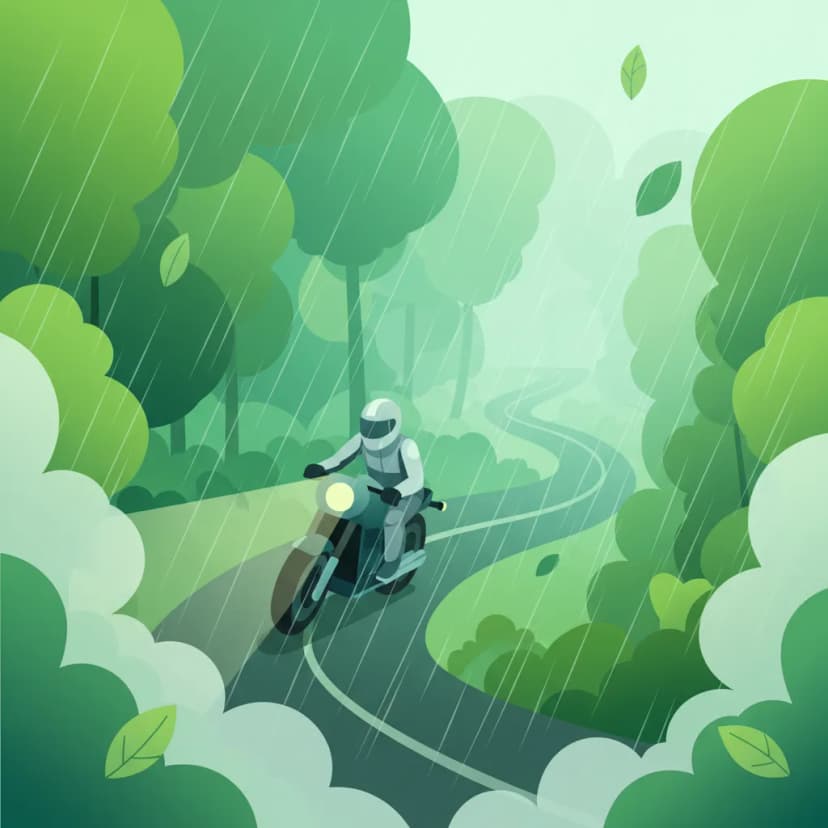
Riding on two wheels requires special care on surfaces with reduced grip. This lesson teaches you how to handle challenging conditions like rain, ice, wet leaves, or tram tracks. Key principles include reducing speed significantly, making all control inputs (braking, accelerating, steering) much more smoothly and gradually, and increasing your following distance to allow for much longer stopping distances. Recognizing potentially slippery areas is a critical part of proactive hazard perception.
The posted speed limit is a maximum, not a target. This lesson teaches the crucial skill of adapting your speed to prevailing conditions. You will learn how to assess factors like traffic density, poor weather (rain, fog), limited visibility (at night), and slippery road surfaces. Adjusting your speed downwards in these situations provides you with more time to react to hazards and significantly reduces the risk of losing control or being involved in a collision.
This lesson explains why the standard two-second rule is insufficient in adverse conditions and requires extension. It details how factors like rain, fog, and darkness reduce both visibility and tire grip, thereby significantly increasing total stopping distance. The content provides practical guidelines, such as extending the following gap to four seconds or more in the wet, to ensure the rider always has enough time and space to stop safely, regardless of the conditions.
This lesson provides a detailed guide to riding in wet and low-visibility conditions. You will learn to make all your control inputs—braking, accelerating, and steering—exceptionally smooth to avoid breaking traction on slippery surfaces. The content covers the dangers of painted lines and manhole covers when wet, and the importance of increasing your following distance dramatically to account for longer braking distances.

This lesson provides survival strategies for riding in the most challenging weather conditions, including heavy rain, snow, and potential ice. It emphasizes the importance of mental preparation, drastically reduced speeds, and hyper-smooth inputs for throttle, brakes, and steering. The content also covers identifying high-risk areas for 'black ice,' such as bridges and shaded spots, and the critical role of appropriate waterproof and insulated gear in preventing hypothermia and maintaining concentration.
This lesson addresses the dual challenge of poor visibility: being able to see the road ahead and ensuring other road users can see you. It covers techniques for riding in fog and heavy rain, such as using appropriate lights and reducing speed to match sight distance. The lesson also discusses practical issues like helmet visor fogging and the importance of wearing high-visibility or reflective clothing to enhance conspicuity in low-light conditions.
This lesson focuses on the use of specialized lights for specific situations. You will learn the strict conditions under which fog lights may be used: the rear fog light is only permitted when visibility from fog or snow is less than 50 meters, and not in rain. The lesson also explains the correct use of hazard warning lights, which are intended to warn other drivers of a stationary obstruction (like a breakdown or the tail end of a sudden traffic jam) or while being towed.
This lesson focuses on the crucial safety strategy of adjusting your riding for adverse conditions. You will learn that on wet roads, your braking distance can double, necessitating a much larger following distance (e.g., a four-second gap or more). The content covers the risks of reduced visibility in fog and at night, and the destabilizing effects of strong crosswinds, explaining how a greater space cushion provides the time and space needed to react safely.
Explore the principle of always being able to stop within your visible range, a core concept in Dutch driving theory. This lesson covers how to assess and adapt speed for conditions like heavy traffic, road surfaces, and reduced visibility.
The posted speed limit is a maximum, not a target. This lesson teaches the crucial skill of adapting your speed to prevailing conditions. You will learn how to assess factors like traffic density, poor weather (rain, fog), limited visibility (at night), and slippery road surfaces. Adjusting your speed downwards in these situations provides you with more time to react to hazards and significantly reduces the risk of losing control or being involved in a collision.
This lesson focuses on the unique demands of riding at sustained high speeds on motorways ('snelwegen'). It covers essential topics such as strict lane discipline, safe overtaking procedures, and maintaining a greater following distance to compensate for higher reaction and braking times. The content also addresses the physical and mental challenges, including managing wind blast, increased noise levels, and maintaining heightened situational awareness over long distances to combat fatigue.
This lesson focuses on the specific speed regulations for major highways in the Netherlands. You will learn to identify an 'autosnelweg' (motorway, G1 sign), where the speed limit is 100 km/h between 6:00 and 19:00 and often 130 km/h at other times, unless indicated otherwise. The lesson also covers the 'autoweg' (expressway, G3 sign), which typically has a speed limit of 100 km/h. Furthermore, you will study dynamic speed limits indicated on electronic signs, which can change due to traffic or weather conditions.
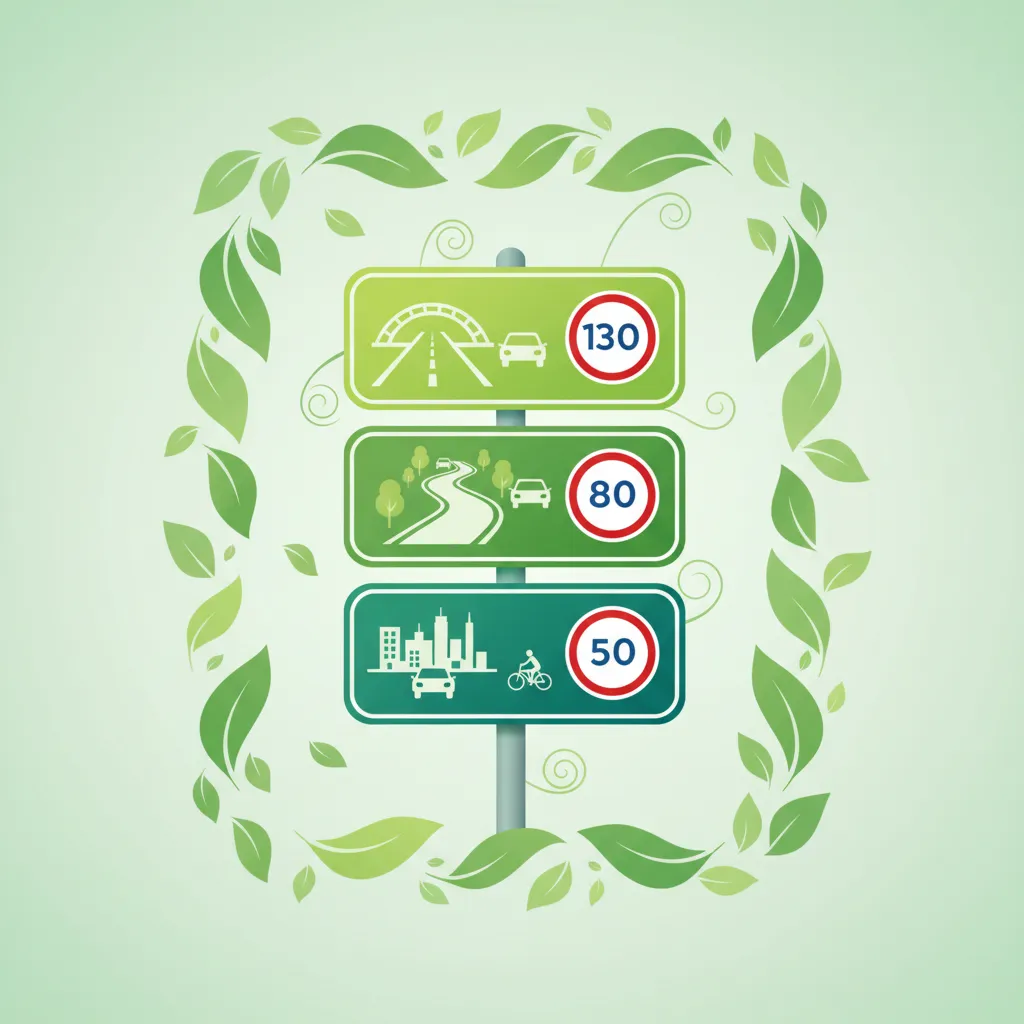
This lesson provides a definitive guide to the legal speed limits on different types of Dutch roads. It covers the rules for built-up areas (typically 50 km/h), rural roads (80 km/h), expressways ('autowegen'), and motorways ('snelwegen'), including time-dependent variations. Understanding these official limits is the first step in managing speed legally and appropriately for the road environment, a core topic on the CBR theory test.

This lesson revisits the concept of following distance, emphasizing its heightened importance in the high-speed motorway environment. It explains how increased speeds dramatically lengthen both reaction and braking distances, making a minimum two-to-three-second gap absolutely critical for safety. The content also stresses the importance of maintaining a space cushion to the sides, creating potential escape routes in case of sudden incidents in adjacent lanes.
This lesson details the default speed limits that apply in the absence of specific signs. You will learn to recognize the signs (H1 and H2) that mark the beginning and end of a built-up area, where the default speed limit is 50 km/h. Outside these areas, on non-highway roads, the standard limit is 80 km/h. The content explains the rationale behind these limits, which are based on factors like pedestrian density, road design, and potential hazards, ensuring you can apply the correct speed in any location.

This lesson reinforces the fundamental rule of Dutch highway driving: use the rightmost lane available and use the lanes to the left only for overtaking. You will learn the complete, safe overtaking procedure: check mirrors, signal, perform a shoulder check for the blind spot, smoothly move over, accelerate past the vehicle, and then return to the right lane when safe.

This lesson focuses on identifying different types of speed zones and understanding the rationale behind their limits. It explains how to recognize the start and end of a 'built-up area' ('binnen de bebouwde kom') via place-name signs and discusses special zones like 30 km/h zones and 'woonerven' (residential yards). The curriculum emphasizes adapting riding style to the specific hazards present in each type of zone, from high pedestrian activity in urban areas to unexpected curves on rural roads.
This lesson provides a detailed overview of fixed speed limits on the Dutch road network and the signs that indicate them. You will learn to identify signs for maximum speed (BORD 50) and understand the default limits that apply within built-up areas, on rural roads, and on motorways. The content emphasizes the importance of constant awareness and legal compliance to avoid penalties and ensure road safety for yourself and others.

This lesson outlines the statutory national speed limits applicable to motorcycles in the Netherlands. It clearly defines the maximum permitted speeds on motorways ('snelwegen'), non-motorway rural roads ('buiten de bebouwde kom'), and within built-up areas ('binnen de bebouwde kom'). The content also addresses variations, such as time-dependent speed limits on certain motorways, ensuring riders have a complete and accurate understanding of the legal requirements for speed.
Find clear answers to common questions learners have about Speed Adjustments for Weather and Visibility. Learn how the lesson is structured, which driving theory objectives it supports, and how it fits into the overall learning path of units and curriculum progression in the Netherlands. These explanations help you understand key concepts, lesson flow, and exam focused study goals.
There's no fixed number, but the key principle is to drive at a speed that allows you to stop safely within the distance you can see to be clear. In dense fog, this might mean driving significantly slower than the speed limit, using dipped headlights, and being ready to stop quickly. Always ensure your fog lights are used correctly if visibility drops below 50 metres.
Aquaplaning occurs when a layer of water builds up between your tires and the road surface, causing you to lose steering and braking control. To avoid it, reduce speed significantly on wet roads, ensure your tires have good tread depth, and avoid sudden steering or braking maneuvers. If you suspect you are aquaplaning, ease off the accelerator gently and steer straight until you regain traction.
The Dutch law doesn't set a specific speed limit for ice. However, the fundamental rule of driving at a speed appropriate for the conditions is paramount. On icy roads, even at very low speeds, braking distances are dramatically increased, and grip is minimal. Drive extremely slowly, avoid braking or accelerating suddenly, and keep a generous distance from other vehicles.
Darkness significantly reduces your ability to see hazards, especially on unlit roads. Your perception of speed can also be distorted. It's crucial to adjust your speed so that your stopping distance is less than the distance at which you can clearly see potential dangers. Use your headlights correctly and be extra vigilant for pedestrians, cyclists, and animals.
Legal speed limits are generally set for ideal conditions. In adverse weather like heavy rain, fog, or snow, your car's braking distance can increase by more than double, and your visibility is reduced. Driving slower ensures you have sufficient time and space to react to unexpected situations, brake safely, and avoid accidents.