
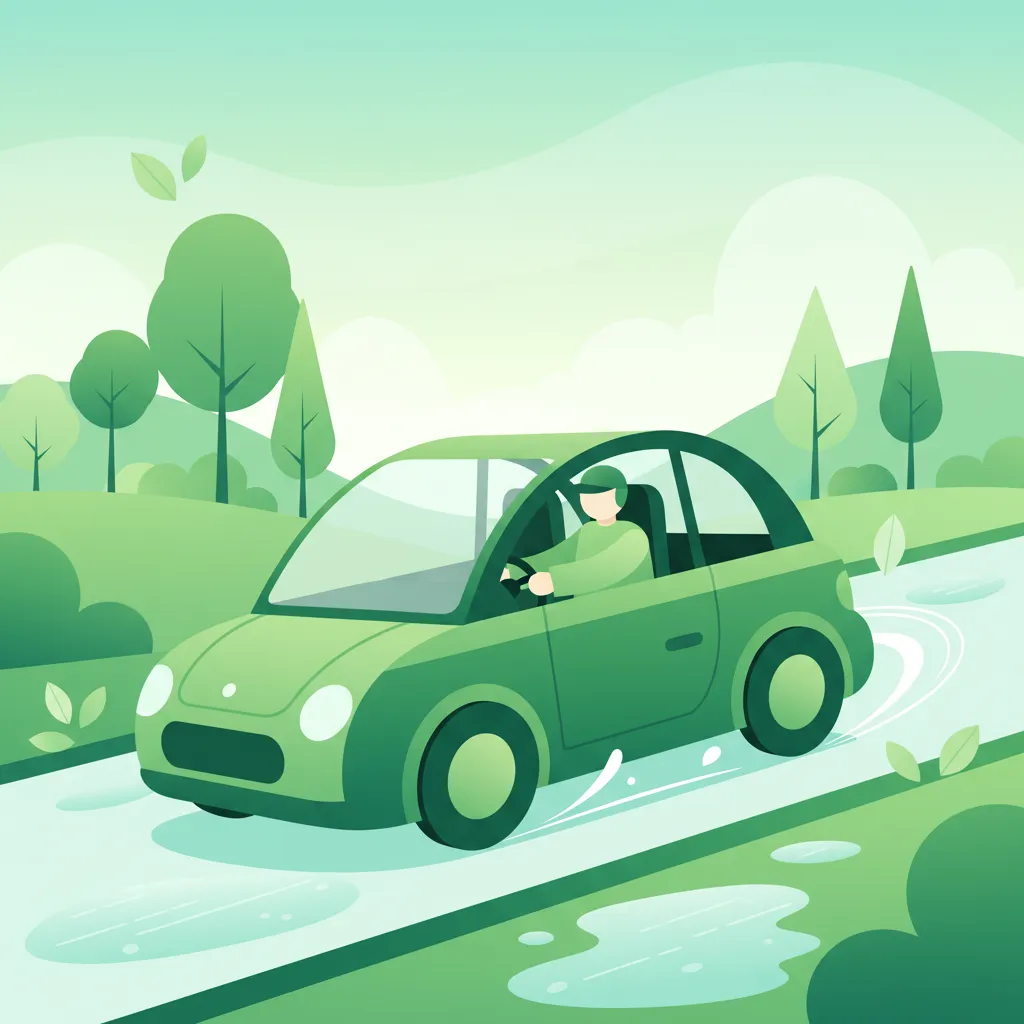
Riding in rain, fog, or darkness dramatically alters how quickly you can stop. This lesson explains why the standard two-second rule is insufficient and how to extend your following distance to ensure safety. Mastering these conditions is crucial for Category A riders preparing for the Dutch CBR theory exam.
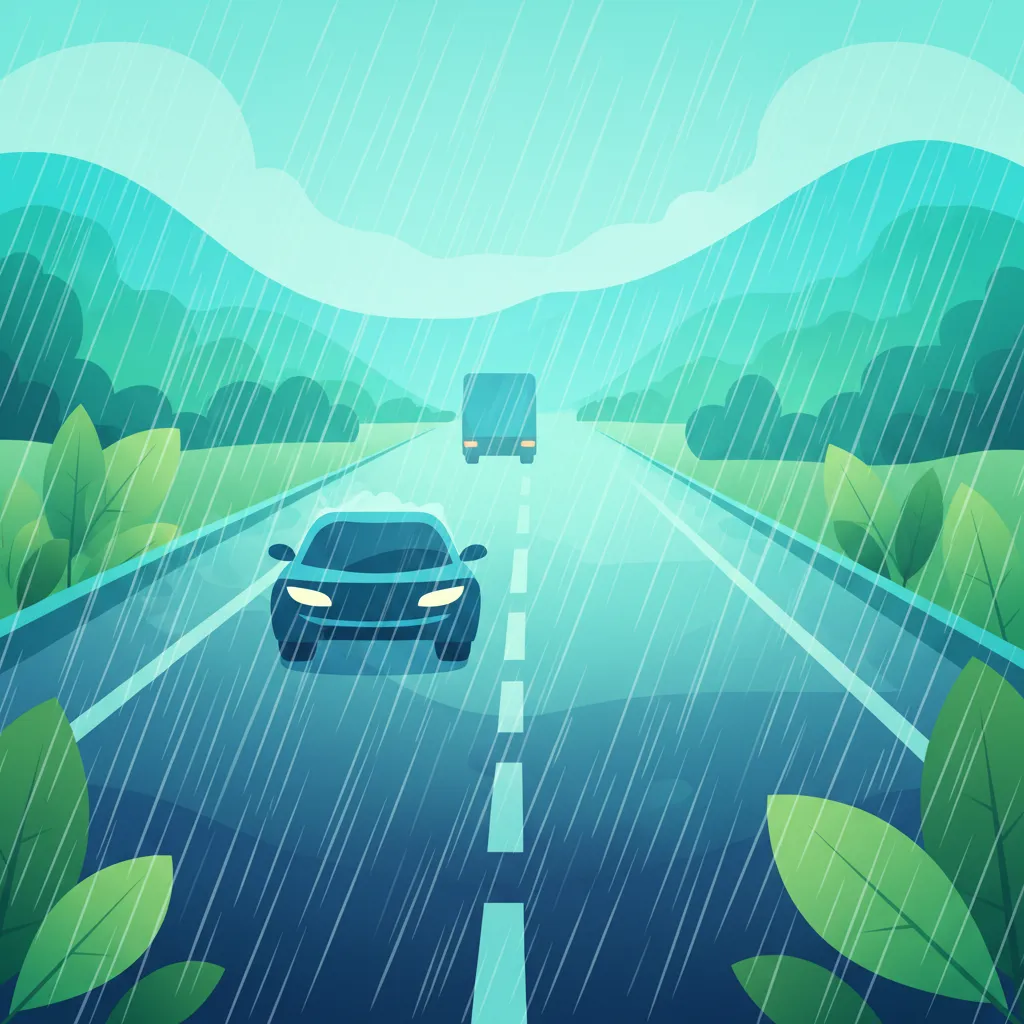
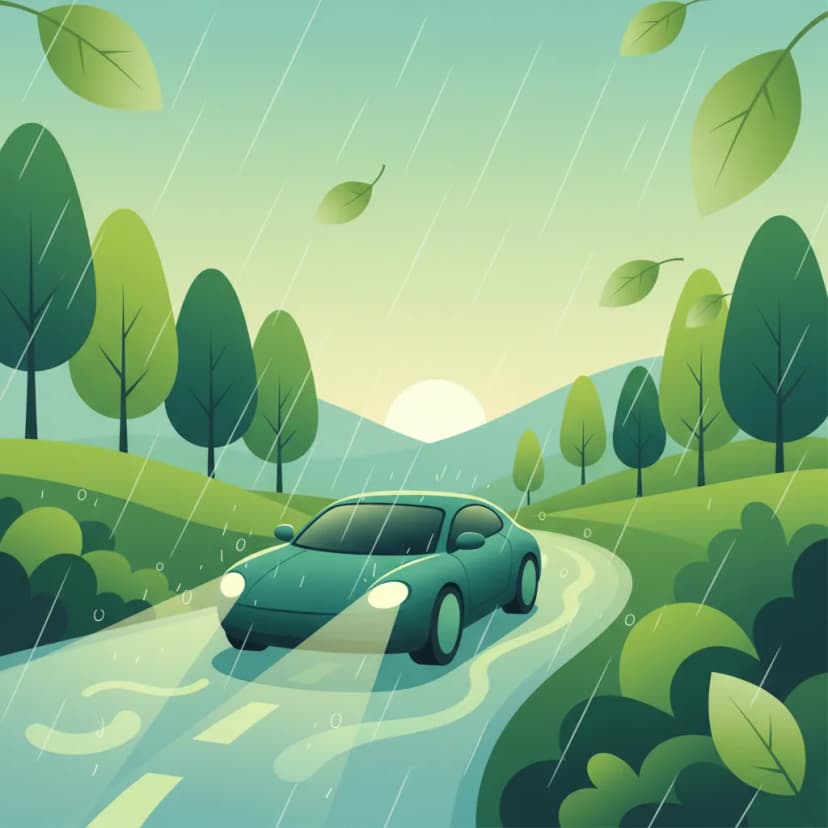
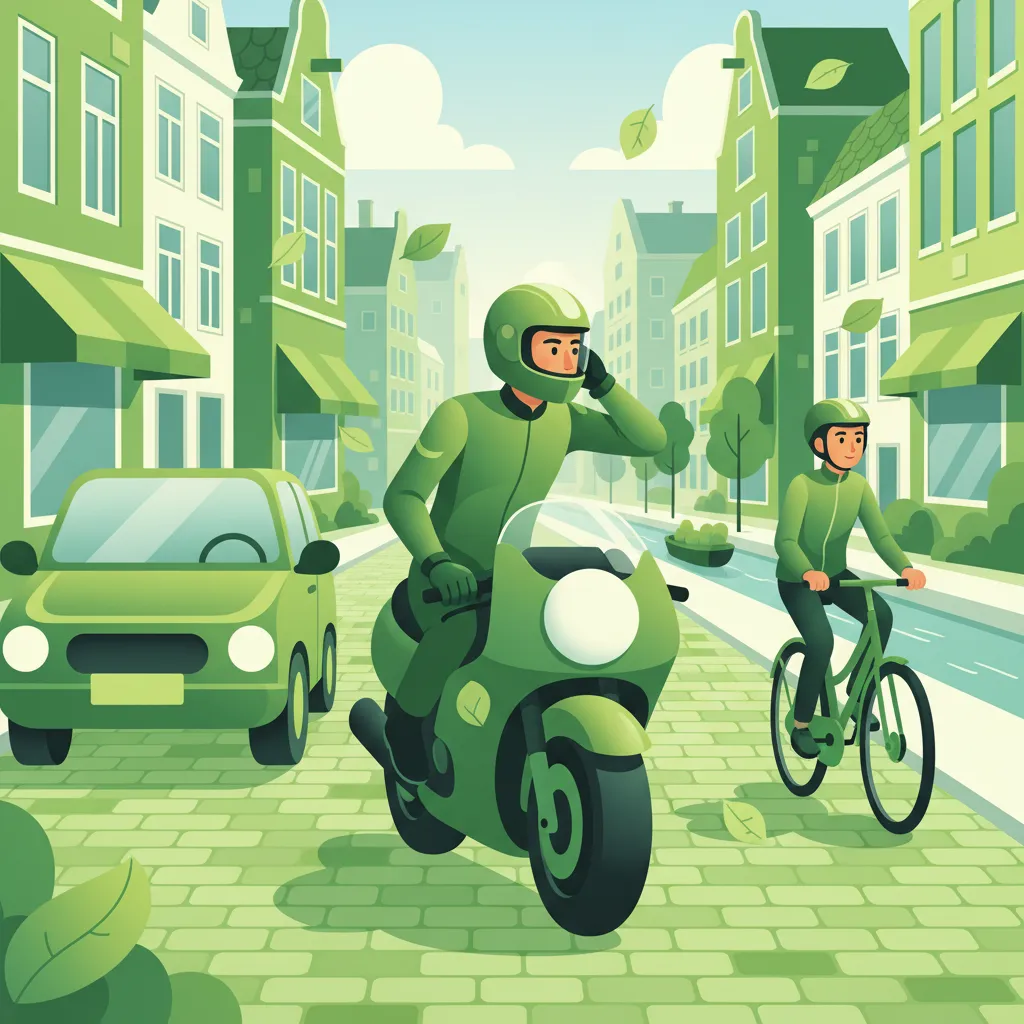
Mastering the art of safe motorcycle riding in the Netherlands involves more than just understanding road signs and basic traffic laws. A crucial aspect is dynamically adjusting your following distance, especially when confronted with challenging weather conditions and reduced visibility. While the two-second rule serves as a fundamental guideline in ideal circumstances, it is often insufficient when rain, fog, ice, or darkness diminish your ability to perceive hazards and bring your motorcycle to a safe stop.
This lesson delves into the critical factors that extend total stopping distance for motorcyclists. We will explore how adverse conditions impact both your perception-reaction time and the motorcycle's braking capabilities, providing practical guidelines to ensure you always have ample time and space to react, regardless of the elements. Understanding these principles is not just a recommendation; it's a legal obligation under Dutch traffic regulations and a cornerstone of safe riding for your Dutch Category A motorcycle theory exam.
The core principle of safe following distance is to maintain enough space between your motorcycle and the vehicle ahead to perceive a hazard, react, and stop safely. This distance is not static; it constantly changes based on various conditions. For motorcyclists, this dynamic adjustment is even more critical due to specific factors like potentially longer stopping distances relative to speed and a higher vulnerability to sudden loss of traction.
The two-second rule is a universally accepted guideline for maintaining a safe following distance under normal, dry, daylight, and low-traffic conditions. It dictates that you should pass a fixed point on the road at least two seconds after the vehicle ahead of you has passed it. This simple rule helps ensure you have sufficient time to react and brake if the vehicle in front suddenly slows down or stops.
This rule is a practical interpretation of the legal requirement under RVV 1990, article 23.1, which mandates all drivers to "Maintain a safe distance" (Nederlands: Voldoende afstand houden). While not a hard numerical law, it is a recommended method to fulfill this duty. For example, at 50 km/h, a two-second gap translates to approximately 28 metres; at 90 km/h, it's roughly 50 metres. However, relying solely on this baseline in anything less than perfect conditions can significantly increase your risk of a collision.
The total stopping distance of a motorcycle is a sum of two primary components: the distance travelled during your perception-reaction time (PRT) and the braking distance. Both of these components are heavily influenced by weather and visibility, necessitating a dynamic approach to following distance.
One of the most significant effects of adverse weather is the reduction in tire-road friction, scientifically known as the friction coefficient (µ). This coefficient directly determines how effectively your tires can grip the road, impacting your braking distance.
Even with modern Anti-Lock Braking Systems (ABS), which help prevent wheel lock-up, the fundamental physics of friction still apply. ABS improves control but does not increase the available grip; if the road is slippery, your stopping distance will still be significantly longer.
Visibility limitations, caused by conditions such as fog, heavy rain, or darkness, directly impact your perception-reaction time (PRT). If you cannot see a hazard as early, you have less time to react, thus increasing the distance travelled before you even begin to brake.
Your headlights illuminate a specific distance, but your eyes might not detect a hazard at the extreme edge of that illumination as quickly as in daylight. Always consider the human perception limit in low-light conditions.
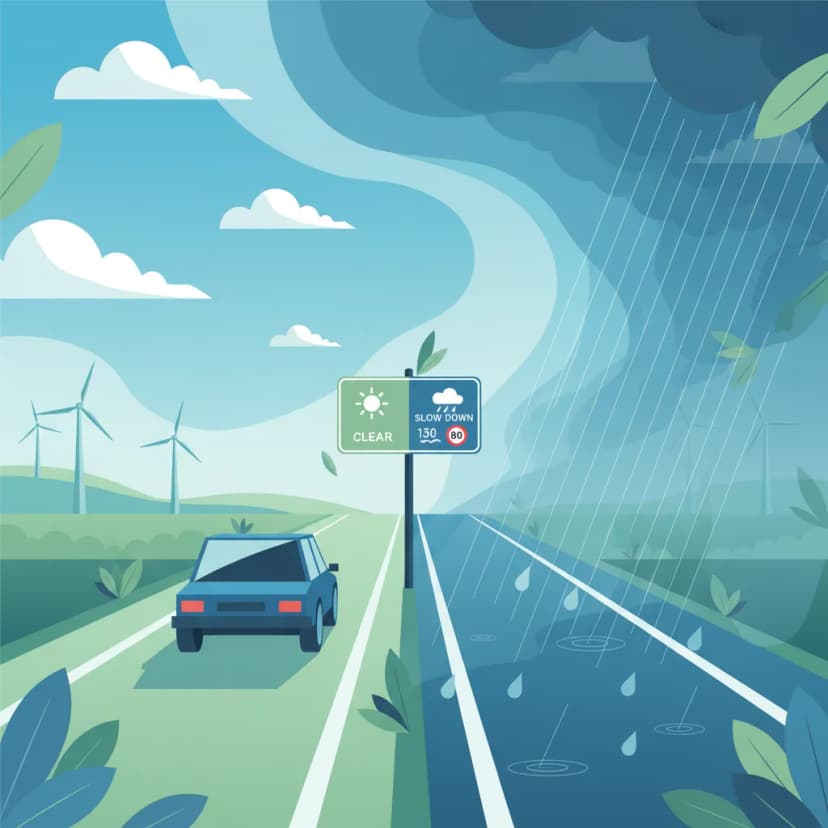
Given the combined effects of reduced friction and limited visibility, adhering to the standard two-second rule in adverse conditions is a significant risk. The Dutch Highway Code (Rijkswaterstaat) provides clear recommendations for extending your following gap.
Beyond weather and visibility, several other factors can modify your perception-reaction time and braking distance:
Dutch traffic law places a clear responsibility on every road user to adapt their driving behaviour to prevailing conditions. This ensures collective safety and minimises accident risks.
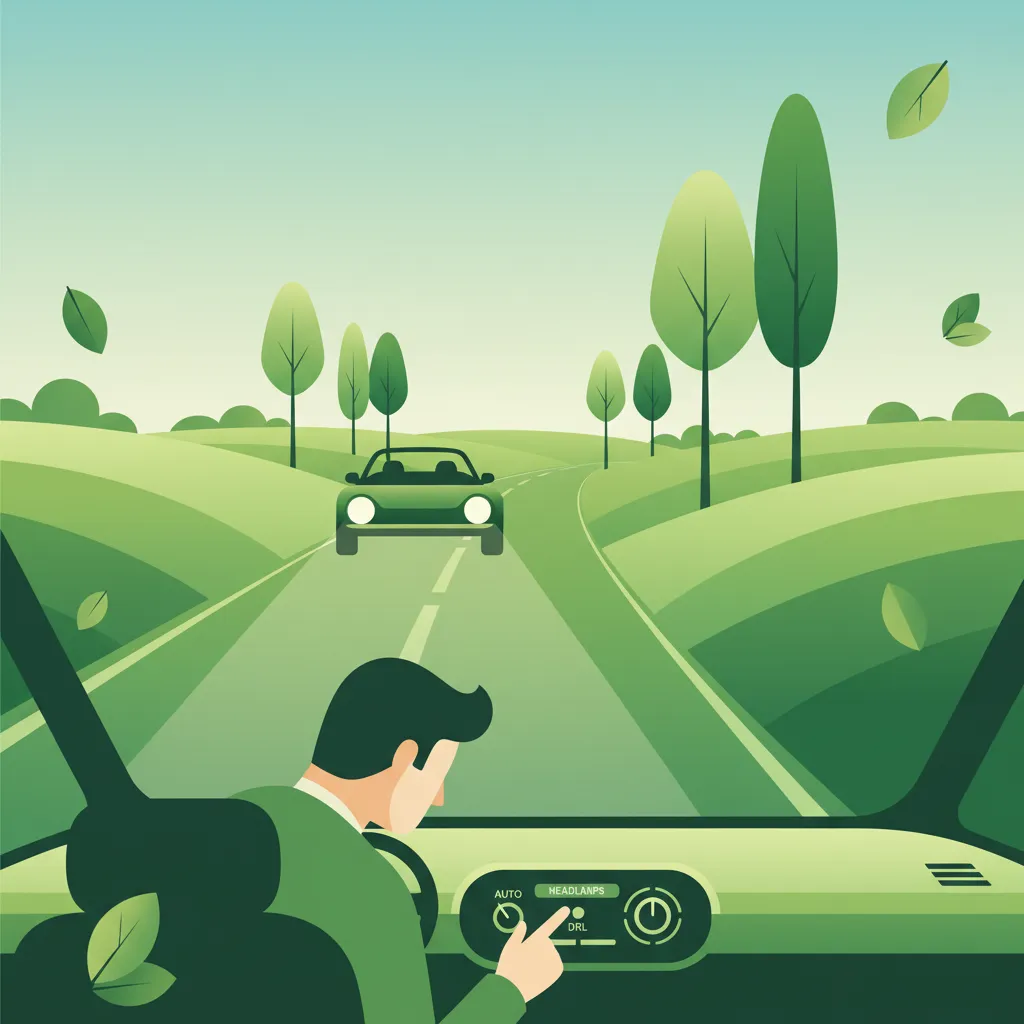
Always ensure your motorcycle's lighting systems (headlights, taillights, fog lights if equipped) are clean and fully functional. Correct lighting is paramount for both your visibility and being seen by others, especially in poor conditions.
Let's look at how these principles translate into real-world riding situations:
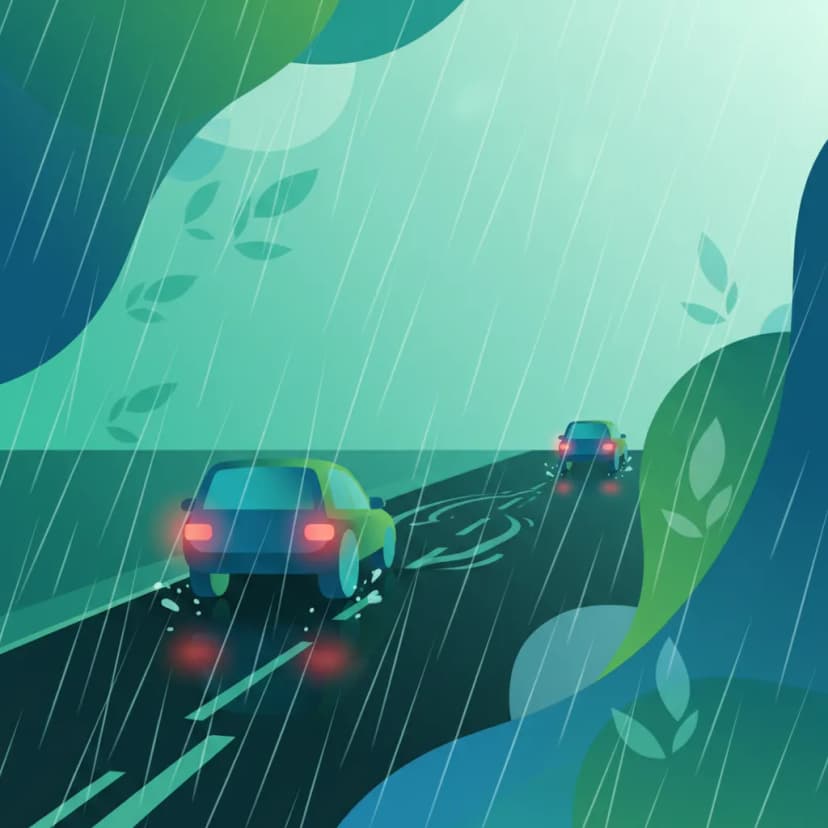
Situation: You are riding at 60 km/h in an urban area. It's raining heavily, leading to standing water on the asphalt. Visibility is reduced to about 80 metres due to spray and rain intensity.
Correct Behaviour: You assess the conditions: heavy rain, standing water, and reduced visibility. The standard 2-second rule is insufficient. You should increase your following gap to at least 4 seconds (approximately 67 metres at 60 km/h) and reduce your speed slightly, perhaps to 50-55 km/h, to minimise hydroplaning risk and improve reaction time. You ensure your low beam headlights are on.
Reasoning: Reduced friction from standing water and limited visibility mean a significantly longer braking distance and extended PRT. The 4-second gap provides a critical safety buffer.
Situation: You are on a Dutch motorway, attempting to maintain 100 km/h, but dense fog has unexpectedly reduced visibility to a mere 25 metres. The road is damp.
Correct Behaviour: Immediately reduce your speed significantly, perhaps to 60-70 km/h. Based on the guidelines (4 seconds baseline + 0.5s per 10m below 50m), you need at least a 5.5-second gap (4s for fog + 1.5s for 25m below 50m). At 60 km/h, this means a gap of over 90 metres. You activate your fog lights if equipped and ensure low beams are on.
Reasoning: In dense fog, the hazard detection distance is drastically reduced. Your ability to see a stopped or slowly moving vehicle is severely impaired. A substantial time gap is essential to react to unseen obstacles.
Situation: You are riding at 80 km/h on a rural road at night. There is no street lighting. Your low beam headlights are on, and you frequently encounter oncoming vehicles with bright headlights causing glare.
Correct Behaviour: You maintain a minimum 3-second gap. When confronted with oncoming glare, you slightly reduce your speed and focus your gaze towards the right edge of your lane to minimise the glare's impact on your vision, anticipating a slightly increased PRT due to temporary vision impairment.
Reasoning: Night riding significantly limits your visibility range. Glare from oncoming traffic further extends your PRT. The 3-second gap provides a necessary buffer for these delayed reactions.
Situation: The temperature is -2°C, and you are approaching a rural curve with limited line-of-sight. Patches of ice are visible on the road surface. You are currently riding at 70 km/h.
Correct Behaviour: Recognising the extreme risk, you drastically reduce your speed, perhaps to 40-50 km/h. You increase your following gap to at least 5-6 seconds due to the severely reduced friction on ice. You maintain a smooth, upright posture, avoiding sudden braking or steering inputs.
Reasoning: Ice reduces the friction coefficient to extremely low levels (µ ≤ 0.2), tripling or quadrupling braking distances. The extended gap and reduced speed are vital for avoiding a skid or collision if the vehicle ahead stops.
Situation: You are riding on a main road at 90 km/h with a passenger and full luggage (a significant load). It begins to rain lightly, making the road surface wet.
Correct Behaviour: You immediately reduce your speed to around 80 km/h. You calculate your required following distance, accounting for both the wet road (requiring a minimum of 3 seconds, preferably 4s at this speed) and the additional load (adding 0.5-1 second). This means you aim for a 4.5 to 5-second gap (approximately 100-110 metres at 80 km/h).
Reasoning: The increased inertia from the heavy load significantly lengthens your braking distance. Combined with reduced friction from the wet road, a substantially larger gap is necessary to ensure safe stopping capability.
The dynamic adjustment of following distance is a cornerstone of defensive motorcycle riding, especially when preparing for your Dutch Motorcycle Theory – Category A Comprehensive Preparation exam.
By diligently applying these principles, you will significantly reduce your risk of accidents and demonstrate a comprehensive understanding of safe motorcycle operation in the diverse conditions found in the Netherlands.
Lesson content overview
Explore all units and lessons included in this driving theory course.
Explore search topics learners often look for when studying Influence of Weather and Visibility on Distance. These topics reflect common questions about road rules, driving situations, safety guidance, and lesson level theory preparation for learners in the Netherlands.
Browse additional driving theory lessons that cover connected traffic rules, road signs, and common driving situations related to this topic. Improve your understanding of how different rules interact across everyday traffic scenarios.
Learn how rain, fog, and darkness significantly increase stopping distances. This lesson provides essential Dutch theory knowledge on extending your following gap beyond the two-second rule for safe riding.
This lesson focuses on the crucial safety strategy of adjusting your riding for adverse conditions. You will learn that on wet roads, your braking distance can double, necessitating a much larger following distance (e.g., a four-second gap or more). The content covers the risks of reduced visibility in fog and at night, and the destabilizing effects of strong crosswinds, explaining how a greater space cushion provides the time and space needed to react safely.

This lesson reinforces the critical relationship between adverse conditions, reduced traction, and massively increased stopping distances. It provides a clear framework for how much riders need to increase their following distance and reduce their overall speed to maintain a safe margin for error. The curriculum teaches riders to constantly reassess their speed based on visual feedback from the road surface and the level of visibility, ensuring they can always stop within the distance they can clearly see.
This lesson provides a detailed guide to riding in wet and low-visibility conditions. You will learn to make all your control inputs—braking, accelerating, and steering—exceptionally smooth to avoid breaking traction on slippery surfaces. The content covers the dangers of painted lines and manhole covers when wet, and the importance of increasing your following distance dramatically to account for longer braking distances.

This lesson emphasizes the critical importance of adapting your speed to prevailing conditions, which may require driving slower than the legal limit. You will learn how factors like rain, fog, snow, and darkness significantly increase braking distances and reduce visibility. The curriculum explains the dangers of aquaplaning on wet roads and black ice in winter. The core principle taught is that a safe driver always adjusts their speed to ensure they can stop within the distance they can see to be clear.
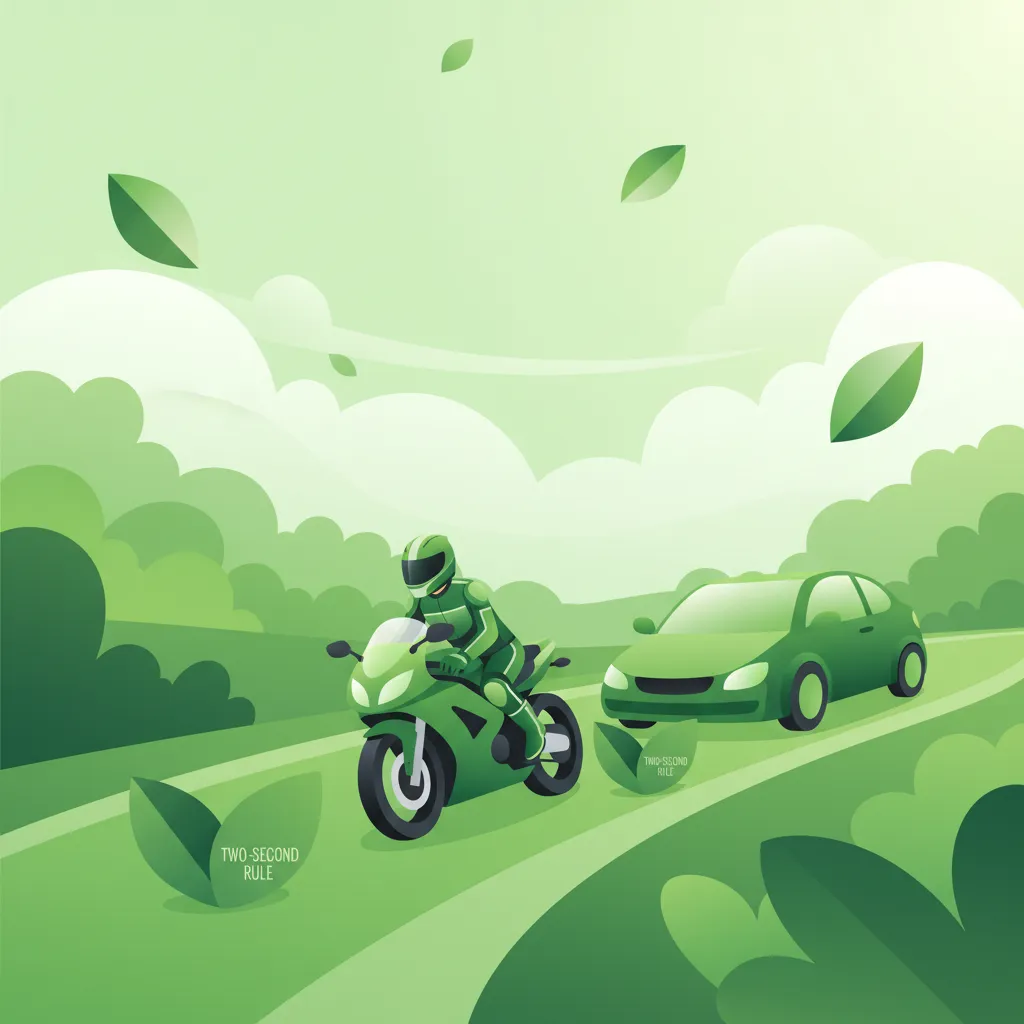
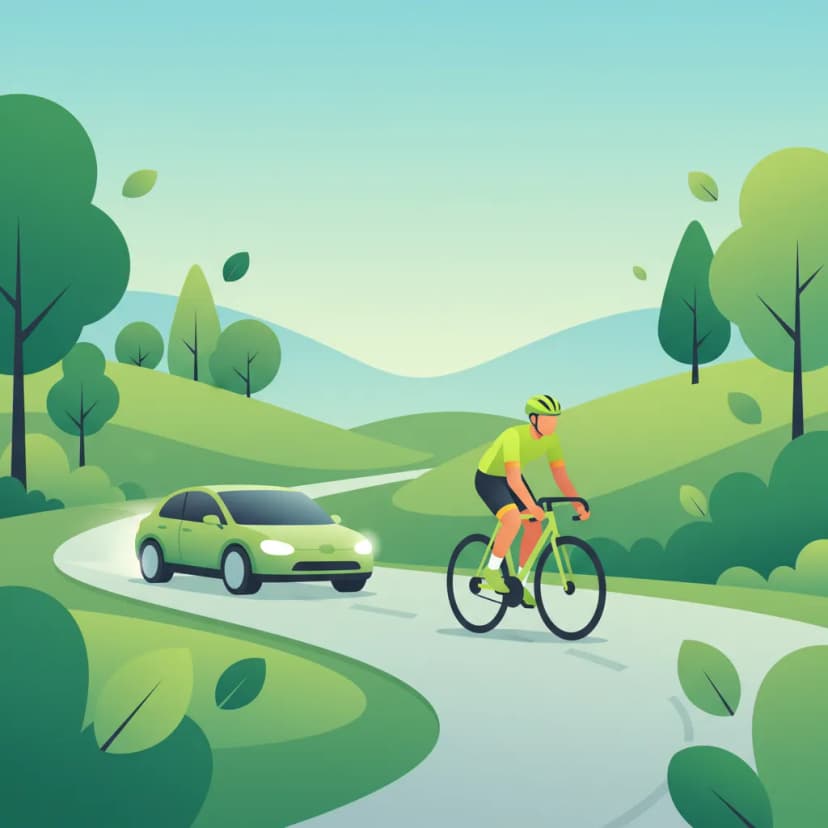
This lesson focuses on the crucial safety practice of maintaining an adequate following distance to the vehicle ahead. It explains the 'two-second rule' as a minimum baseline and emphasizes the need to increase this gap to three or four seconds in adverse conditions like rain or poor visibility. For a motorcyclist, this 'space cushion' is a critical buffer that provides the necessary time and space to react to sudden hazards or stop safely.
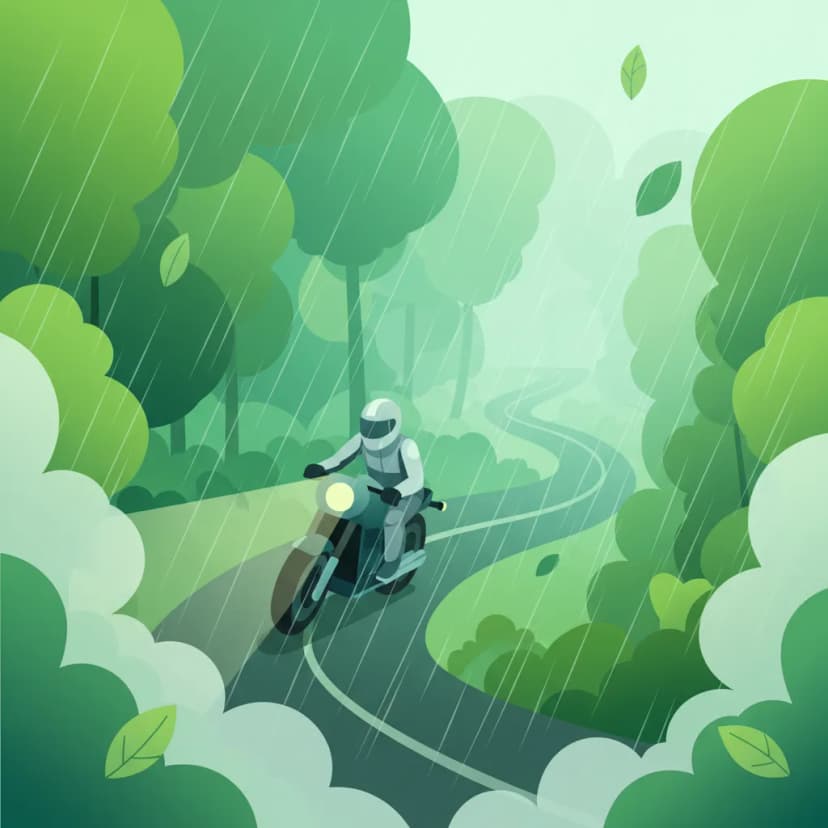
Riding on two wheels requires special care on surfaces with reduced grip. This lesson teaches you how to handle challenging conditions like rain, ice, wet leaves, or tram tracks. Key principles include reducing speed significantly, making all control inputs (braking, accelerating, steering) much more smoothly and gradually, and increasing your following distance to allow for much longer stopping distances. Recognizing potentially slippery areas is a critical part of proactive hazard perception.
This lesson addresses the dual challenge of poor visibility: being able to see the road ahead and ensuring other road users can see you. It covers techniques for riding in fog and heavy rain, such as using appropriate lights and reducing speed to match sight distance. The lesson also discusses practical issues like helmet visor fogging and the importance of wearing high-visibility or reflective clothing to enhance conspicuity in low-light conditions.
The posted speed limit is a maximum, not a target. This lesson teaches the crucial skill of adapting your speed to prevailing conditions. You will learn how to assess factors like traffic density, poor weather (rain, fog), limited visibility (at night), and slippery road surfaces. Adjusting your speed downwards in these situations provides you with more time to react to hazards and significantly reduces the risk of losing control or being involved in a collision.
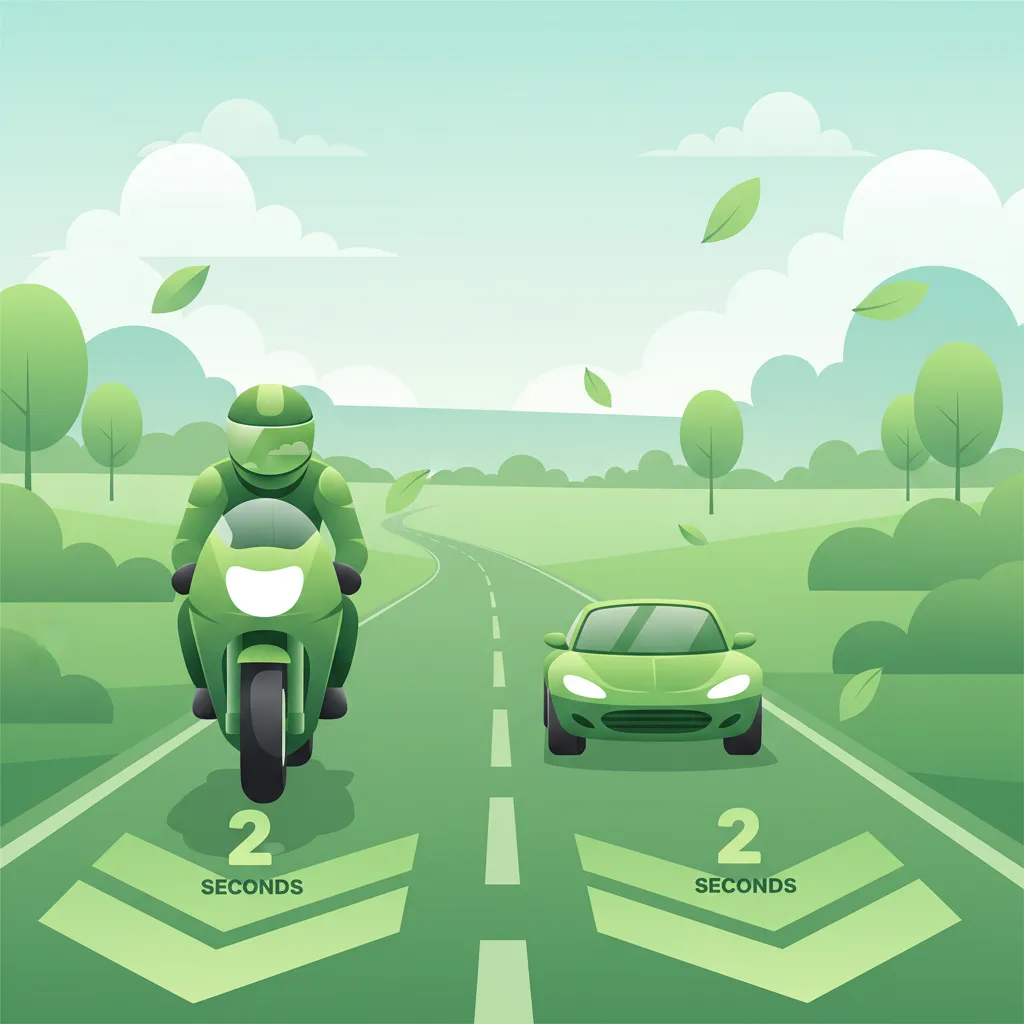
This lesson explains the two-second rule, a simple and effective technique for ensuring you have enough time to react and stop safely. You will learn how to use a fixed object on the roadside to measure the time gap between your motorcycle and the vehicle ahead. The content emphasizes why motorcyclists may need to extend this gap to three or more seconds in poor weather, at high speeds, or in heavy traffic.

This lesson provides survival strategies for riding in the most challenging weather conditions, including heavy rain, snow, and potential ice. It emphasizes the importance of mental preparation, drastically reduced speeds, and hyper-smooth inputs for throttle, brakes, and steering. The content also covers identifying high-risk areas for 'black ice,' such as bridges and shaded spots, and the critical role of appropriate waterproof and insulated gear in preventing hypothermia and maintaining concentration.
Understand the critical relationship between limited visibility, perception-reaction time, and braking distance for motorcyclists. Essential Dutch driving theory for safe navigation in fog, rain, and darkness.
This lesson reinforces the critical relationship between adverse conditions, reduced traction, and massively increased stopping distances. It provides a clear framework for how much riders need to increase their following distance and reduce their overall speed to maintain a safe margin for error. The curriculum teaches riders to constantly reassess their speed based on visual feedback from the road surface and the level of visibility, ensuring they can always stop within the distance they can clearly see.
This lesson addresses the dual challenge of poor visibility: being able to see the road ahead and ensuring other road users can see you. It covers techniques for riding in fog and heavy rain, such as using appropriate lights and reducing speed to match sight distance. The lesson also discusses practical issues like helmet visor fogging and the importance of wearing high-visibility or reflective clothing to enhance conspicuity in low-light conditions.
This lesson provides a detailed guide to riding in wet and low-visibility conditions. You will learn to make all your control inputs—braking, accelerating, and steering—exceptionally smooth to avoid breaking traction on slippery surfaces. The content covers the dangers of painted lines and manhole covers when wet, and the importance of increasing your following distance dramatically to account for longer braking distances.
This lesson provides a detailed explanation of the two-second rule as a simple yet effective method for maintaining a safe following distance in good conditions. It breaks down the concept of total stopping distance into its two components: reaction distance (the distance traveled before applying the brakes) and braking distance (the distance traveled while braking). Understanding this calculation is fundamental for appreciating the need for a sufficient space cushion to react to sudden events ahead.
This lesson focuses on the crucial safety strategy of adjusting your riding for adverse conditions. You will learn that on wet roads, your braking distance can double, necessitating a much larger following distance (e.g., a four-second gap or more). The content covers the risks of reduced visibility in fog and at night, and the destabilizing effects of strong crosswinds, explaining how a greater space cushion provides the time and space needed to react safely.
This lesson focuses on the dual challenge of visibility: seeing the road ahead and ensuring other drivers see you. It covers the legal requirements and tactical use of headlights ('koplampen'), including when to use high and low beams, and the importance of daytime running lights. Additionally, it explores strategies for enhancing personal conspicuity through high-visibility and reflective clothing, and using lane positioning to stand out in traffic and avoid blind spots.
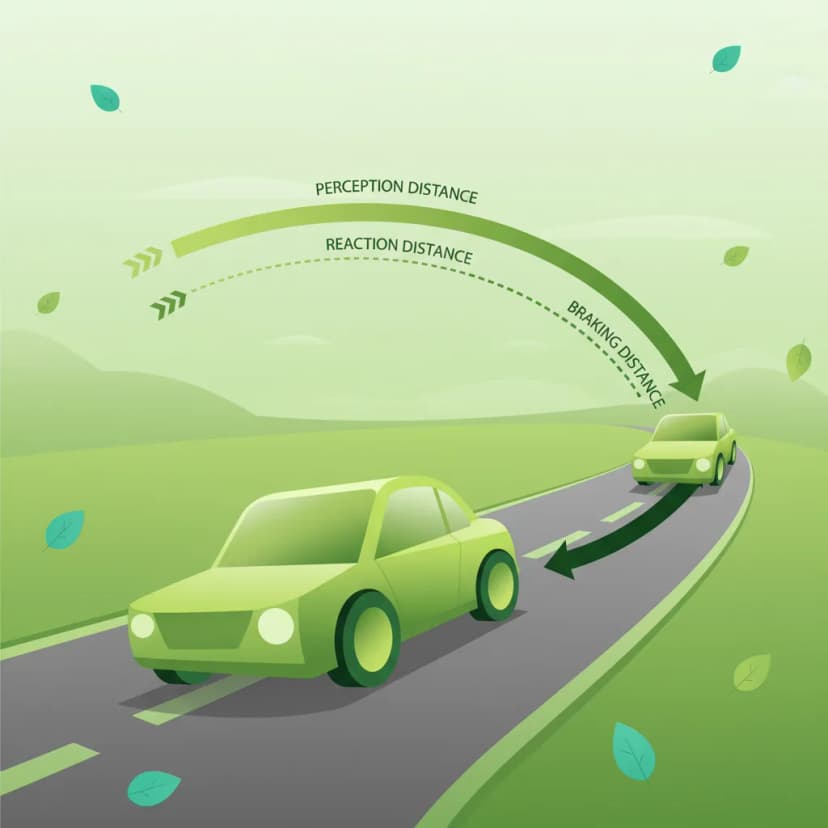
This lesson breaks down the concept of total stopping distance into its two key parts: the distance traveled during your reaction time and the distance the motorcycle travels after the brakes are applied. You will learn the formulas and rules of thumb for estimating these distances at various speeds. The content highlights how factors like rider fatigue, road surface conditions, and tyre quality can significantly increase your overall stopping distance.

This lesson provides a theoretical understanding of the components that make up the total stopping distance. It explains how to calculate reaction distance (the distance traveled before applying the brakes) and braking distance (the distance traveled while braking). The content highlights how speed exponentially increases stopping distance and how other variables like rider alertness, road grip, and brake condition play a significant role in the final calculation.
This lesson explains that where you ride in your lane is a critical safety choice. You will learn to avoid lingering in the blind spots ('dode hoek') of cars and trucks, and how to position yourself to be clearly visible in their mirrors. The content teaches you to constantly adjust your lane position to create a space cushion and ensure you always have a planned escape path in case of an emergency.
This lesson provides critical instruction on managing blind spots ('dode hoek') to prevent collisions, particularly during lane changes. It covers the correct setup and use of mirrors, but stresses their limitations and the absolute necessity of the 'lifesaver' shoulder check before any lateral movement. Furthermore, it teaches riders how to be aware of the large blind spots around cars and especially trucks, and how to position themselves on the road to remain visible to other drivers at all times.
Find clear answers to common questions learners have about Influence of Weather and Visibility on Distance. Learn how the lesson is structured, which driving theory objectives it supports, and how it fits into the overall learning path of units and curriculum progression in the Netherlands. These explanations help you understand key concepts, lesson flow, and exam focused study goals.
The two-second rule is a baseline for dry conditions. In wet weather, rain, fog, or darkness, your braking distance increases significantly due to reduced tire grip and visibility. Your reaction time might also be slower. Therefore, you need a larger safety margin, typically four seconds or more, to account for these factors and prevent rear-end collisions.
A common recommendation is to double the standard two-second rule to at least four seconds in wet conditions. For heavy rain, fog, or icy roads, you may need to increase this further to five or even six seconds. Always assess the specific conditions and err on the side of caution.
Yes, darkness primarily affects your ability to see hazards and judge distances accurately, which can increase your reaction time. While it doesn't directly reduce tire grip like rain or ice, poor visibility means you might encounter a hazard sooner than you can react to it. Combined with rain or fog, darkness makes extending your following distance even more critical.
In poor visibility, be alert for unlit obstacles, pedestrians stepping out unexpectedly, vehicles braking suddenly, and road surfaces that are difficult to see (like potholes or gravel). It's also harder for other road users to see you, so ensure your lights are on and consider wearing reflective gear.
Yes, the CBR exam frequently tests your understanding of situational awareness, including how factors like weather and visibility influence safe riding practices, particularly speed and following distance. You should be prepared to choose the correct following distance or safe speed for various scenarios presented.