Logo
Dutch Driving Theory Courses

Lesson 5 of the Safe Following Distance and Braking Techniques unit

Dutch Motorcycle Theory (A2): Adjusting Following Distance in Adverse Conditions

This lesson focuses on the critical safety strategy of adjusting your following distance for adverse conditions like rain, fog, and strong winds. Understanding how these conditions affect your braking and visibility is essential for safe A2 motorcycle riding and passing the Dutch theory exam. It builds on basic following distance principles and prepares you for more complex hazard perception scenarios.

following distanceadverse conditionsmotorcycle safetybraking distancevisibility
Dutch Motorcycle Theory (A2): Adjusting Following Distance in Adverse Conditions
Dutch Motorcycle Theory (A2)

Adjusting Following Distance in Adverse Conditions for Motorcyclists

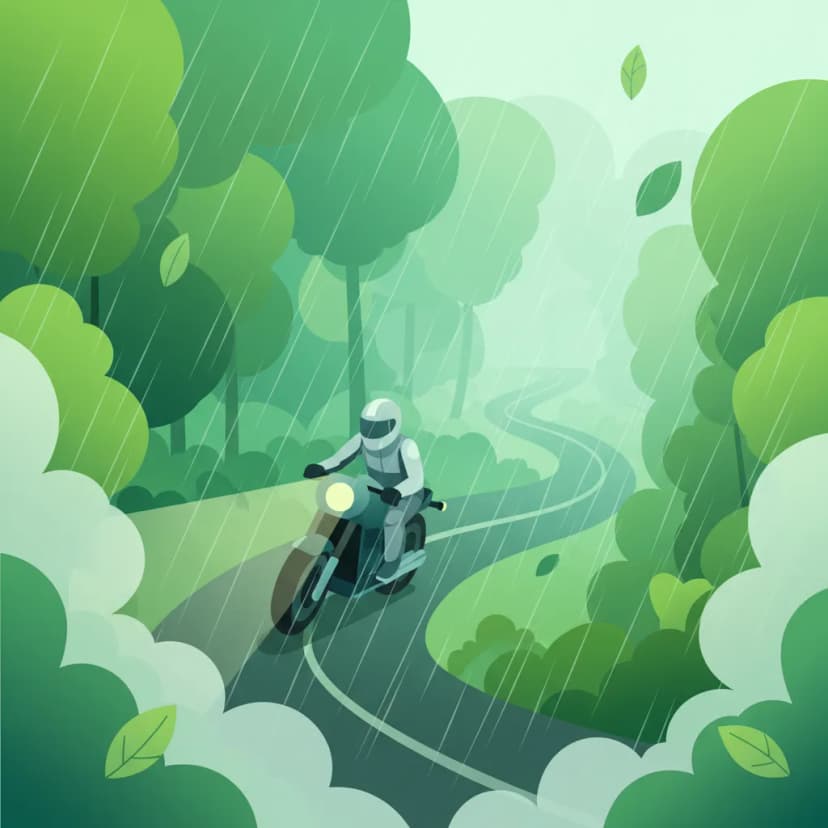
Motorcycle riding demands constant vigilance and dynamic adaptation, especially when facing challenging road and weather conditions. This lesson, part of your complete CBR theory course for the Dutch Motorcycle License (Category A2), focuses on a critical aspect of rider safety: adjusting your following distance. While the basic two-second rule provides a foundation, adverse conditions drastically alter the dynamics of stopping, requiring riders to extend their safety margins significantly. Understanding how factors like wet roads, reduced visibility, and strong winds affect your stopping capability is fundamental to preventing collisions and maintaining control.

Why Adjusting Your Following Distance Matters for Motorcycle Safety

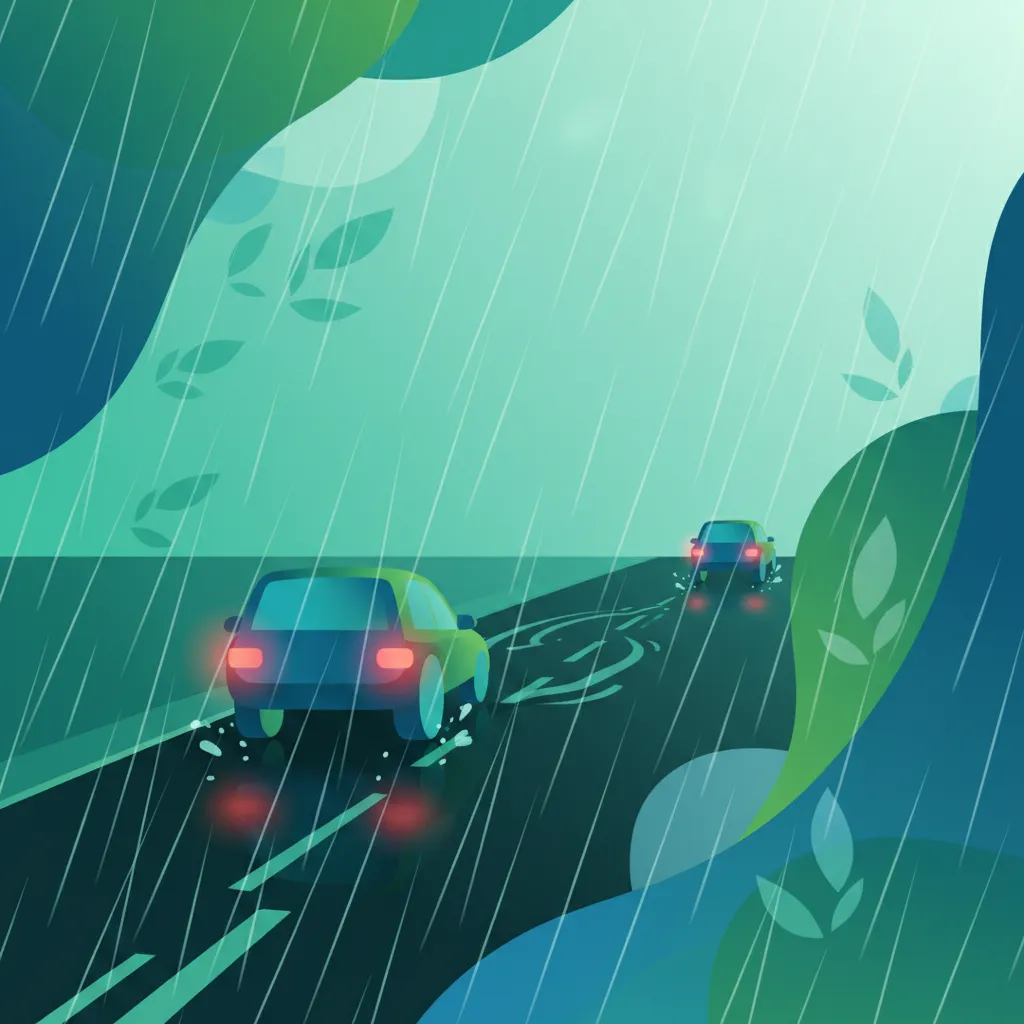
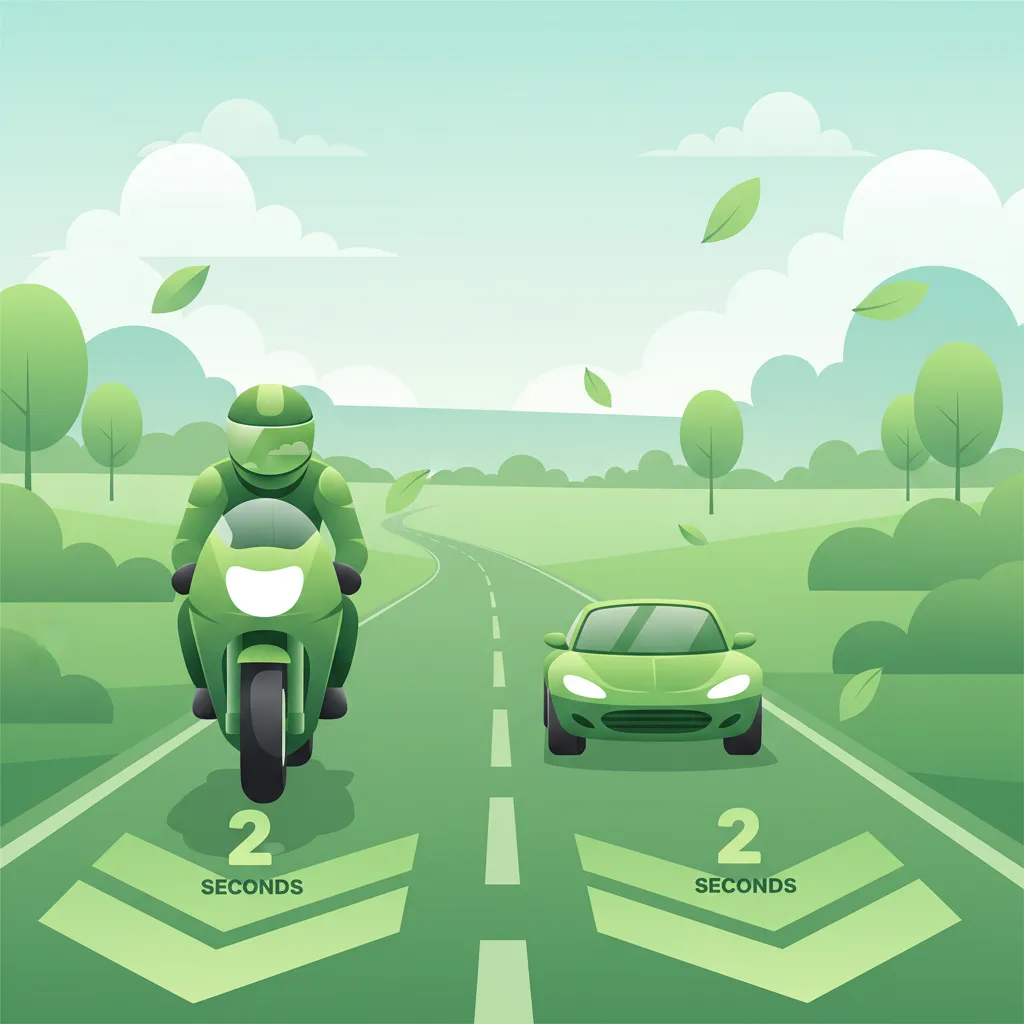
Maintaining an adequate following distance, often referred to as a "space cushion," is not merely a recommendation; it is a vital safety strategy. For motorcyclists, the consequences of insufficient distance can be particularly severe, as motorcycles offer less protection in a collision compared to cars. When conditions are adverse – meaning wet roads, fog, heavy rain, or strong winds – the distance required to perceive a hazard, react, and bring your motorcycle to a complete stop increases dramatically.

A properly adjusted following distance ensures you have enough time to react to unexpected events, allows your braking system (including ABS, if equipped) to operate effectively without exceeding available grip, and provides a buffer zone in case of a skid or loss of control. This proactive approach to spacing directly prevents rear-end collisions, which can be catastrophic for motorcyclists.

The Core Principle: Dynamic Following Distance Explained

Unlike a static rule that applies universally, dynamic following distance is the practice of continuously assessing and modifying the longitudinal gap between your motorcycle and the vehicle ahead. This gap must vary with your speed, the condition of the road surface, overall visibility, and other environmental factors like wind. The primary goal is to guarantee that you always have sufficient time for perception, reaction, and safe braking under the prevailing circumstances.

A static "two-second rule," while a useful baseline in ideal dry and clear conditions, becomes inadequate and even dangerous in adverse situations. As a Category A2 rider, you must cultivate the habit of dynamically adjusting this time-based gap, often extending it to three, four, or even more seconds to maintain safety. This constant assessment and adjustment are what define a responsible and skilled motorcyclist.

Understanding Key Factors That Impact Safe Following Distances

Several environmental and physical factors can significantly alter the total distance required to stop your motorcycle. Being aware of these elements and their specific effects is crucial for making informed decisions about your following distance.

Reduced Grip and Braking Distance on Wet or Slippery Roads

The most significant factor influencing braking distance is the friction coefficient (µ) between your tyres and the road surface. This coefficient describes the amount of grip available. On a clean, dry asphalt road, the friction coefficient is relatively high (typically around 0.7-0.9), allowing for effective braking. However, adverse conditions drastically reduce this grip.

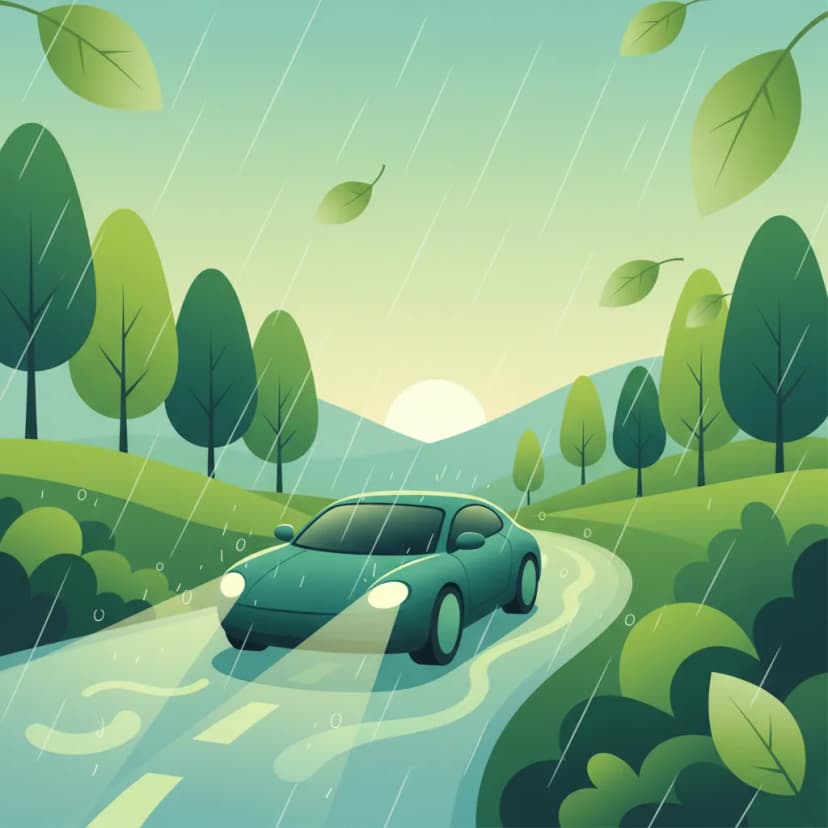
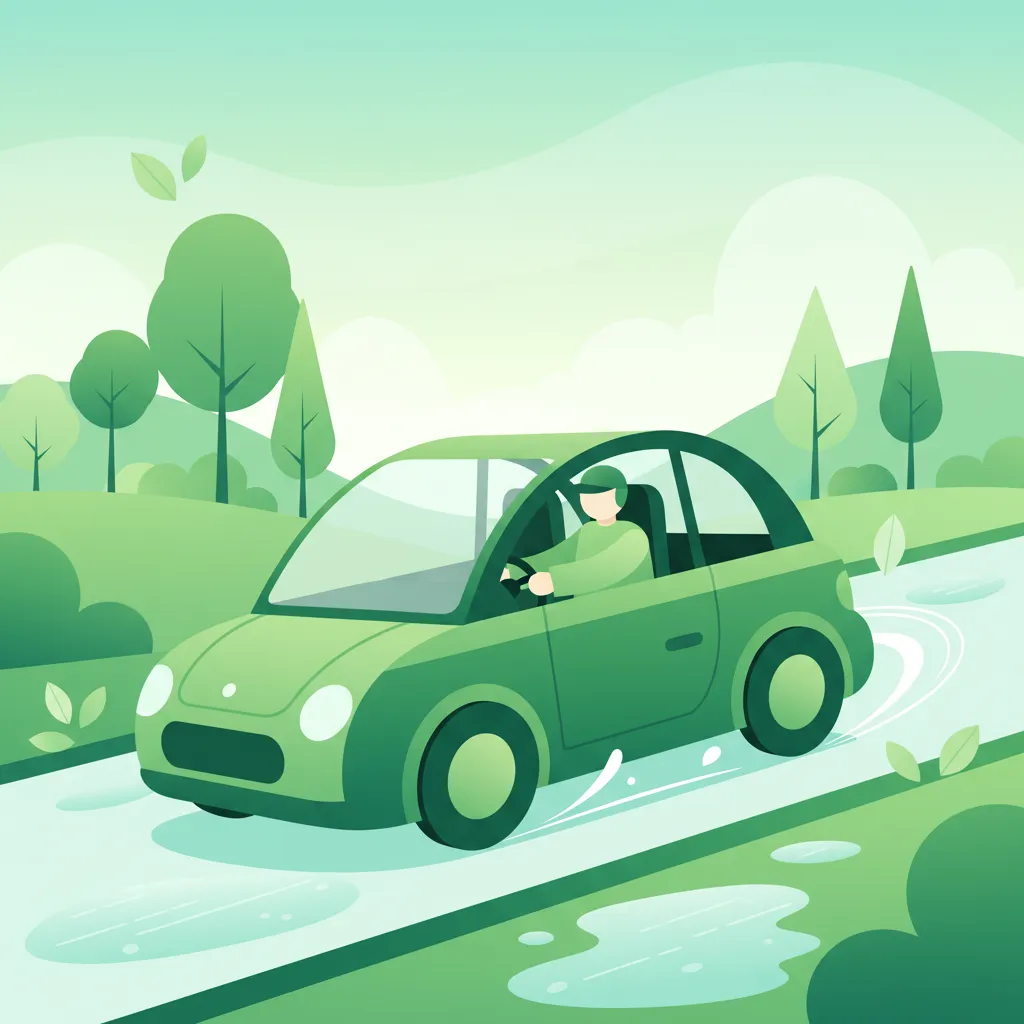
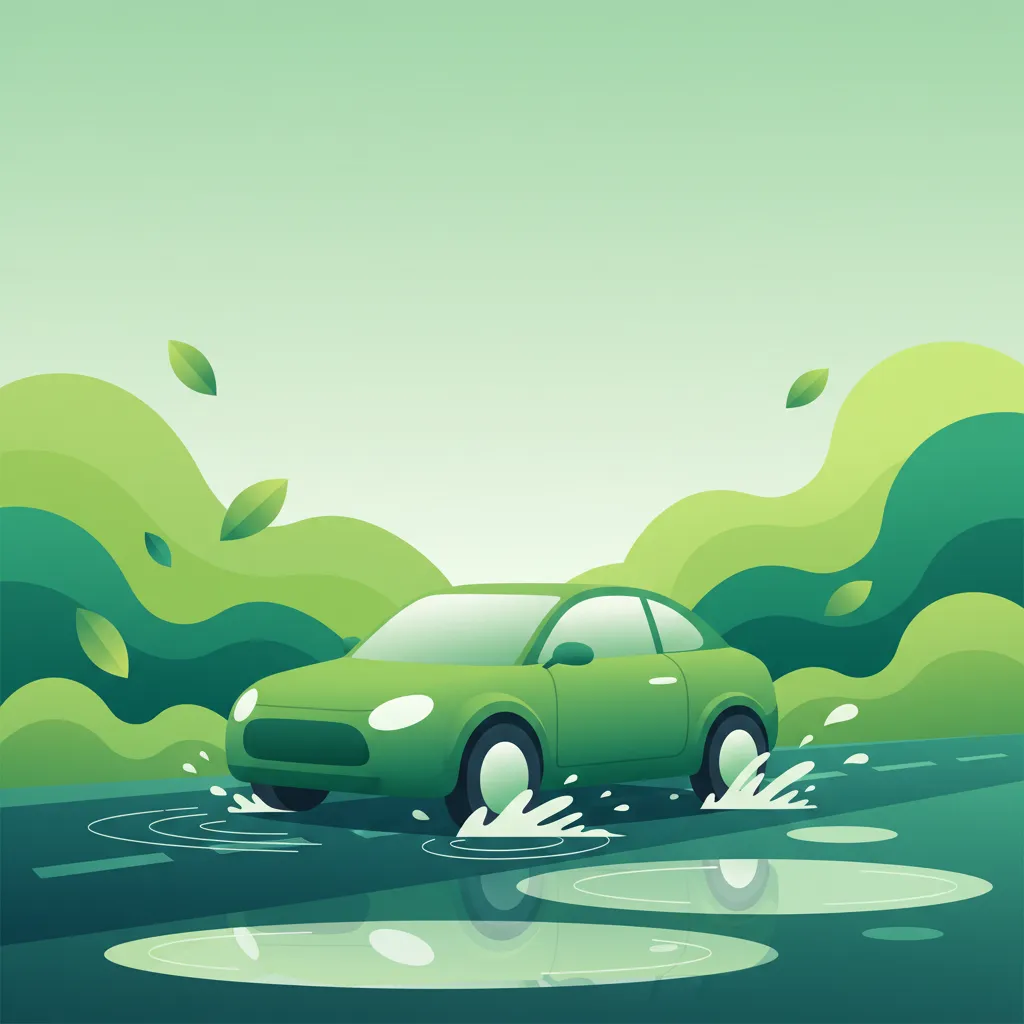
Wet Roads: When rain falls, especially after a dry spell, it mixes with oil, dust, and rubber particles on the road, creating a greasy film. This film, along with the water itself, significantly reduces friction. On a wet road, the friction coefficient can drop to approximately 0.35-0.45, roughly half of what it is on dry pavement.

This reduction in grip has a profound impact on your braking distance. Since braking distance is proportional to the square of your speed and inversely proportional to the friction coefficient (dbrake = v² / (2 × μ × g)), halving the friction coefficient effectively doubles your braking distance. For example, if you need 15 metres to stop at 60 km/h on a dry road, you might need around 30 metres or more on a wet surface.

Other Slippery Surfaces: Beyond rain, other conditions can reduce grip:

  • Ice or Snow: These surfaces offer extremely low friction (µ ≤ 0.2), increasing braking distances exponentially. Motorcycle riding is highly perilous and generally advised against in such conditions.
  • Loose Gravel, Sand, or Dirt: These materials on the road surface reduce tyre contact with the asphalt, leading to less grip and longer stopping distances.
  • Oil Spills or Diesel Leaks: These create extremely slippery patches that can cause sudden loss of traction.
  • Wet Leaves or Manhole Covers: These common urban hazards can be as slippery as ice when wet, demanding extreme caution and increased following distance.

Warning

Never assume your braking distance is consistent. Always assess the road surface ahead and adjust your following distance to account for any potential loss of grip.

Perception-Reaction Time: How Visibility Affects Your Response

Perception-reaction time (PRT) is the interval from when you first perceive a hazard to the moment you initiate an action, such as applying the brakes. Under ideal conditions, a typical PRT is around 1 second for an attentive rider. However, several factors can significantly increase this time:

  • Reduced Visibility: In conditions like fog, heavy rain, or darkness, your ability to detect hazards early is severely impaired. It takes longer for your eyes to register an obstacle and for your brain to process the information. This can easily extend your PRT to 1.5-2 seconds.
  • Fatigue: Tiredness dulls your senses and slows down your mental processing speed, directly increasing your PRT.
  • Distractions: Anything that takes your focus away from the road, even momentarily, can delay your reaction.
  • Cognitive Load: Complex traffic situations or high-stress environments can increase cognitive load, making it harder to process new information quickly.

The impact of an increased PRT on your total stopping distance is significant. At 80 km/h, your motorcycle travels approximately 22 metres per second. If your PRT increases by just one second, you will travel an additional 22 metres before even touching the brakes. This underscores why a larger time-based following gap is essential when visibility is poor, as it directly compensates for the delayed hazard detection. For example, if fog reduces visibility to 30 metres, you might need to increase your following distance to at least 5 seconds, allowing you to stop within the visible range.

Managing Crosswinds and Motorcycle Stability

Crosswinds are lateral aerodynamic forces that can significantly affect a motorcycle's stability, particularly at higher speeds and on open stretches of road like bridges or motorways. These forces can cause the motorcycle to drift sideways, making it harder to maintain a straight line and control your vehicle.

  • Light Crosswind (< 10 km/h): May cause minor swaying or a subtle lean into the wind.
  • Strong Crosswind (10-25 km/h): Can result in noticeable lateral drift, requiring active steering input to counteract the force.
  • Gusty Conditions: Intermittent, sudden bursts of strong wind can be particularly dangerous, as they can abruptly push your motorcycle several metres sideways.

When your motorcycle is being affected by a crosswind, your attention and physical effort are diverted to maintaining lateral stability. This can compromise your ability to react to hazards ahead or to brake efficiently, as lateral forces can reduce the effective grip available for braking. Therefore, in strong or gusty crosswind conditions, it is prudent to add an extra 0.5 to 1.0 second to your normal following distance. This additional space provides a buffer for unexpected drifts and gives you more time to recover control if a sudden gust occurs.

Visibility Range: Seeing Hazards Ahead and Adjusting Your Gap

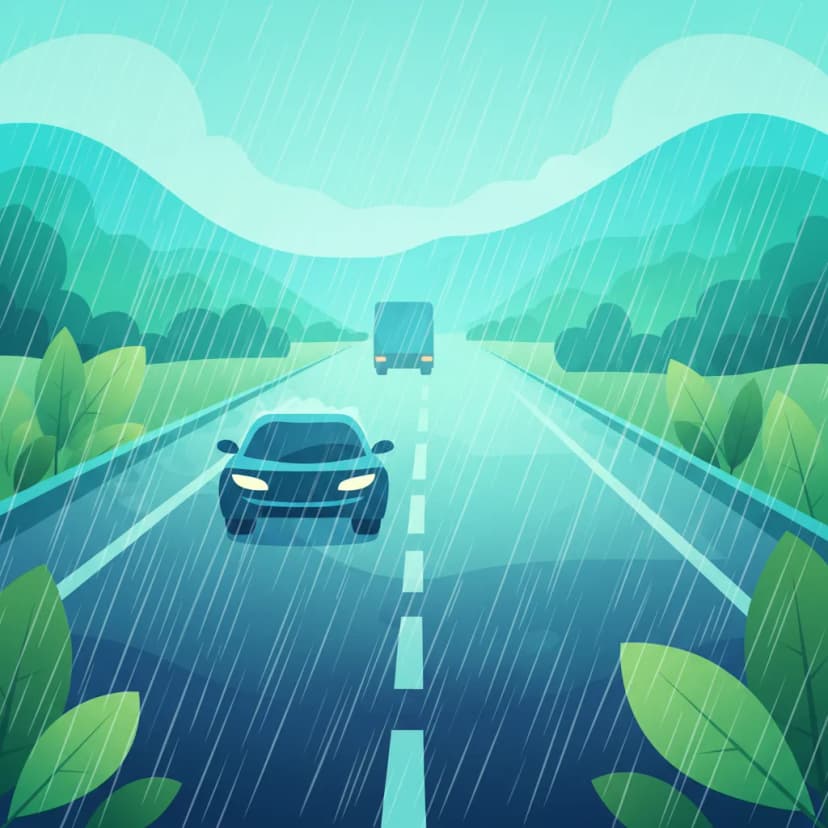
Your visibility range is the maximum distance ahead at which you can reliably see and identify obstacles under current lighting and weather conditions. This range directly dictates the maximum safe speed and the minimum safe following distance you should maintain.

  • Daylight, Clear Conditions: Typically, you can see hazards up to 150 metres or more.
  • Night, Dipped Beam (Low Beam): Your effective visibility range is reduced to approximately 80 metres.
  • Night, High Beam: While high beams project further, they can blind oncoming traffic and are often ineffective in fog, as they scatter light back at the rider.
  • Fog (Visibility < 50 m): Visibility can be severely limited, sometimes to only a few metres.

A fundamental principle of safe riding is that your following distance must at least match your visibility range. You must be able to stop safely within the distance you can see. If you cannot see far enough to stop before a potential hazard appears, you are travelling too fast for the conditions. In dense fog, for example, if your visibility is only 30 metres, your following distance (and speed) must ensure you can stop within that 30-metre limit. Relying on the taillights of the vehicle ahead is dangerous, as they might brake suddenly, or you might fail to see a hazard that their vehicle clears.

Tip

In low visibility, it's not just about seeing; it's about being seen. Use your dipped beams, and if equipped, your fog lights. Avoid high beams in fog as they can reduce your own visibility.

While a precise calculation isn't always feasible while riding, time-based following distances provide a practical and easily measurable method for ensuring safety. The baseline is the two-second rule for dry, clear conditions. For adverse conditions, you must extend this baseline. These are minimum recommendations, and you should always err on the side of caution.

ConditionMinimum Time Gap (seconds)Reasoning
Dry, clear daylight2.0 – 2.5Standard baseline for ideal conditions.
Wet (light rain, damp road)3.0 – 3.5Reduced friction; increased braking distance.
Wet (standing water, heavy rain)3.5 – 4.0Significantly reduced friction (braking distance can double); added safety margin.
Heavy rain (with spray)4.0 – 5.0Reduced visibility combined with lower grip.
Fog (< 50 m visibility)4.5 – 6.0Visibility limits hazard detection; higher PRT.
Night (no street lighting)3.5 – 4.5Higher PRT due to reduced contrast and depth perception.
Strong cross-wind (> 15 km/h)Add 0.5 – 1.0 sCompensates for lateral instability and recovery time.
Mixed (wet + fog)5.0 – 7.0Compounded effects require a much larger safety margin.

These recommended time gaps are additive. If you are riding at night in heavy rain, you would add the increments for both conditions to your baseline. For instance, a 2.5-second baseline + 1.5 seconds for heavy rain + 1.0 second for night would suggest a 5.0-second gap as a minimum.

Legal Obligations: Dutch Traffic Law on Safe Following Distance (RVV 1990 Article 33)

In the Netherlands, specific laws govern driver behaviour, including the requirement to maintain a safe following distance. The core regulation is RVV 1990 article 33, which places a clear legal duty on all road users, including motorcyclists.

Definition

RVV 1990 Article 33

"A driver shall keep a distance that allows safe stopping without endangering other road users, taking into account speed, road, weather, and vehicle condition."

This article is fundamental because it makes the adaptation of following distance mandatory based on prevailing conditions. It is not sufficient to simply maintain a generic distance; that distance must be safe for the specific circumstances. Non-compliance with Article 33 can result in a significant fine and potential demerit points. This legal requirement underscores the importance of the dynamic following distance principle discussed throughout this lesson.

For example, a motorcyclist on a wet highway who maintains a 4-second gap at 80 km/h is acting in compliance with RVV 1990 article 33. Conversely, the same rider keeping only a 2-second gap on that wet surface would be in violation of the law because their stopping distance would be insufficient for the conditions.

Other Relevant Regulations for Motorcycle Safety

While RVV 1990 article 33 is the primary regulation for following distance, other laws and guidelines also play a role in ensuring a motorcyclist's ability to stop safely in adverse conditions:

  • Braking System Requirements: Dutch vehicle regulations mandate that motorcycles, including those in Category A2, must be equipped with a functional braking system that meets minimum stopping performance standards. This ensures that the vehicle itself is capable of achieving the necessary braking performance to support safe following distances. Riders must regularly check their brakes, including ABS functionality, especially before riding in challenging weather.
  • Lighting Requirements in Reduced Visibility: The Road Traffic Act (Wegenverkeerswet) and associated regulations stipulate the use of specific lighting during periods of reduced visibility.
    Definition

    Dipped Beam (Dimlicht)

    A low-intensity headlamp setting for normal night driving and conditions of reduced visibility (rain, fog, dusk).

    Definition

    High Beam (Grootlicht)

    A high-intensity headlamp setting intended for open roads with no street lighting and no oncoming traffic. It should never be used in fog or heavy rain, as it scatters light, reducing visibility for both the rider and other road users.

    In rain, fog, or at dusk when visibility drops below 150 metres, drivers are legally required to use their dipped beams. This improves your own visibility of the road and makes you more visible to others, reducing the risk of a collision that might occur if you are not seen.
  • Advisory for Wind-Affected Routes: On routes known to be exposed to strong crosswinds (e.g., certain motorways, bridges, or open stretches), drivers may be advised or even required to adapt their speed and following distance to maintain control. While a specific national 'Regulation 5/1995' might not be a universally codified law in the same way as RVV 1990, the principle is embedded in the general duty of care and safe driving. Local authorities or road operators may issue specific warnings or temporary speed limits in such conditions.

Common Mistakes and Misconceptions When Adjusting Following Distance

Even experienced riders can sometimes fall into common traps or misunderstandings regarding safe following distance in adverse conditions. Being aware of these errors can help you avoid them.

  • Maintaining the Generic Two-Second Gap on Wet Pavement: This is one of the most dangerous mistakes. As discussed, wet roads can double your braking distance. Sticking to two seconds in these conditions drastically increases your risk of a rear-end collision.
  • Not Adjusting Immediately After a Sudden Rain Shower: Road conditions can change almost instantly. If rain begins while you're riding, your grip and visibility change immediately. Delaying the increase of your following distance can lead to an insufficient gap before you've even fully processed the change.
  • Riding with Headlights on High Beam in Fog: High beams scatter light off fog particles, creating glare that significantly reduces your own visibility. This makes it harder to see hazards and can blind other drivers. Always use dipped beams and fog lights (if available) in foggy conditions.
  • Ignoring Crosswind Impact on a High-Speed Motorway: Many riders underestimate the effect of crosswinds, especially when the road is dry. The lateral forces can cause unexpected drifts, making it challenging to maintain your lane or brake effectively.
  • Over-Reliance on ABS to Compensate for Insufficient Distance: Anti-lock Braking Systems (ABS) are invaluable safety aids that prevent wheel lock-up during hard braking, allowing you to maintain steerability. However, ABS does not shorten your overall stopping distance. If your initial following distance is insufficient for the conditions, ABS cannot magically create more space. It helps you brake more effectively within the available grip, but that grip is still reduced in adverse conditions.
  • Using Cruise Control on Wet Roads Without Manual Distance Monitoring: Cruise control maintains a set speed, but it does not inherently adjust your following distance based on adverse conditions (unless it's an advanced adaptive cruise control system, which is rare on motorcycles and still requires rider vigilance). The rider must manually intervene to extend the gap and potentially reduce speed.
  • Following a Heavy-Load Motorcycle Too Closely in Rain: A motorcycle carrying a passenger or heavy luggage will have increased inertia, which can lengthen its braking distance. Furthermore, the increased load might affect tyre wear and grip. Always give larger, heavier vehicles (including other motorcycles) more space, especially in poor conditions.
  • Riding Through a Tunnel with Fog-Inducing Ventilation (Low Visibility): Tunnels can sometimes have ventilation systems that create a fog-like atmosphere, or external fog can drift in. Treat these conditions like external fog: increase your gap, use low beams, and be prepared for sudden stops.

Factors Influencing Required Following Distance: A Comprehensive Guide

The required following distance is a dynamic value influenced by a multitude of factors. A skilled motorcyclist continually assesses these factors and adjusts their riding accordingly.

  • Weather Conditions:
    • Rain (light): Add 1-2 seconds to your baseline gap.
    • Heavy Rain/Standing Water: Add 2-3 seconds. Braking distance can double, and visibility is often reduced by spray.
    • Snow/Ice: Add 3-5 seconds, or avoid riding if possible. Grip is minimal.
    • Fog (< 50m visibility): Add 3-5 seconds. Visibility severely limits hazard detection.
  • Light Conditions:
    • Night (no street lighting): Add 0.5-1 second. Reduced contrast and depth perception increase PRT.
    • Dusk/Dawn with Glare: Add 0.5 seconds. Sun glare can temporarily blind you.
  • Road Type and Speed:
    • Urban (max 50 km/h): While the absolute distance may be shorter due to lower speeds, the time-based gap still needs adjustment for adverse conditions.
    • Motorway (≥ 80 km/h): Higher speeds mean both reaction distance and braking distance increase significantly (braking distance quadratically with speed). A small increase in time-based gap results in a much larger absolute distance.
  • Vehicle State:
    • Full Passenger + Luggage: Add 0.5 seconds. Increased mass increases inertia, potentially lengthening braking distance and affecting handling.
    • Worn Tyres or Brake Pads: Add 0.5-1 second. Reduced grip and braking efficiency directly increase stopping distance. Ensure your motorcycle is always well-maintained.
  • Vulnerable User Interaction: When approaching areas with pedestrians or cyclists, maintain at least a 3-second gap even in good conditions. You need extra time to react to their potentially erratic movements.
  • Cross-Wind: Add 0.5 seconds for every 10 km/h of wind component perpendicular to your travel direction. This accounts for lateral instability and the need for recovery time.
  • Mixed Conditions: When multiple adverse conditions are present (e.g., wet road + night), their effects compound. You must add the respective increments together to determine a safe minimum gap. For example, wet (+2s) + night (+0.5s) = total 2.5s added to your dry-clear baseline.

The Science of Safety: Physics, Psychology, and Data Behind Safe Distancing

Understanding the underlying principles reinforces the importance of adjusting your following distance.

  • Physics of Stopping: The braking distance formula dbrake = v² / (2 × μ × g) clearly shows that braking distance is directly proportional to the square of your speed and inversely proportional to the friction coefficient (μ). This relationship explains why doubling your speed quadruples your braking distance, and halving your grip doubles it. In adverse conditions, both factors can work against you.
  • Human Reaction: While average visual reaction time is around 0.75 seconds for an alert driver, this is for simple stimuli. Under complex driving scenarios and low visibility, the total perception-reaction time can easily increase to 1.5-2 seconds as the brain needs more time to process information and decide on a course of action.
  • Psychology of Risk: Riders sometimes underestimate the objective risks of adverse conditions due to optimism bias or overconfidence in their skills or vehicle's capabilities (e.g., "my ABS will save me"). This can lead to what is known as "automation complacency," where relying on safety features or cruise control reduces a rider's situational awareness. Additionally, studies suggest riders may underestimate the actual lateral forces of crosswinds, leading to insufficient adjustments.
  • Data-Driven Insight: Road safety statistics consistently show an increase in rear-end collisions involving motorcycles during adverse weather. For example, Dutch road safety data often indicates a significant percentage increase in such incidents during rainy conditions compared to dry days. Maintaining larger following gaps is a proven strategy to mitigate a substantial portion of these accidents.

Key Terms for Understanding Safe Following Distance

Following Distance
The longitudinal space between a rider’s front wheel and the rear of the vehicle ahead, typically measured in seconds or metres.
Two-Second Rule
A baseline time-based following distance providing sufficient reaction time under ideal road and weather conditions.
Friction Coefficient (µ)
A dimensionless value representing the ratio of frictional force to the normal force between a tyre and the road surface, indicating available grip.
Perception-Reaction Time (PRT)
The total time from when a rider perceives a hazard to the moment they initiate a physical response, such as braking.
Braking Distance
The distance travelled by a vehicle from the moment the brakes are applied until it comes to a complete stop.
Total Stopping Distance
The sum of the perception-reaction distance and the braking distance.
Crosswind
A wind blowing perpendicular or at an angle to the direction of travel, creating a lateral force on the motorcycle.
ABS (Anti-Lock Braking System)
A safety system that prevents wheel lock-up during hard braking, allowing the rider to maintain steering control.
Visibility Range
The maximum distance ahead at which a rider can reliably see and identify hazards under given lighting and weather conditions.
RVV 1990 Article 33
A specific article in Dutch traffic regulations that legally obligates drivers to maintain a safe following distance adapted to prevailing conditions.
Dipped Beam (Dimlicht)
The low-intensity setting of headlamps used for normal driving at night and in conditions of reduced visibility.
High Beam (Grootlicht)
The high-intensity setting of headlamps, for use only on unlit roads with no oncoming traffic, and not in fog or heavy rain.
Hazard Anticipation
The cognitive process of predicting potential dangers and risky situations before they fully develop on the road.
Automation Complacency
A psychological state where over-reliance on automated systems or safety features leads to reduced vigilance and situational awareness.

Real-World Scenarios: Applying Dynamic Following Distance

Let's look at how these principles translate into practical riding decisions for a Category A2 motorcyclist.

Scenario A: Wet Urban Street

  • Setting: You are riding at 40 km/h on a city road with continuous rain, standing water, and mixed traffic.
  • Rule/Decision Point: Adjust following distance for wet surface and reduced grip.
  • Correct Behaviour: You maintain a 3.5-second gap, which translates to approximately 39 metres at 40 km/h. This accounts for the reduced friction on the wet road, doubling your braking distance.
  • Incorrect Behaviour: You keep a 2-second gap, approximately 22 metres.
  • Why Correct: The extended gap significantly compensates for the reduced friction coefficient (µ) of the wet road, which roughly halves the available grip and doubles your braking distance. This provides a crucial safety margin.

Scenario B: Fog on a Rural Highway

  • Setting: You are travelling at 80 km/h on a straight rural highway. Visibility is reduced to 30 metres due to light fog.
  • Rule/Decision Point: Increase gap to match or exceed visibility range and compensate for elevated PRT.
  • Correct Behaviour: You switch to a 5-second gap, which is approximately 111 metres at 80 km/h. You also ensure your dipped beams are on.
  • Incorrect Behaviour: You stay at a 2-second gap (approximately 44 metres) and use high beams.
  • Why Correct: The severe limitation of visibility means hazards will appear much later. A 5-second gap ensures you have enough time and distance to react and stop safely before encountering an unseen obstacle, adhering to the principle that you must stop within your visible range. High beams would worsen visibility in fog.

Scenario C: Night Ride with No Street Lighting

  • Setting: You are riding at 60 km/h on a rural road in complete darkness, with no street lighting, relying solely on your motorcycle's headlights.
  • Rule/Decision Point: Use appropriate lighting (dipped beams) and extend gap for increased PRT due to darkness.
  • Correct Behaviour: You ensure your dipped beams are on (high beams would be dangerous if another vehicle appears) and add 0.5 seconds to your baseline, maintaining a total 2.5-second gap, approximately 42 metres at 60 km/h.
  • Incorrect Behaviour: You use high beams consistently and keep a 2-second gap (approximately 33 metres).
  • Why Correct: Night riding, even without fog, increases perception-reaction time due to reduced contrast and difficulty judging distances. The extra 0.5 seconds provides a buffer. Using dipped beams prevents blinding other road users while still providing adequate illumination for your safe stopping distance.

Scenario D: Strong Crosswind on a Bridge

  • Setting: You are riding at 90 km/h on a long bridge with significant exposure to a 20 km/h crosswind, but the road is dry.
  • Rule/Decision Point: Reduce speed and add a wind-related gap for lateral stability.
  • Correct Behaviour: You reduce your speed to 80 km/h and add 1 second to your baseline, maintaining a 3-second gap, approximately 66 metres at 80 km/h.
  • Incorrect Behaviour: You maintain speed and your standard 2-second gap.
  • Why Correct: Strong crosswinds can cause your motorcycle to drift unexpectedly, demanding more attention and reaction time to maintain control. Reducing speed lowers the impact of the wind, and the added second provides a crucial safety buffer for recovering stability and potential evasive actions.

Scenario E: Mixed Wet + Fog

  • Setting: You are riding at 70 km/h in conditions of heavy rain and dense fog, with visibility reduced to 40 metres.
  • Rule/Decision Point: Combine adjustments for all adverse factors: reduced grip, reduced visibility, and elevated PRT.
  • Correct Behaviour: You maintain a 6-second gap, which is approximately 117 metres at 70 km/h, use dipped beams, and actively monitor your speed.
  • Incorrect Behaviour: You use a 3-second gap (approximately 58 metres) and high beams.
  • Why Correct: This scenario presents compounded risks. The combined effect of heavy rain (halved friction) and dense fog (severely limited visibility, increased PRT) necessitates a significantly larger safety margin. The 6-second gap accounts for all these factors, ensuring you can perceive, react, and stop safely within the extremely limited visible distance.

Essential Takeaways for Motorcyclists

Mastering the art of adjusting your following distance in adverse conditions is a hallmark of a responsible and safe motorcyclist. As you progress through your Dutch Category A2 motorcycle license theory, remember these critical principles:

  1. Dynamic Adaptation is Key: The two-second rule is a starting point, not a universal law. Continuously assess speed, road surface, visibility, and wind, and adjust your gap accordingly.
  2. Wet Roads Double Braking Distance: Reduced tyre-road friction on wet surfaces can halve your grip, effectively doubling the distance needed to stop. Increase your gap to at least 3.5-4 seconds.
  3. Poor Visibility Increases Reaction Time: Fog, heavy rain, and night riding delay hazard detection and increase your perception-reaction time. Compensate by adding 0.5-2 seconds to your time-based gap.
  4. Crosswinds Demand Extra Space: Lateral forces from strong winds can destabilise your motorcycle. Add 0.5-1 second to your following distance to allow for recovery time and maintaining control.
  5. Stop Within Your Visible Range: Your following distance must never exceed the distance you can clearly see ahead. If visibility is 30 metres, you must be able to stop within 30 metres.
  6. Know Your Legal Obligations: RVV 1990 article 33 legally binds you to maintain a safe distance appropriate for the prevailing conditions. Failure to do so is a traffic violation.
  7. ABS is a Helper, Not a Solution: ABS prevents wheel lock-up and maintains steerability, but it does not shorten your braking distance. An adequate following distance is still paramount.
  8. Maintenance Matters: Worn tyres or brake pads compromise your motorcycle's ability to stop. Regular maintenance is part of ensuring you can achieve a safe stopping distance.
  9. Combine Adjustments for Mixed Conditions: When multiple adverse factors are present, their effects compound. Add the recommended time increments for each factor to establish a sufficient safety margin.
  10. Prioritise Safety Over Speed: In truly challenging conditions, reducing your speed may be the most effective way to ensure a safe following distance and maintain control.

By integrating these principles into your riding habits, you will significantly enhance your safety and confidence on Dutch roads, preparing you effectively for both your theory exam and real-world motorcycle riding.

Learn more with these articles

Check out these practice sets


Search topics related to Adjusting Following Distance in Adverse Conditions

Explore search topics learners often look for when studying Adjusting Following Distance in Adverse Conditions. These topics reflect common questions about road rules, driving situations, safety guidance, and lesson level theory preparation for learners in the Netherlands.

following distance motorcycle rain netherlandshow to adjust following distance in fog A2 licensesafe distance motorcycle wind CBR exambraking distance wet roads motorcycle theorymotorcycle safety following distance adverse weather NLDutch A2 theory test following distance questionshow many seconds following distance in heavy rain motorcyclevisibility and following distance motorcycle riding

Related driving theory lessons for Adjusting Following Distance in Adverse Conditions

Browse additional driving theory lessons that cover connected traffic rules, road signs, and common driving situations related to this topic. Improve your understanding of how different rules interact across everyday traffic scenarios.

Safe Following Distance Adjustments for Adverse Motorcycle Riding Conditions NL

Understand how to dynamically adjust your following distance in rain, fog, strong winds, and darkness. Learn the physics, legal requirements (RVV 1990 Article 33), and practical time-based gaps needed for A2 motorcycle theory in the Netherlands.

following distanceadverse conditionsmotorcycle safetybraking distancevisibilityrainfogwindRVV 1990
Influence of Weather and Visibility on Distance lesson image

Influence of Weather and Visibility on Distance

This lesson explains why the standard two-second rule is insufficient in adverse conditions and requires extension. It details how factors like rain, fog, and darkness reduce both visibility and tire grip, thereby significantly increasing total stopping distance. The content provides practical guidelines, such as extending the following gap to four seconds or more in the wet, to ensure the rider always has enough time and space to stop safely, regardless of the conditions.

Dutch Motorcycle Theory ASafe Following Distance and Hazard Perception
View lesson
Safe Following Distances for Motorcycles lesson image

Safe Following Distances for Motorcycles

This lesson focuses on the crucial safety practice of maintaining an adequate following distance to the vehicle ahead. It explains the 'two-second rule' as a minimum baseline and emphasizes the need to increase this gap to three or four seconds in adverse conditions like rain or poor visibility. For a motorcyclist, this 'space cushion' is a critical buffer that provides the necessary time and space to react to sudden hazards or stop safely.

Dutch A1 Motorcycle TheorySpeed, Distance and Stopping
View lesson
Adjusted Speed and Stopping Distances in Poor Conditions lesson image

Adjusted Speed and Stopping Distances in Poor Conditions

This lesson reinforces the critical relationship between adverse conditions, reduced traction, and massively increased stopping distances. It provides a clear framework for how much riders need to increase their following distance and reduce their overall speed to maintain a safe margin for error. The curriculum teaches riders to constantly reassess their speed based on visual feedback from the road surface and the level of visibility, ensuring they can always stop within the distance they can clearly see.

Dutch Motorcycle Theory ARiding in Adverse Weather and Night Conditions
View lesson
Riding in Rain, Fog, and Low Visibility lesson image

Riding in Rain, Fog, and Low Visibility

This lesson provides a detailed guide to riding in wet and low-visibility conditions. You will learn to make all your control inputs—braking, accelerating, and steering—exceptionally smooth to avoid breaking traction on slippery surfaces. The content covers the dangers of painted lines and manhole covers when wet, and the importance of increasing your following distance dramatically to account for longer braking distances.

Dutch Motorcycle Theory (A2)Visibility, Lighting, and Weather-Related Hazards
View lesson
Visibility Challenges in Fog, Rain, and Snow lesson image

Visibility Challenges in Fog, Rain, and Snow

This lesson addresses the dual challenge of poor visibility: being able to see the road ahead and ensuring other road users can see you. It covers techniques for riding in fog and heavy rain, such as using appropriate lights and reducing speed to match sight distance. The lesson also discusses practical issues like helmet visor fogging and the importance of wearing high-visibility or reflective clothing to enhance conspicuity in low-light conditions.

Dutch A1 Motorcycle TheoryEnvironmental Factors and Weather Impact
View lesson
Speed Adjustments for Weather and Visibility lesson image

Speed Adjustments for Weather and Visibility

This lesson emphasizes the critical importance of adapting your speed to prevailing conditions, which may require driving slower than the legal limit. You will learn how factors like rain, fog, snow, and darkness significantly increase braking distances and reduce visibility. The curriculum explains the dangers of aquaplaning on wet roads and black ice in winter. The core principle taught is that a safe driver always adjusts their speed to ensure they can stop within the distance they can see to be clear.

Dutch Driving Theory BSpeed Management and Limits
View lesson
The Two-Second Rule and Its Application for Motorcycles lesson image

The Two-Second Rule and Its Application for Motorcycles

This lesson explains the two-second rule, a simple and effective technique for ensuring you have enough time to react and stop safely. You will learn how to use a fixed object on the roadside to measure the time gap between your motorcycle and the vehicle ahead. The content emphasizes why motorcyclists may need to extend this gap to three or more seconds in poor weather, at high speeds, or in heavy traffic.

Dutch Motorcycle Theory (A2)Safe Following Distance and Braking Techniques
View lesson
Maintaining Safe Gaps in High-Speed Traffic lesson image

Maintaining Safe Gaps in High-Speed Traffic

This lesson revisits the concept of following distance, emphasizing its heightened importance in the high-speed motorway environment. It explains how increased speeds dramatically lengthen both reaction and braking distances, making a minimum two-to-three-second gap absolutely critical for safety. The content also stresses the importance of maintaining a space cushion to the sides, creating potential escape routes in case of sudden incidents in adjacent lanes.

Dutch Motorcycle Theory AHighway and Tunnel Riding Strategies
View lesson
Wet, Icy, and Slippery Surface Adjustments lesson image

Wet, Icy, and Slippery Surface Adjustments

Riding on two wheels requires special care on surfaces with reduced grip. This lesson teaches you how to handle challenging conditions like rain, ice, wet leaves, or tram tracks. Key principles include reducing speed significantly, making all control inputs (braking, accelerating, steering) much more smoothly and gradually, and increasing your following distance to allow for much longer stopping distances. Recognizing potentially slippery areas is a critical part of proactive hazard perception.

Dutch Driving Theory AMSpeed Management & Braking
View lesson
Rain, Puddles, and Hydroplaning Risks lesson image

Rain, Puddles, and Hydroplaning Risks

Rain significantly reduces tire grip and rider visibility. This lesson covers the essential adjustments needed for wet-weather riding, including reducing speed, increasing following distance, and applying all controls more smoothly. It explains the danger of hydroplaning (aquaplaning) when tires lose contact with the road over standing water and how to avoid it. You will also learn about the importance of good tire tread depth for channeling water away and maintaining traction.

Dutch Driving Theory AMEnvironmental & Weather Influences
View lesson

Total Stopping Distance Explained for Motorcycle Theory NL

Explore the science behind total stopping distance for motorcycles. This lesson details how speed, friction, perception-reaction time, and vehicle factors like ABS influence your ability to stop safely, with a focus on Dutch traffic law.

stopping distancebrakingABSfrictionperception-reaction timemotorcycle physicsdriving theory
Calculating Total Stopping Distance lesson image

Calculating Total Stopping Distance

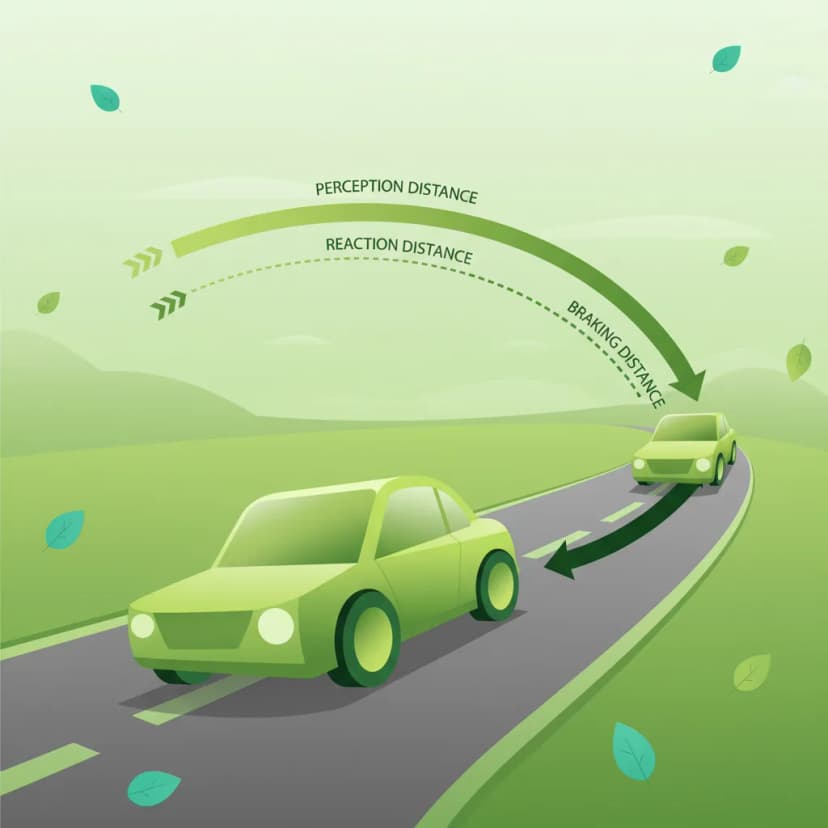
This lesson breaks down the concept of total stopping distance into its two key parts: the distance traveled during your reaction time and the distance the motorcycle travels after the brakes are applied. You will learn the formulas and rules of thumb for estimating these distances at various speeds. The content highlights how factors like rider fatigue, road surface conditions, and tyre quality can significantly increase your overall stopping distance.

Dutch Motorcycle Theory (A2)Safe Following Distance and Braking Techniques
View lesson
Calculation of Stopping Distances lesson image

Calculation of Stopping Distances

This lesson provides a theoretical understanding of the components that make up the total stopping distance. It explains how to calculate reaction distance (the distance traveled before applying the brakes) and braking distance (the distance traveled while braking). The content highlights how speed exponentially increases stopping distance and how other variables like rider alertness, road grip, and brake condition play a significant role in the final calculation.

Dutch A1 Motorcycle TheorySpeed, Distance and Stopping
View lesson
Two-Second Rule and Stopping Distances lesson image

Two-Second Rule and Stopping Distances

This lesson provides a detailed explanation of the two-second rule as a simple yet effective method for maintaining a safe following distance in good conditions. It breaks down the concept of total stopping distance into its two components: reaction distance (the distance traveled before applying the brakes) and braking distance (the distance traveled while braking). Understanding this calculation is fundamental for appreciating the need for a sufficient space cushion to react to sudden events ahead.

Dutch Motorcycle Theory ASafe Following Distance and Hazard Perception
View lesson
Adjusted Speed and Stopping Distances in Poor Conditions lesson image

Adjusted Speed and Stopping Distances in Poor Conditions

This lesson reinforces the critical relationship between adverse conditions, reduced traction, and massively increased stopping distances. It provides a clear framework for how much riders need to increase their following distance and reduce their overall speed to maintain a safe margin for error. The curriculum teaches riders to constantly reassess their speed based on visual feedback from the road surface and the level of visibility, ensuring they can always stop within the distance they can clearly see.

Dutch Motorcycle Theory ARiding in Adverse Weather and Night Conditions
View lesson
Braking Distance Calculations for Light Motor Vehicles lesson image

Braking Distance Calculations for Light Motor Vehicles

This lesson explains the components of the total stopping distance: the reaction distance (distance traveled before you start braking) and the braking distance (distance traveled while braking). You will learn the general formulas and rules of thumb for estimating these distances at different speeds. Understanding that braking distance increases exponentially with speed is a critical piece of knowledge that reinforces the importance of maintaining safe speeds and following distances.

Dutch Driving Theory AMSpeed Management & Braking
View lesson
Influence of Weather and Visibility on Distance lesson image

Influence of Weather and Visibility on Distance

This lesson explains why the standard two-second rule is insufficient in adverse conditions and requires extension. It details how factors like rain, fog, and darkness reduce both visibility and tire grip, thereby significantly increasing total stopping distance. The content provides practical guidelines, such as extending the following gap to four seconds or more in the wet, to ensure the rider always has enough time and space to stop safely, regardless of the conditions.

Dutch Motorcycle Theory ASafe Following Distance and Hazard Perception
View lesson
Maintaining Safe Gaps in High-Speed Traffic lesson image

Maintaining Safe Gaps in High-Speed Traffic

This lesson revisits the concept of following distance, emphasizing its heightened importance in the high-speed motorway environment. It explains how increased speeds dramatically lengthen both reaction and braking distances, making a minimum two-to-three-second gap absolutely critical for safety. The content also stresses the importance of maintaining a space cushion to the sides, creating potential escape routes in case of sudden incidents in adjacent lanes.

Dutch Motorcycle Theory AHighway and Tunnel Riding Strategies
View lesson
Safe Following Distances for Motorcycles lesson image

Safe Following Distances for Motorcycles

This lesson focuses on the crucial safety practice of maintaining an adequate following distance to the vehicle ahead. It explains the 'two-second rule' as a minimum baseline and emphasizes the need to increase this gap to three or four seconds in adverse conditions like rain or poor visibility. For a motorcyclist, this 'space cushion' is a critical buffer that provides the necessary time and space to react to sudden hazards or stop safely.

Dutch A1 Motorcycle TheorySpeed, Distance and Stopping
View lesson
The Two-Second Rule and Its Application for Motorcycles lesson image

The Two-Second Rule and Its Application for Motorcycles

This lesson explains the two-second rule, a simple and effective technique for ensuring you have enough time to react and stop safely. You will learn how to use a fixed object on the roadside to measure the time gap between your motorcycle and the vehicle ahead. The content emphasizes why motorcyclists may need to extend this gap to three or more seconds in poor weather, at high speeds, or in heavy traffic.

Dutch Motorcycle Theory (A2)Safe Following Distance and Braking Techniques
View lesson
High-Speed Riding on Motorways (snelweg) lesson image

High-Speed Riding on Motorways (snelweg)

This lesson focuses on the unique demands of riding at sustained high speeds on motorways ('snelwegen'). It covers essential topics such as strict lane discipline, safe overtaking procedures, and maintaining a greater following distance to compensate for higher reaction and braking times. The content also addresses the physical and mental challenges, including managing wind blast, increased noise levels, and maintaining heightened situational awareness over long distances to combat fatigue.

Dutch Motorcycle Theory ASpeed Management and Legal Limits
View lesson

Frequently asked questions about Adjusting Following Distance in Adverse Conditions

Find clear answers to common questions learners have about Adjusting Following Distance in Adverse Conditions. Learn how the lesson is structured, which driving theory objectives it supports, and how it fits into the overall learning path of units and curriculum progression in the Netherlands. These explanations help you understand key concepts, lesson flow, and exam focused study goals.

How much longer is my braking distance on a wet road for my A2 motorcycle?

On a wet road surface, your braking distance can nearly double compared to dry conditions. This is due to reduced friction between your tires and the road. Therefore, for your A2 motorcycle, you must significantly increase your following distance, aiming for at least a four-second gap, or more if the rain is very heavy or there's standing water.

Why is visibility so important for following distance on the highway?

Reduced visibility in fog, heavy rain, or at night means you cannot see hazards as far ahead. To compensate, you need to increase your following distance. This gives you more time to perceive a potential danger (like a stopped vehicle or debris) and react safely, allowing for the increased braking distance required in such conditions.

How do crosswinds affect my motorcycle and following distance?

Strong crosswinds can push your A2 motorcycle sideways, affecting your stability and making it harder to maintain a straight line, especially when overtaking or passing large vehicles. A larger following distance provides a greater margin for error, allowing you to make small steering corrections or brake more smoothly without getting too close to the vehicle in front.

Is the two-second rule ever enough in bad weather?

No, the standard two-second rule is designed for good, dry conditions. In adverse weather like rain, fog, or strong winds, you must increase this to at least four seconds. For very poor conditions, even five or six seconds might be appropriate, depending on your speed and the severity of the weather.

Will I be tested on adverse conditions in the Dutch A2 theory exam?

Yes, the Dutch CBR theory exam for the A2 motorcycle license includes questions about hazard perception and safe riding practices in various conditions, including adverse weather. Understanding how to adjust your speed and following distance is a key part of this assessment.

Continue your Dutch driving theory learning journey

Dutch road signsDutch article topicsSearch Dutch road signsDutch driving theory homeDutch road sign categoriesSearch Dutch theory articlesDutch driving theory coursesDutch Driving Theory B courseDutch driving theory articlesDutch driving theory practiceDutch practice set categoriesDutch Driving Theory AM courseDutch Motorcycle Theory A courseDutch A1 Motorcycle Theory courseDutch Motorcycle Theory (A2) courseSearch Dutch driving theory practiceTowing, Trailers, and Loads unit in Dutch Driving Theory BRoadway Access & Navigation unit in Dutch Driving Theory AMVehicle Positioning and Lane Use unit in Dutch Driving Theory BHuman Factors & Risk Management unit in Dutch Driving Theory AMInfrastructure and Special Roads unit in Dutch Driving Theory BLegal Foundations & Vehicle Types unit in Dutch Driving Theory AMLegal Responsibilities & Incident Procedures unit in Dutch Driving Theory AMHighway (Autosnelweg) Rules for Motorcycles unit in Dutch Motorcycle Theory (A2)Advanced Riding Techniques and High-Speed Control unit in Dutch Motorcycle Theory ACalculating Total Stopping Distance lesson in Safe Following Distance and Braking TechniquesAccident Management, Legal Responsibilities & Substance Use unit in Dutch A1 Motorcycle TheoryEmergency Braking and the Role of ABS lesson in Safe Following Distance and Braking TechniquesAdjusting Following Distance in Adverse Conditions lesson in Safe Following Distance and Braking TechniquesAdvanced Braking: Front and Rear Brake Coordination lesson in Safe Following Distance and Braking TechniquesThe Two-Second Rule and Its Application for Motorcycles lesson in Safe Following Distance and Braking Techniques