
Welcome to the lesson on road surface temperature and its impact on motorcycle braking. Understanding how temperature affects grip is crucial for safe A1 motorcycle operation, especially in variable Dutch weather. This lesson builds on your knowledge of braking systems and safe riding distances, preparing you for specific exam questions and real-world hazards.

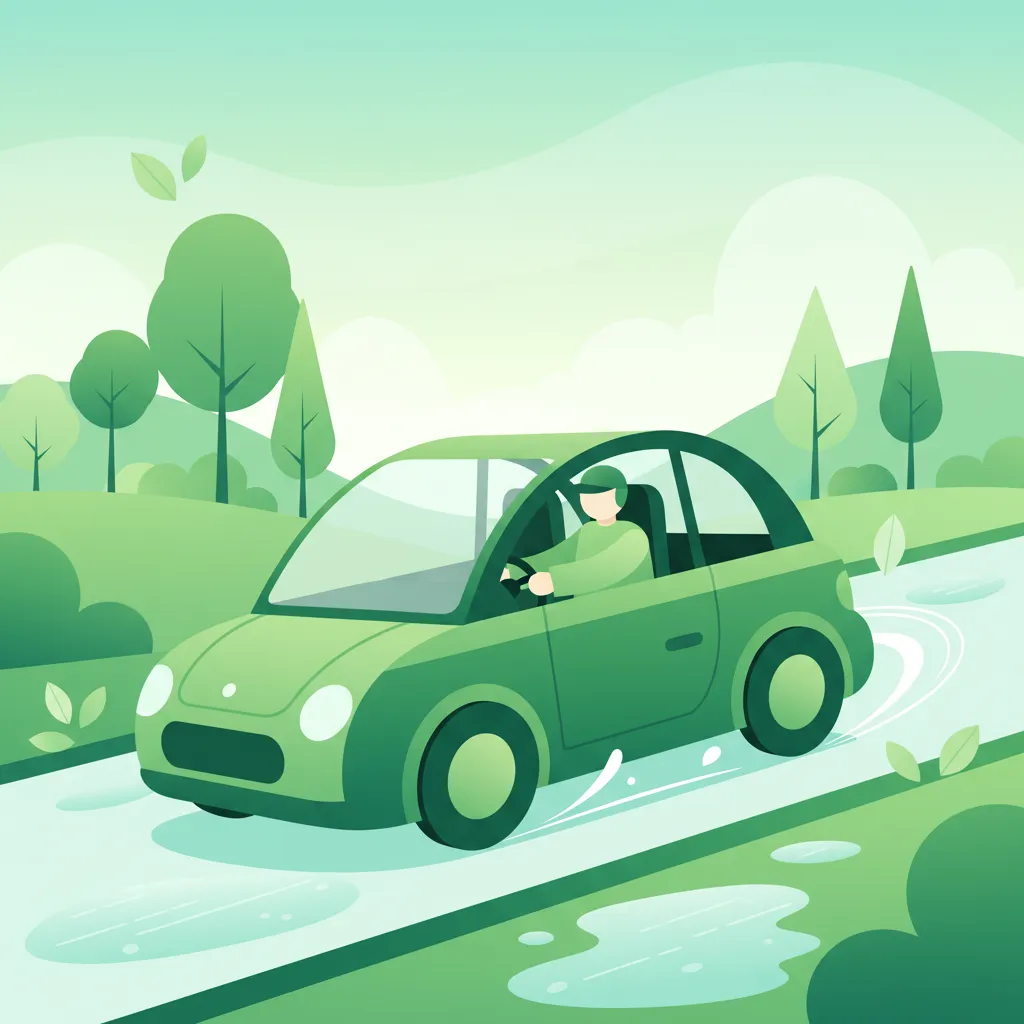
For riders pursuing their Dutch A1 Motorcycle Theory license, mastering safe braking in various conditions is paramount. One critical, yet often underestimated, factor influencing braking performance and overall road safety is the road surface temperature. This lesson delves into how temperature directly impacts tyre grip and braking efficiency, particularly for lightweight motorcycles, and outlines the essential adjustments A1 riders must make to maintain control.
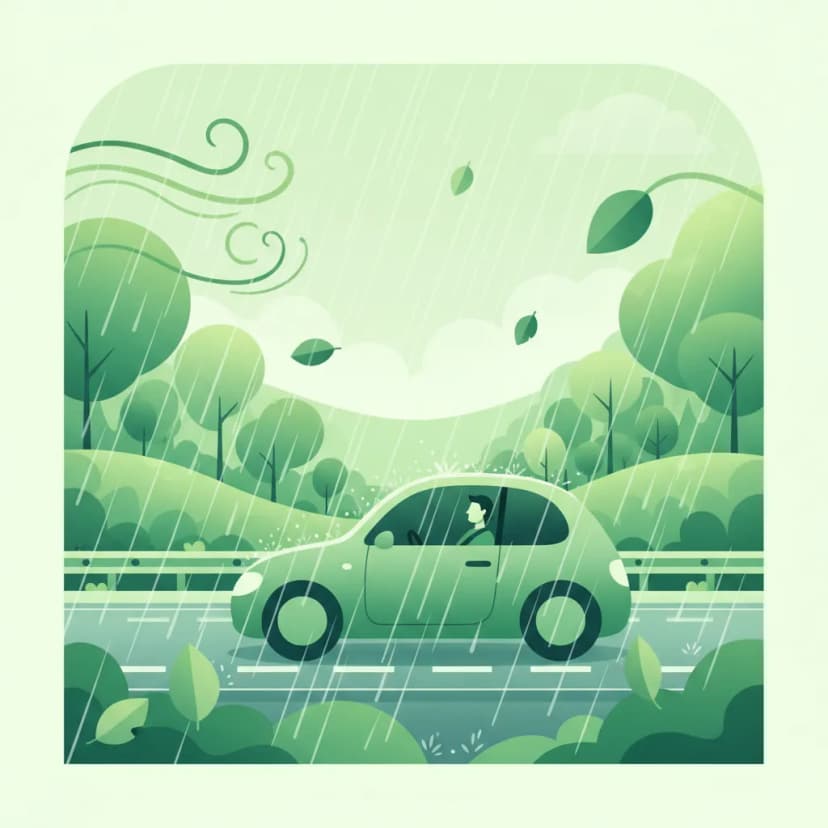
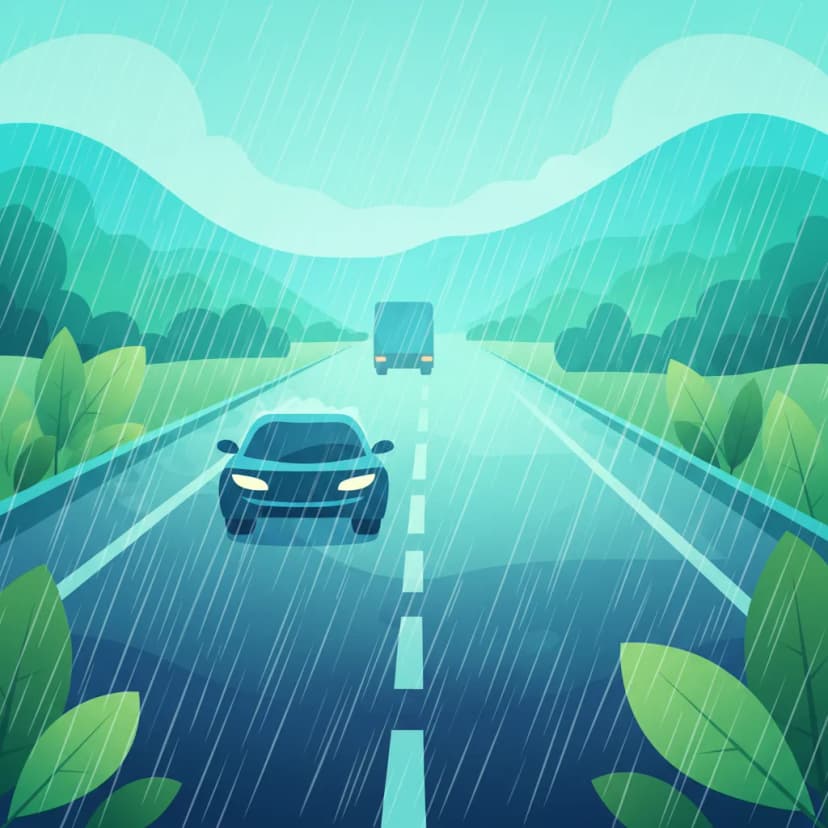
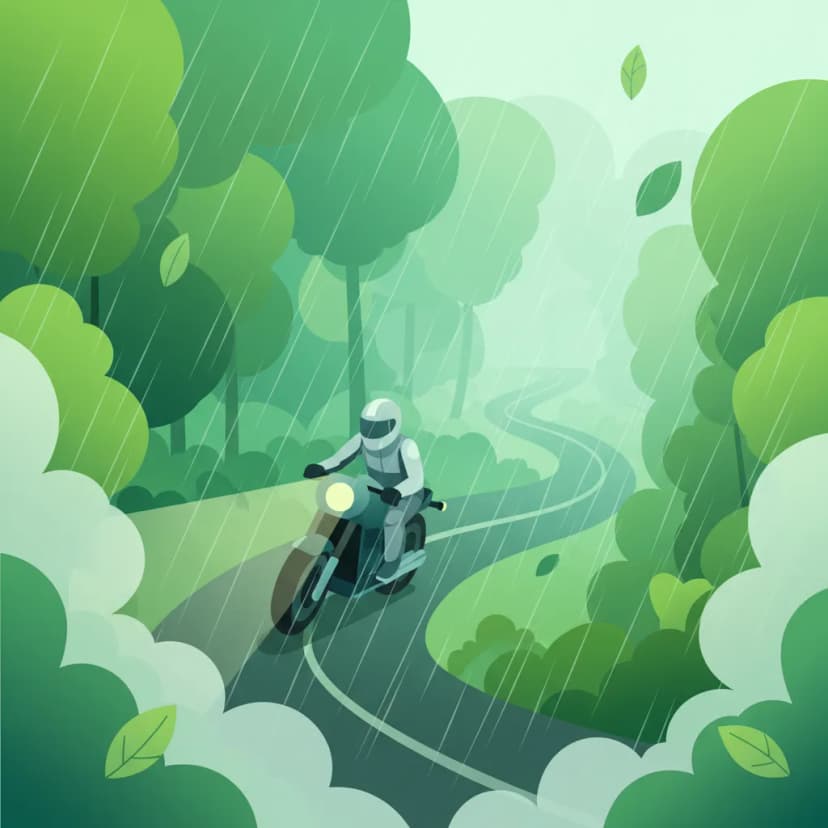
The effectiveness of your motorcycle's brakes is not solely dependent on the braking system itself, but significantly on the interaction between your tyres and the road surface. This interaction, known as friction, is highly sensitive to temperature. When the road surface is cold, the rubber compound of your tyres can stiffen, and the surface itself may offer less adhesion, leading to a considerable reduction in available grip. This reduction means that your stopping distance will increase, and the risk of skidding or losing control becomes much higher, even on what appears to be a dry road. Understanding this dynamic is crucial for safe riding, especially during the transitional seasons of autumn, winter, and early spring in the Netherlands, when road temperatures can fluctuate rapidly.
At the heart of tyre grip lies the coefficient of friction (µ), a dimensionless number representing the ratio of the frictional force resisting motion to the normal force pressing the tyre against the road. Essentially, a higher µ means more grip, while a lower µ indicates less.
For motorcycle tyres, there are two primary types of friction coefficients:
How Temperature Impacts µ: Both the road surface and the tyre rubber perform optimally within specific temperature ranges. When either (or both) are cold, the tyre rubber becomes less pliable, reducing its ability to conform to the microscopic irregularities of the road surface. This leads to a significant drop in the coefficient of friction. For instance, a warm tyre on dry asphalt might have a static µ of approximately 0.6 to 0.7. However, on the same dry asphalt when the tyre is cold and the road surface is near freezing, this µₛ can plummet to around 0.35 or even lower. Such a substantial reduction means you have less than half the grip available compared to ideal conditions, directly translating to longer stopping distances and a greater risk of wheel lock.
Dutch Road Traffic Act (Wet Rijvaardigheids- en Verkeerswet) implicitly requires riders to maintain control of their vehicle. A loss of control due to insufficient grip on a cold surface can be cited as a factor in an accident, holding the rider accountable.
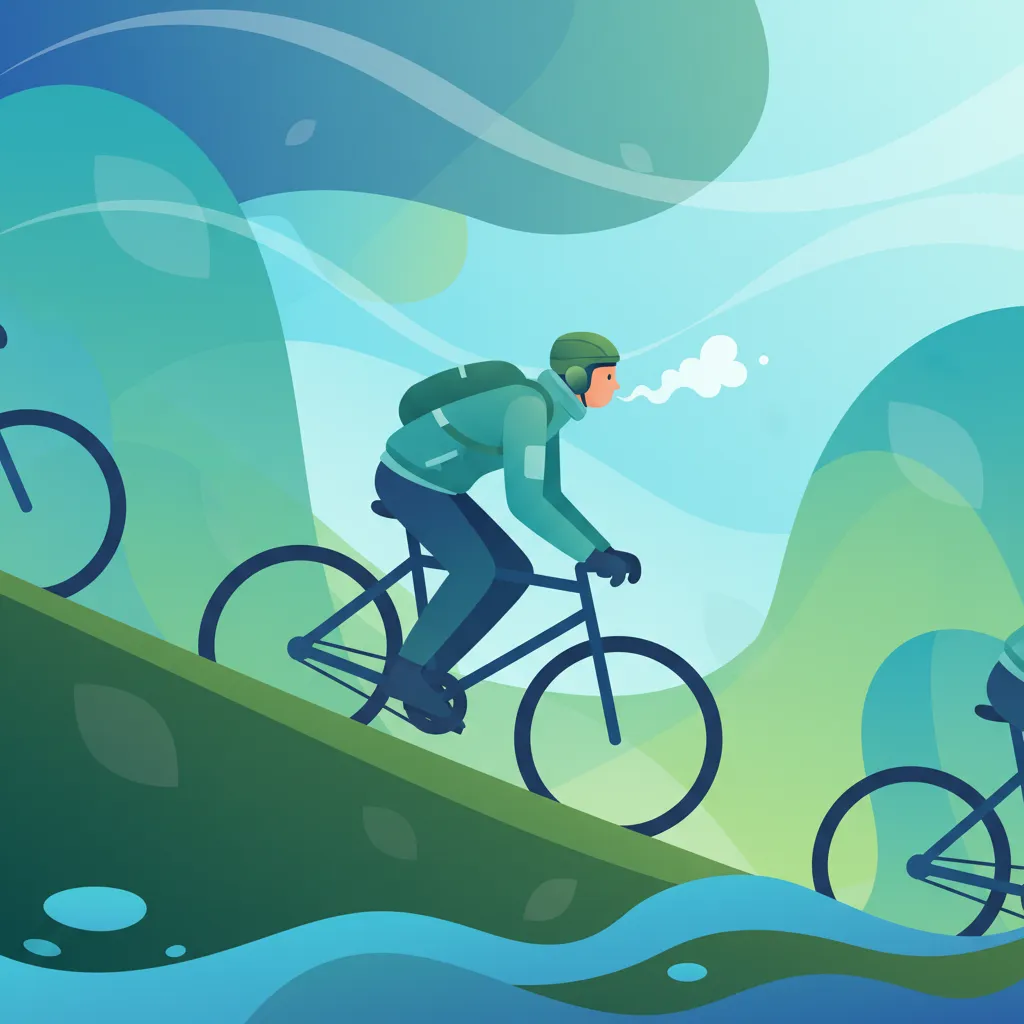
Motorcycle tyres are designed to operate best when warm. The heat generated through friction as the tyre rolls helps the rubber achieve its designed pliability and grip characteristics. This process is known as tyre warm-up.
The Warm-Up Process:
Practical Application and CBR Guidelines: Before heading onto a high-speed motorway (e.g., an 80 km/h stretch) on a cold morning, it is highly advisable to spend 2-3 minutes riding on a quieter, low-traffic side road. This allows your tyres, particularly the front tyre which bears most of the braking load, to reach a safer operating temperature.
The CBR (Centraal Bureau Rijvaardigheidsbewijzen) guideline 7.5 recommends that motorcyclists warm their tyres for a minimum of 2-3 minutes before high-speed riding in temperatures below +5 °C. This practice is not just a recommendation but a crucial element for safe control and is considered part of responsible riding behavior.
A common misunderstanding is that tyres warm up instantly. In reality, the heating process is gradual and depends on various factors including speed, load, and the specific tyre construction. Ignoring this can lead to unexpected loss of grip when you need it most. For example, a front tyre might increase its static coefficient of friction from 0.33 to 0.55 after just a 3-minute warm-up ride, significantly improving your ability to brake safely.
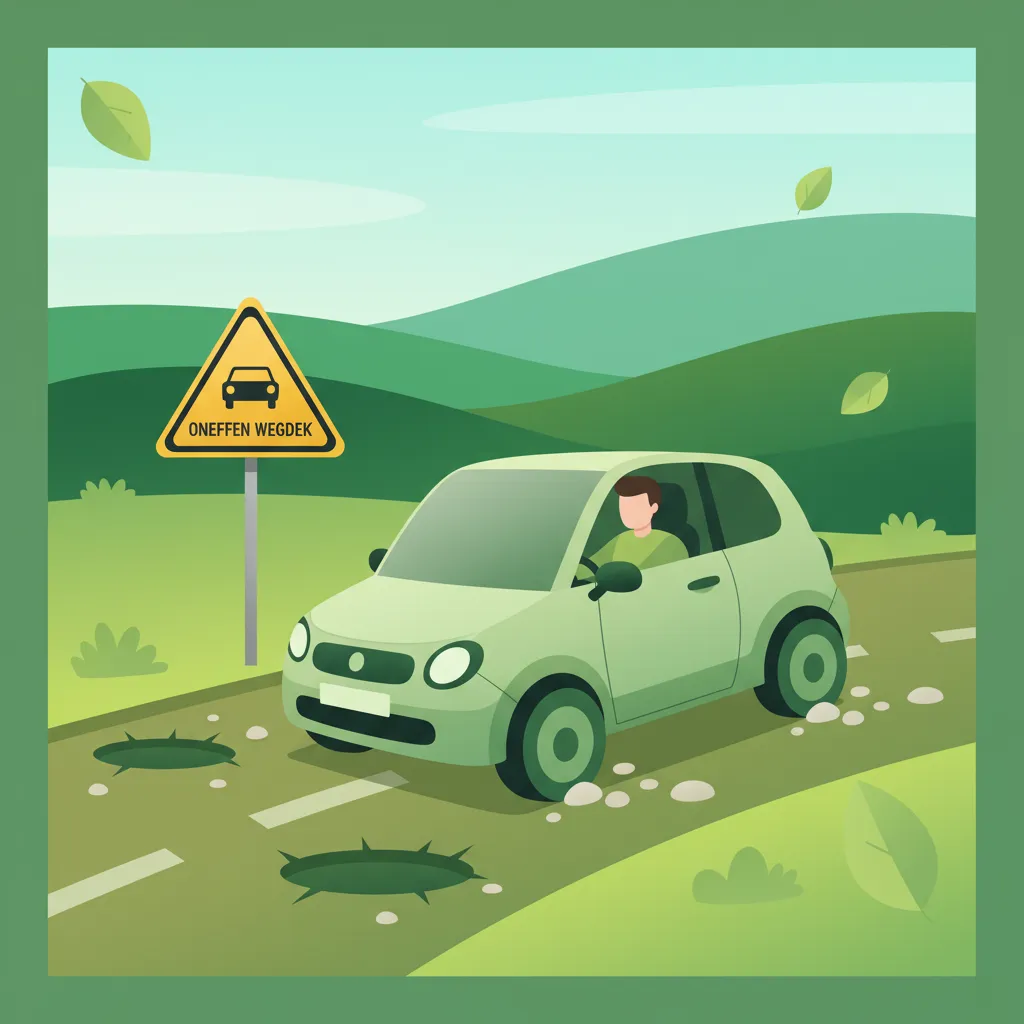
Even on seemingly clear winter days, specific locations on the road can hide dangerously cold surfaces or thin layers of ice, known as cold-surface patches. These localized areas can have surface temperatures at or below 0 °C, regardless of the ambient air temperature.
Types of Cold-Surface Patches:
Practical Implications: A rider might be cruising along a dry road at 70 km/h, only to encounter an invisible film of ice on a bridge, leading to a sudden and dangerous skid if brakes are applied aggressively. The Dutch traffic regulation (RVV 1990) Article 2.1 obliges all drivers to adapt their speed to "any foreseeable danger," which explicitly includes unseen icy patches. Never assume a road is entirely safe just because there's no visible ice. Subtle signs like glinting surfaces, darker patches, or a lack of road spray from other vehicles can indicate low-grip conditions.
A fundamental principle of safe riding is maintaining a safe following distance to allow sufficient time and space to stop. On cold road surfaces, where the coefficient of friction (µ) is significantly reduced, the total stopping distance increases dramatically.
The Basic Stopping Distance Formula: Total stopping distance (D_total) is composed of two parts:
The formula is:
D_total = v * t_reaction + v² / (2 * µ * g)
Where:
v = speed (in metres per second, m/s)t_reaction = reaction time (typically 0.7-1.5 seconds for motorcyclists)µ = coefficient of friction (between tyre and road)g = acceleration due to gravity (approximately 9.81 m/s²)Adjusting for Temperature: When the road surface temperature drops, µ decreases. To account for this, we use a temperature-adjusted µ (µ_T). For example, if the reference µ on a warm dry road is 0.7, and the surface temperature is -5 °C, the effective µ_T might drop to around 0.42 (a 40% reduction). This seemingly small change in µ results in a substantial increase in braking distance.
Practical Example: Consider a rider travelling at 60 km/h (16.7 m/s) with a reaction time of 1 second:
In this example, the stopping distance increases by over 30% simply due to reduced grip on a cold surface. The Dutch Road Traffic Code (RVV 1990) Article 6.1 mandates "adequate distance" – riders must mentally and physically adjust this distance in colder conditions.
On cold, low-friction surfaces, the way you apply your brakes becomes even more critical. Abrupt or excessive brake force can easily exceed the available grip, leading to wheel lock and a potential loss of control.
Recommended Brake Application Strategies:
Consideration for ABS: While many modern motorcycles are equipped with Anti-lock Braking Systems (ABS), which prevents wheel lock-up by rapidly modulating brake pressure, most A1 motorcycles do not have ABS. Even with ABS, it cannot create grip where none exists. Riders must still adapt their speed and braking technique to the prevailing conditions. Relying solely on ABS without adapting your input can still lead to longer stopping distances or instability on extremely low-µ surfaces. The CBR assessment criteria heavily score riders on "smooth and controlled braking," and abrupt lock-ups will be marked as non-compliant.
Dutch traffic regulations (Reglement Verkeersregels en Verkeerstekens 1990, RVV 1990) place a general duty of care on all road users, which becomes particularly relevant in challenging conditions like cold weather.
Understanding the theory is the first step; applying it correctly is the next. Many common mistakes made by motorcyclists in cold conditions stem from underestimating the impact of temperature on grip.
Never rely solely on instinct. Explicitly assess road surface temperature and consciously adapt your riding. Optimism bias, the tendency to underestimate non-visible hazards like frost, can lead to dangerous situations.
Common Errors and Corrective Actions:
The impact of road surface temperature does not occur in isolation. It interacts with other environmental factors, road characteristics, and even your motorcycle's state.
1. Weather Conditions:
2. Road Types:
3. Vehicle State:
4. Interactions with Vulnerable Road Users: Motorcyclists, having a lower gross vehicle weight and only two contact patches, are more acutely affected by cold surfaces than cars. This makes maintaining control even more vital, especially around cyclists and pedestrians who have limited ability to react to a sudden skid or loss of control.
5. Specific Situational Variations:
To master the impact of road surface temperature on braking for your Dutch A1 Motorcycle Theory exam and, more importantly, for safe riding in the Netherlands, remember these essential points:
By internalizing these principles, Dutch A1 motorcycle riders can significantly enhance their safety and control when navigating cold road surfaces.
Lesson content overview
Explore all units and lessons included in this driving theory course.
Explore search topics learners often look for when studying Impact of Road Surface Temperature on Braking. These topics reflect common questions about road rules, driving situations, safety guidance, and lesson level theory preparation for learners in the Netherlands.
Browse additional driving theory lessons that cover connected traffic rules, road signs, and common driving situations related to this topic. Improve your understanding of how different rules interact across everyday traffic scenarios.
Understand the critical impact of low road surface temperatures on motorcycle tyre grip and braking distances. Learn to identify and navigate hazards like frost, ice patches, and bridge thermal shock zones for safer riding.

This lesson provides survival strategies for riding in the most challenging weather conditions, including heavy rain, snow, and potential ice. It emphasizes the importance of mental preparation, drastically reduced speeds, and hyper-smooth inputs for throttle, brakes, and steering. The content also covers identifying high-risk areas for 'black ice,' such as bridges and shaded spots, and the critical role of appropriate waterproof and insulated gear in preventing hypothermia and maintaining concentration.
Riding on two wheels requires special care on surfaces with reduced grip. This lesson teaches you how to handle challenging conditions like rain, ice, wet leaves, or tram tracks. Key principles include reducing speed significantly, making all control inputs (braking, accelerating, steering) much more smoothly and gradually, and increasing your following distance to allow for much longer stopping distances. Recognizing potentially slippery areas is a critical part of proactive hazard perception.

This lesson reinforces the critical relationship between adverse conditions, reduced traction, and massively increased stopping distances. It provides a clear framework for how much riders need to increase their following distance and reduce their overall speed to maintain a safe margin for error. The curriculum teaches riders to constantly reassess their speed based on visual feedback from the road surface and the level of visibility, ensuring they can always stop within the distance they can clearly see.
This lesson covers the principles of selecting and using appropriate protective gear to combat the effects of low temperatures and wind chill. It explains the concept of layering with a base, mid, and outer layer to trap heat and manage moisture. The content also discusses the benefits of heated grips and clothing, effective waterproofing, and solutions like Pinlock inserts to prevent visor fogging, all of which are crucial for maintaining comfort, concentration, and control in the cold.
This lesson prepares you to deal with sudden changes in road surface that can cause a loss of traction. You will learn to scan for these hazards and, if they cannot be avoided, how to ride over them safely. The key technique is to keep the motorcycle upright and maintain smooth, steady control inputs—no abrupt braking, accelerating, or steering—to minimize the risk of a skid.
This lesson covers the critical decision-making process of when to stop riding altogether because weather conditions have become too hazardous to continue safely. It provides procedures for safely pulling off the road, finding suitable shelter, and making yourself and your motorcycle as visible as possible to other traffic. The content emphasizes that there is no shame in stopping, and that rider preservation is the highest priority when faced with extreme conditions like gale-force winds or torrential downpours.

This lesson prepares you for the unique dangers of high-speed highway riding. You will learn to scan for and navigate road hazards like debris, potholes, and slippery steel expansion joints on bridges. The content also addresses the powerful air turbulence created by large trucks that can upset a motorcycle's stability and the mental challenge of maintaining focus on long, monotonous stretches of road.

This lesson explains the physics of why wet roads offer significantly less traction than dry ones, highlighting particular hazards like the first rain after a dry spell. It defines aquaplaning (when a tire rides on a layer of water instead of the road) and explains how speed and tire condition contribute to this dangerous phenomenon. The content provides clear strategies for riding in the rain, including reducing speed and applying all controls with extra smoothness.
This lesson explains why the standard two-second rule is insufficient in adverse conditions and requires extension. It details how factors like rain, fog, and darkness reduce both visibility and tire grip, thereby significantly increasing total stopping distance. The content provides practical guidelines, such as extending the following gap to four seconds or more in the wet, to ensure the rider always has enough time and space to stop safely, regardless of the conditions.

This lesson explains the science behind reduced grip on wet surfaces and the dangerous phenomenon of hydroplaning, where a tire rides on a layer of water instead of the road. It details the critical roles of tire tread depth, tire pressure, and riding speed in maintaining contact with the asphalt. Riders will learn techniques for riding in the rain, including using exceptionally smooth control inputs and proactively reducing speed when approaching standing water.
Learn essential braking techniques for cold, low-friction road surfaces. This lesson covers progressive braking, weight transfer, and modulated control crucial for maintaining stability and preventing skids on Dutch roads.

This lesson provides a comprehensive guide to safe and effective deceleration on a motorcycle. You will learn the principles of controlled braking, including the progressive application of both the front and rear brakes to maximize stopping power while maintaining stability. The content also explains the role of engine braking in managing speed and how the Anti-lock Braking System (ABS) helps prevent wheel lock-up during hard braking.

This lesson teaches the technique of progressive braking, which involves applying the brakes smoothly and gradually rather than abruptly. This method allows the motorcycle's weight to transfer forward in a controlled manner, compressing the front suspension and increasing the size of the front tire's contact patch. This, in turn, maximizes available grip and allows for harder, safer braking without unsettling the chassis or locking a wheel.
This lesson addresses the specific challenge of cornering when road grip is compromised. It teaches riders how to identify potential low-traction surfaces like wet manhole covers, painted lines, gravel, or oil patches. The content focuses on techniques to mitigate risk, such as reducing speed, minimizing lean angle, and applying all control inputs—braking, steering, and throttle—with exceptional smoothness to avoid overwhelming the available grip.

This lesson focuses on the physical skill of an emergency stop, building on previous braking lessons. You will learn to adopt a braced body position, keeping your arms straight and looking ahead, not down. The content details the technique of applying both brakes rapidly but progressively to the point of maximum traction, and how to trust and utilize ABS if your motorcycle is equipped with it.
This lesson moves beyond basic braking to teach advanced techniques for optimal stopping performance. You will learn that the front brake provides the majority of your stopping power due to forward weight transfer, but that skillful application of the rear brake is crucial for stability. The content covers the concept of progressive braking—squeezing the levers smoothly—to manage traction and prevent wheel lock, especially on motorcycles without ABS.

This lesson outlines the step-by-step procedure for executing a controlled emergency stop in a straight line. It emphasizes keeping the motorcycle upright, looking ahead, and applying both brakes firmly and progressively up to the point of maximum traction (or ABS activation). Understanding this technique is critical for minimizing stopping distance in a sudden hazard scenario and is a key skill assessed in practical motorcycle training.
This lesson prepares you for a critical situation: performing a maximum-force emergency stop. You will learn the correct body posture and braking technique to stop in the shortest possible distance without losing control. The content provides a clear explanation of how ABS works by rapidly pulsing the brakes to prevent the wheels from locking, allowing you to maintain steering control even during a panic stop.
Riding on two wheels requires special care on surfaces with reduced grip. This lesson teaches you how to handle challenging conditions like rain, ice, wet leaves, or tram tracks. Key principles include reducing speed significantly, making all control inputs (braking, accelerating, steering) much more smoothly and gradually, and increasing your following distance to allow for much longer stopping distances. Recognizing potentially slippery areas is a critical part of proactive hazard perception.
This lesson provides a detailed guide to riding in wet and low-visibility conditions. You will learn to make all your control inputs—braking, accelerating, and steering—exceptionally smooth to avoid breaking traction on slippery surfaces. The content covers the dangers of painted lines and manhole covers when wet, and the importance of increasing your following distance dramatically to account for longer braking distances.

This lesson teaches the principles of performing a controlled emergency stop ('noodsremmen') to achieve the shortest possible stopping distance without losing control. It details the technique of applying both brakes firmly and progressively, managing the forward weight transfer, and maintaining an upright body posture to maximize braking efficiency. The content emphasizes braking in a straight line and looking ahead to where you want to stop, not at the obstacle.
Find clear answers to common questions learners have about Impact of Road Surface Temperature on Braking. Learn how the lesson is structured, which driving theory objectives it supports, and how it fits into the overall learning path of units and curriculum progression in the Netherlands. These explanations help you understand key concepts, lesson flow, and exam focused study goals.
While there's no exact universal figure, braking distances can increase significantly – potentially by 20-30% or more – on cold asphalt compared to warm conditions. This is because cold tires have less grip. Always allow extra space when braking in cold weather.
Isolated icy patches, often found in shaded areas or on bridges, are extremely dangerous because they offer almost no grip. Hitting one suddenly, especially while braking or turning, can cause an instant loss of control and a fall. Treat all shaded or damp-looking spots with extreme caution in cold weather.
After starting your ride, gently use the throttle and brakes for the first 5-10 minutes. You should feel the tires start to provide better feedback and grip. Avoid aggressive maneuvers until you've ridden for a short while and feel the tires have reached optimal operating temperature.
ABS is designed to prevent wheel lock-up, but it cannot create grip that isn't there. While ABS helps you maintain control during braking even on slippery surfaces, significantly reduced grip due to cold or ice will still increase stopping distances. You must still adapt your speed and braking technique.
Yes, the CBR exam includes questions that test your understanding of how environmental factors, including road surface temperature, affect motorcycle safety. Expect scenarios that require you to identify risks and choose the safest course of action based on conditions.